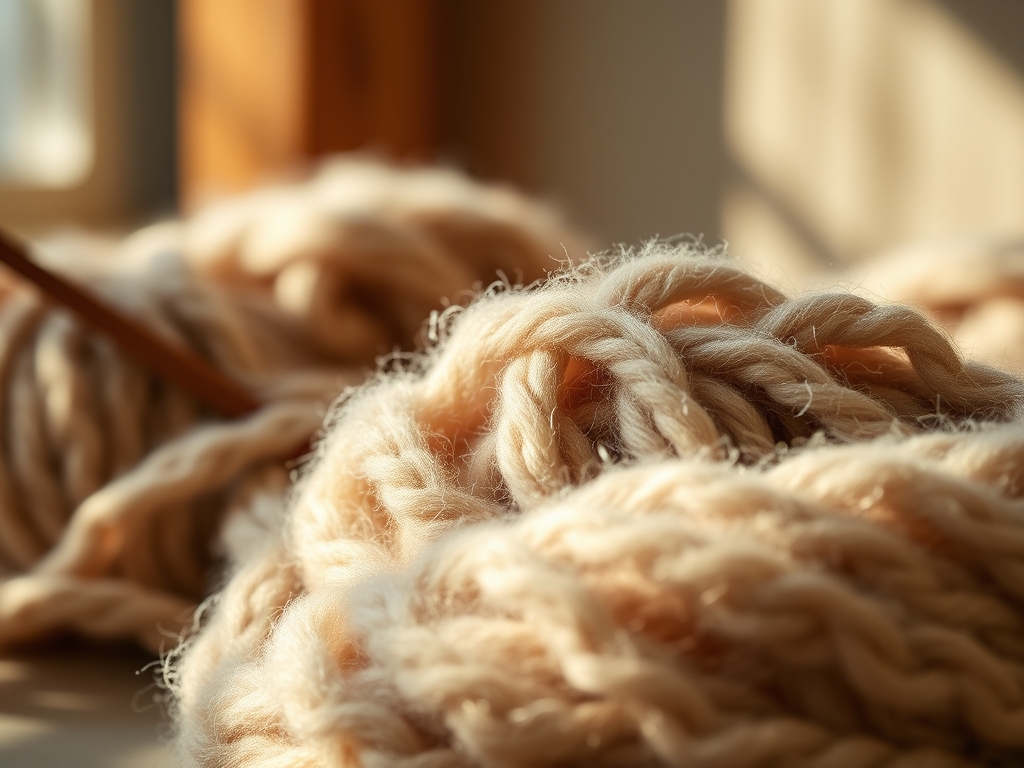
Close your eyes and listen to that specific sound of high-grade cotton cord sliding against itself. It is a soft, rhythmic rasp that signals the beginning of your creative flow. When you grip a three-ply twisted rope, you are not just holding string; you are managing a complex system of tension and friction. Integrating Daily Macrame Drills into your morning routine transforms your hands into precision instruments. This practice is less about the finished wall hanging and more about the mechanical intimacy between your fingertips and the fiber. You are training your nervous system to recognize the exact moment a knot reaches its peak structural integrity before the cord begins to deform.
The tactile experience of macrame is grounded in the physics of tensile strength and the way individual fibers lock together under pressure. As you work, you will notice the subtle heat generated by the friction of the rope. This is the "Maker's Rhythm," a state where your muscle memory takes over and your brain focuses on the geometry of the weave. By committing to these drills, you ensure that every loop and hitch is consistent in its gauge and density.
THE STUDIO KIT
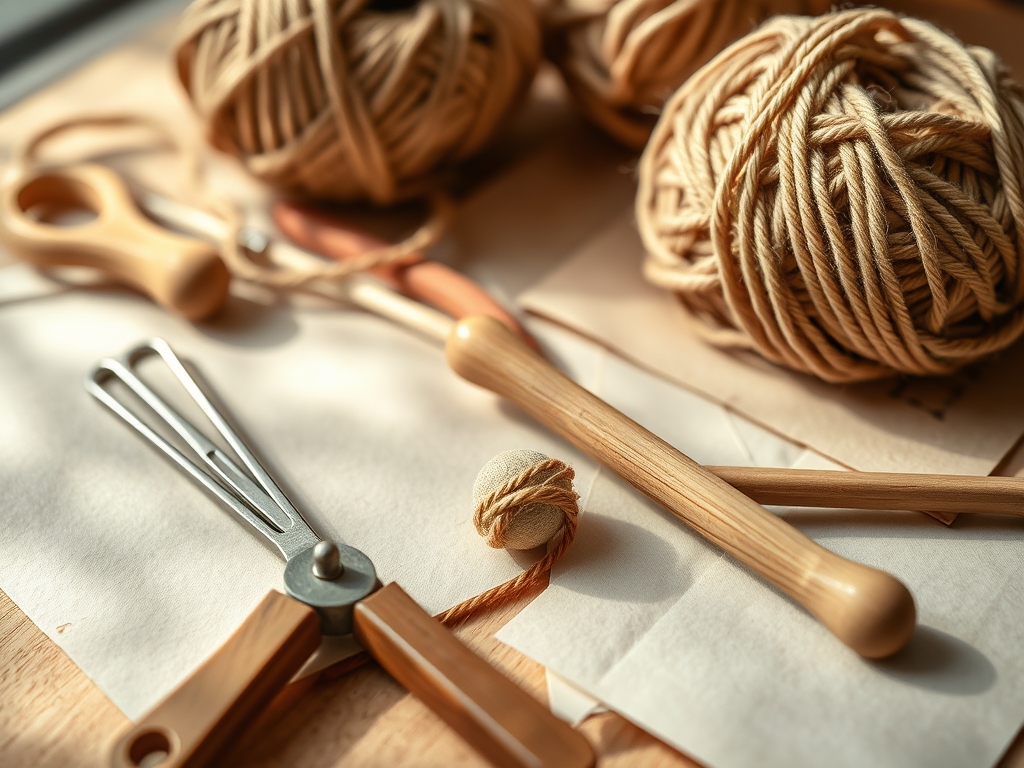
To execute these drills with professional precision, your workspace must be optimized for ergonomic efficiency. You need a sturdy mounting station; a heavy-duty garment rack or a dedicated macrame board works best to maintain a constant vertical tension. Your primary material should be a 4mm or 5mm single-twist or three-ply recycled cotton cord. The "ply" refers to the number of smaller strands twisted together to create the main rope; a higher ply count generally offers better structural stability for complex hitches.
Your toolkit should include a pair of high-carbon steel fabric shears for clean, surgical cuts that prevent premature fraying. Keep a rotary cutter and a self-healing mat nearby for squaring off ends with mathematical accuracy. A stainless steel awl is indispensable for picking apart tight knots or adjusting the "lay" of the cord within a sequence. For finishing, a fine-tooth metal comb or a pet slicker brush is used to "bloom" the fibers, increasing the surface area and creating a plush, velvet-like fringe.
Material Substitutions: If cotton is unavailable, jute offers a high-friction alternative with a rugged, organic aesthetic, though its high lignin content makes it more abrasive on the skin. Synthetic paracord provides extreme durability and weather resistance, but it lacks the "grip" of natural fibers, requiring you to apply significantly more torque to secure your hitches.
THE TEMPO
The "Maker's Rhythm" is a temporal framework that prevents physical fatigue and ensures aesthetic consistency. A standard session of Daily Macrame Drills should be divided into three distinct phases. Phase one is the Calibration Phase (10 minutes), where you perform simple overhand knots to warm up the small muscles in your hands and assess the moisture content of your cord, as humidity can affect the rope's elasticity.
Phase two is the Execution Phase (30 to 45 minutes). This is where you cycle through the nine basic knots, focusing on the "throw" of the rope and the symmetry of the loops. You are aiming for a steady cadence; if you rush, your tension will become uneven, leading to a warped final product. Phase three is the Refinement Phase (10 minutes), where you use your calipers to measure the distance between knots, ensuring your "muscle memory" is actually producing uniform results.
THE CORE METHOD
1. The Lark's Head Knot
This is your foundational anchor. Fold your cord in half and loop the fold over your mounting bar, pulling the two ends through the loop.
Mastery Tip: Ensure the "bar" of the knot is facing forward for a clean look. This knot relies on static friction to hold the weight of the entire project; if it is loose, the vertical alignment of your piece will shift as you work.
2. The Square Knot
Cross the left cord over the two center filler cords, then pass the right cord over the left, under the fillers, and up through the loop. Repeat starting from the right.
Mastery Tip: The center cords must remain under constant tension. This prevents the "core" of the knot from collapsing, which maintains the volumetric density of the pattern.
3. The Spiral Stitch (Half Square Knot)
Perform only the first half of a square knot repeatedly. The natural torque of the cord will cause the sequence to twist.
Mastery Tip: This demonstrates torsional force. To keep the spiral uniform, always rotate the "work" in the same direction every four knots to prevent the cord from kinking.
4. The Double Half Hitch (Horizontal)
Lead a "filler" cord across your work and wrap each working cord around it twice, pulling tight to create a raised ridge.
Mastery Tip: The lead cord dictates the path. Think of it as a structural beam; its linear alignment determines the crispness of your geometric lines.
5. The Diagonal Half Hitch
This follows the same logic as the horizontal version but is executed at an angle.
Mastery Tip: Use a bone folder to pack the hitches tightly against one another. This increases the "knot density," preventing the background from peeking through your pattern.
6. The Vertical Half Hitch
Here, the working cord travels across static vertical cords to create a horizontal bar.
Mastery Tip: This knot is prone to "slippage" because it fights gravity. Apply a slight downward pull as you tighten to lock the fibers into the microscopic grooves of the vertical cord.
7. The Josephine Knot
This is a decorative, interlocking loop knot involving two sets of multiple cords.
Mastery Tip: This knot highlights surface tension. You must dress the knot (adjust the loops) before tightening, or the overlapping arcs will lose their mathematical symmetry.
8. The Berry Knot
Created by making a series of square knots and then looping the filler cords back through the top of the sequence to create a "bobble."
Mastery Tip: This adds a three-dimensional element. Ensure your "loop-back" is tight to maintain the structural integrity of the sphere so it doesn't flatten over time.
9. The Gathering Knot (Wrapping Knot)
Take a separate piece of cord and wrap it around a bundle of ropes, securing the ends inside the wrap.
Mastery Tip: This is a compression fitting. Each wrap should sit flush against the previous one with no overlaps. Use your awl to tuck the final tail securely into the core of the bundle.
THE TECHNICAL LEDGER
Maintenance & Longevity: Natural cotton is hygroscopic, meaning it absorbs moisture from the air. To prevent your drills from sagging, store your cord in a temperature-controlled environment. If a piece becomes soiled, use a dry, soft-bristled brush to remove dust; avoid water, as it can cause the fibers to swell and distort the knot geometry.
Material Variations:
- Sustainable: Organic hemp or recycled cotton reduces environmental impact but may have varied tensile strength throughout the spool.
- Premium: Mercerized cotton has been treated with sodium hydroxide to increase luster and dye affinity, resulting in a smoother, more "fluid" knotting experience.
The Correction:
- The "Ghost" Gap: If you see daylight between your horizontal hitches, your lead cord is too loose. The Fix: Increase the tension on the lead cord and use a comb to "pack" the knots upward.
- The Spiral Kink: If your spiral stitch looks jagged, you are switching sides. The Fix: Mark your "lead" cord with a piece of tape to ensure you always start the knot from the same side.
- Fraying Tails: If your cord ends are blooming prematurely, your shears are dull. The Fix: Use a jeweler's saw or ultra-sharp fabric scissors for a clean edge, then apply a tiny amount of beeswax to the tips to bind the fibers.
Studio Organization: To prevent degradation, hang your unfinished drills on a "work-in-progress" rack rather than folding them. This prevents the development of "memory kinks" in the cord that can ruin the linear flow of your next session.
THE FINAL REVEAL
Look at that texture! When you master these nine knots through Daily Macrame Drills, your work moves from "crafty" to "architectural." The way the light catches the ridges of your half-hitches and the shadows created by the depth of your berry knots creates a visual symphony of geometry. You have successfully manipulated raw fiber into a structured, tactile masterpiece. Your hands are now faster, your tension is flawless, and your "Maker's Rhythm" is an unstoppable force. You are not just making knots; you are engineering beauty.
STUDIO QUESTIONS
How do I stop my cords from tangling?
Use "butterflies" to manage long lengths. Wrap the excess cord around your fingers in a figure-eight pattern and secure it with a rubber band. This maintains spool integrity and prevents knots from forming before you even start hitches.
Why are my square knots uneven?
This is usually caused by inconsistent lateral tension. If you pull harder with your dominant hand, the knot will lean. Focus on a symmetrical "cinch" where both hands apply equal force simultaneously to the outer cords.
Can I use these drills for different rope sizes?
Yes, but remember that gauge scaling matters. A 2mm cord requires more repetitions to fill the same space as a 5mm cord. Adjust your "throw" distance to account for the reduced volume of thinner materials.
What is the best way to fix a mistake?
Use a stainless steel awl to gently pry the knot apart. Never pull the cord forcefully, as this can cause "fiber burn," damaging the structural integrity and making the cord look fuzzy or worn.
How often should I practice these drills?
Consistency is key for neuromuscular adaptation. Even fifteen minutes of focused knotting daily will significantly improve your speed and tension accuracy compared to one long, sporadic session every few weeks.