Imagine the weight of a cool, damp lump of stoneware resting in your palms. It is dense; it is heavy; it is a universe of potential waiting for the right amount of kinetic energy. When we talk about Handmade Ceramic Mugs, we are not just discussing a vessel for caffeine. We are discussing the literal physics of leverage and the intimate architecture of the human hand. There is a specific, tactile thrill when your fingers find that perfect groove in a handle that was sculpted specifically to counter the pull of gravity. As the clay moves from a plastic state to leather-hard, you can feel the tensile strength shifting under your thumbs. It is a high-stakes game of moisture management and structural integrity. If the handle is too thin, it snaps under the weight of a sixteen-ounce pour. If it is too thick, it feels clunky and amateur. We are aiming for that "Goldilocks" zone where the ergonomic curve meets the aesthetic soul of the piece. Grab your apron and tie your hair back; we are about to get messy with some serious science.
THE STUDIO KIT
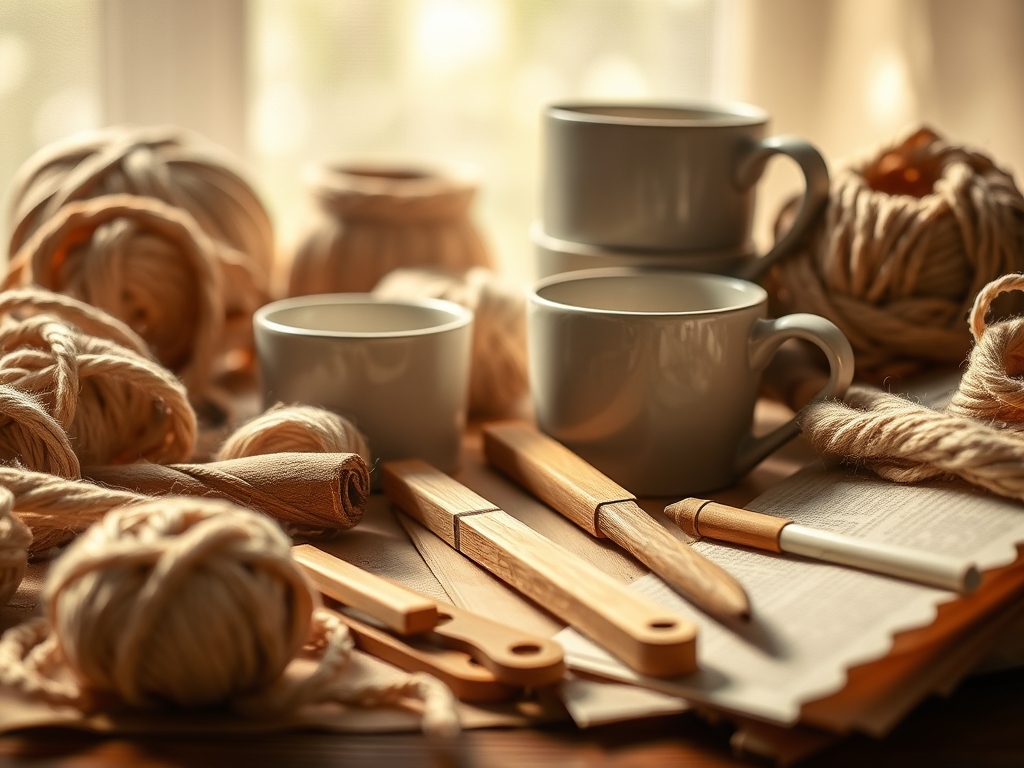
To master the art of the ergonomic handle, you need more than just mud and water. You need precision instruments that respect the porosity of the clay. First on the list is a high-quality wire harp for slicing uniform slabs. You will also need a serrated rib for scoring; this creates the necessary surface area for a mechanical bond. I swear by my stainless steel calipers to ensure the width of the handle stays consistent from the top attachment point to the tail. For the fine details, a tapered wooden modeling tool is essential for blending seams without introducing air pockets.
If you do not have a professional pottery studio at your disposal, let's talk about Material Substitutions. Instead of a specialized scoring tool, a common fork or a heavy-gauge needle can work wonders. If you lack a pony roller for smoothing, a smooth glass bottle or even a PVC pipe can provide the necessary compression. The goal is to eliminate lamination lines, which are invisible structural weaknesses where layers of clay have not fully fused. Always keep a damp chamois cloth nearby to burnish the edges; this compresses the particles and creates a professional, silk-smooth finish that feels incredible against the skin.
THE TEMPO
The "Maker's Rhythm" is governed entirely by the evaporation rate of your studio environment. You cannot rush a handle. If you attach a wet handle to a bone-dry body, the differential shrinkage will cause the handle to pop off like a bad habit. Generally, the body of your Handmade Ceramic Mugs should be thrown and allowed to sit for four to six hours until it reaches a "cheese-hard" state.
The handle-making phase itself takes about thirty minutes of active sculpting, but the "marriage" phase is where the magic happens. Once attached, the piece must be wrapped in thin plastic for at least twenty-four hours. This allows the moisture levels between the handle and the body to equalize. This slow-motion dance prevents differential drying stress, ensuring that the molecular bonds between the two pieces are as strong as if they were grown from the same seed.
THE CORE METHOD
1. The Physics of the Pull
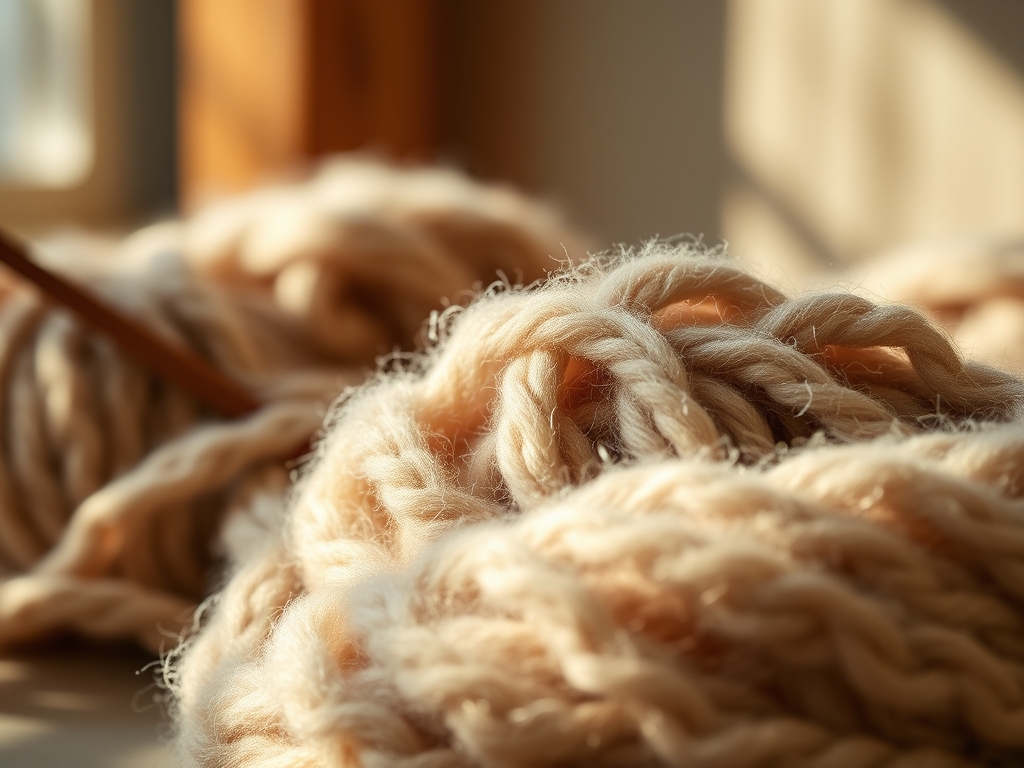
Start with a carrot-shaped wedge of clay. Using a rhythmic, downward stroking motion with plenty of water, "pull" the handle. This aligns the platelet structure of the clay particles in a linear fashion, which significantly increases the tensile strength of the finished handle.
Mastery Tip: This process utilizes hydroplaning; your hand should never actually touch the clay, but rather glide on a thin film of water to prevent friction-induced tearing.
2. The Ergonomic Arc
Once the handle is pulled, drape it over a curved surface like a rolling pin to set its shape. We are looking for a "C" or "D" shape that mimics the natural resting position of the human grip.
Mastery Tip: Use your calipers to check the thickness at the apex of the curve. A handle that tapers slightly toward the bottom is more aesthetically pleasing and shifts the center of mass toward the user's hand, making the mug feel lighter.
3. Scoring and Slurring
Use your serrated rib to aggressively cross-hatch the attachment points on both the mug and the handle. Apply a thick layer of slip (liquefied clay).
Mastery Tip: This creates a capillary action where the moisture from the slip draws the two surfaces together, creating a microscopic interlocking web of clay particles.
4. The Compression Blend
Press the handle firmly onto the body, then use a thumb or a modeling tool to "smear" the clay of the handle into the body.
Mastery Tip: Compression is the enemy of cracks. By applying firm, directional pressure, you are forcing the air voids out of the joint, ensuring the handle won't fail during the high-heat expansion of the kiln firing.
THE TECHNICAL LEDGER
Maintenance & Longevity: To ensure your Handmade Ceramic Mugs survive the test of time, avoid "thermal shock." Never move a mug directly from a cold fridge to a boiling pour. The handle is the most vulnerable point for coefficient of expansion mismatches.
Material Variations: While standard stoneware is great, experimenting with paper clay (clay infused with cellulose fibers) can offer incredible green-strength for thin, avant-garde handles. For a premium feel, look for "porcelaneous" stonewares that allow for high-density burnishing.
The Correction:
- The S-Crack: If a crack appears at the base, it is usually due to uneven drying. Fix: Use a "vinegar slip" (clay mixed with apple cider vinegar) to repair small cracks in the leather-hard stage. The acid breaks down the clay particles for a tighter bond.
- The Slump: If your handle loses its shape, it was attached too wet. Fix: Prop it up with a foam wedge during the first two hours of drying.
- The Rough Edge: If the handle feels scratchy after firing, it wasn't burnished. Fix: Use a high-grit diamond sanding pad (200-400 grit) to smooth the fired clay under running water.
Studio Organization: Store your unfinished mugs in a "damp box" (a plastic bin with a layer of wet plaster at the bottom). This maintains a 100 percent humidity environment, preventing the handle from drying faster than the base.
THE FINAL REVEAL
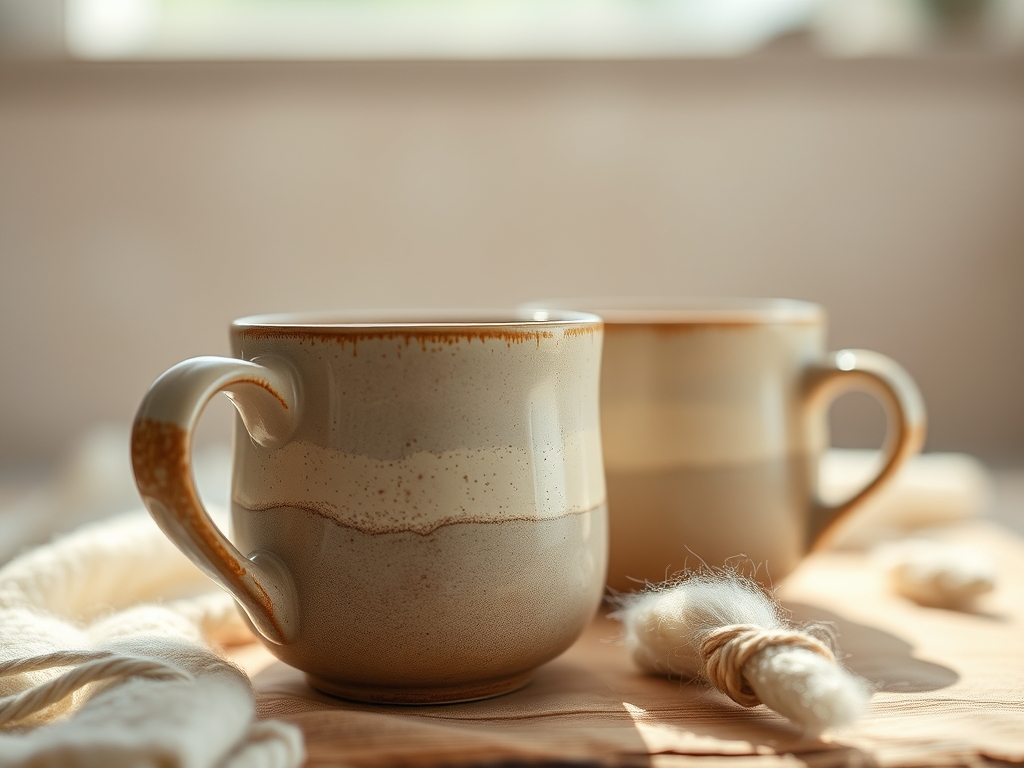
There is nothing quite like the moment you pull a finished mug out of the kiln. The handle, once a floppy piece of mud, is now a vitrified, rock-solid extension of the vessel. When you wrap your hand around it, the ergonomic geometry should feel like an extension of your own arm. The surface is smooth; the weight is balanced; and the transition between the body and the handle is seamless. It is the perfect marriage of utility and high-art physics. Your morning coffee just got a serious upgrade.
STUDIO QUESTIONS
Why do my handles always crack at the joints?
Cracking is usually caused by differential shrinkage. If the handle is wetter than the mug body, it shrinks more as it dries, pulling away from the attachment point. Always wrap your work in plastic to equalize moisture levels.
How thick should an ergonomic handle be?
For a standard twelve-ounce mug, aim for a handle that is roughly 0.75 inches wide and 0.4 inches thick. This provides enough surface area to distribute the weight across your fingers without feeling bulky.
Can I use a different clay for the handle?
It is risky. Different clay bodies have different shrinkage rates. Unless you have tested the specific compatibility of the two clays, always use the same "batch" for both the body and the handle to avoid structural failure.
What is the best tool for smoothing seams?
A damp cosmetic sponge or a piece of chamois leather is best. These tools provide gentle compression without removing too much material, which preserves the structural integrity of the bond while creating a professional, tactile finish.
Does the shape of the handle affect the taste?
Indirectly, yes! An ergonomic handle allows you to hold the mug comfortably, which keeps your hand away from the hot surface. This allows you to focus on the olfactory notes of the coffee rather than the discomfort of a poor grip.