
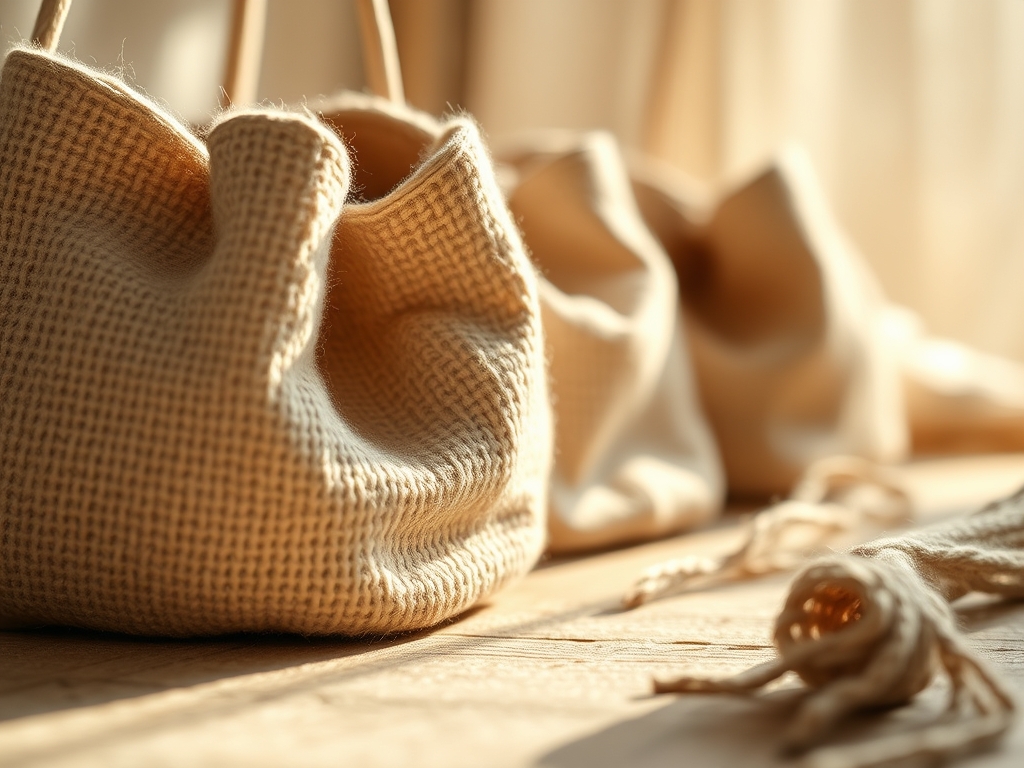
Imagine the smell of raw, unbleached canvas hitting the air as you unroll a fresh bolt of heavy-duty duck fabric. It is that perfect mix of earthy cotton seed and industrial starch. We are not just making totes; we are engineering high-performance Handmade Cotton Bags designed to survive a decade of heavy groceries and spontaneous farmers market hauls. When you run your thumb across the weave, you feel the high tensile strength of the long-staple fibers. These fibers are twisted into a tight ply that resists stretching even when loaded with five pounds of heirloom tomatoes. The surface is beautifully porous, acting like a microscopic landscape of peaks and valleys just waiting to trap pigment. We are looking for that sweet spot where the fabric is heavy enough to stand upright on its own but supple enough to fold into a pocket. This is the tactile foundation of our project. It is crisp, it is clean, and it is about to become a canvas for some serious graphic alchemy.
THE STUDIO KIT
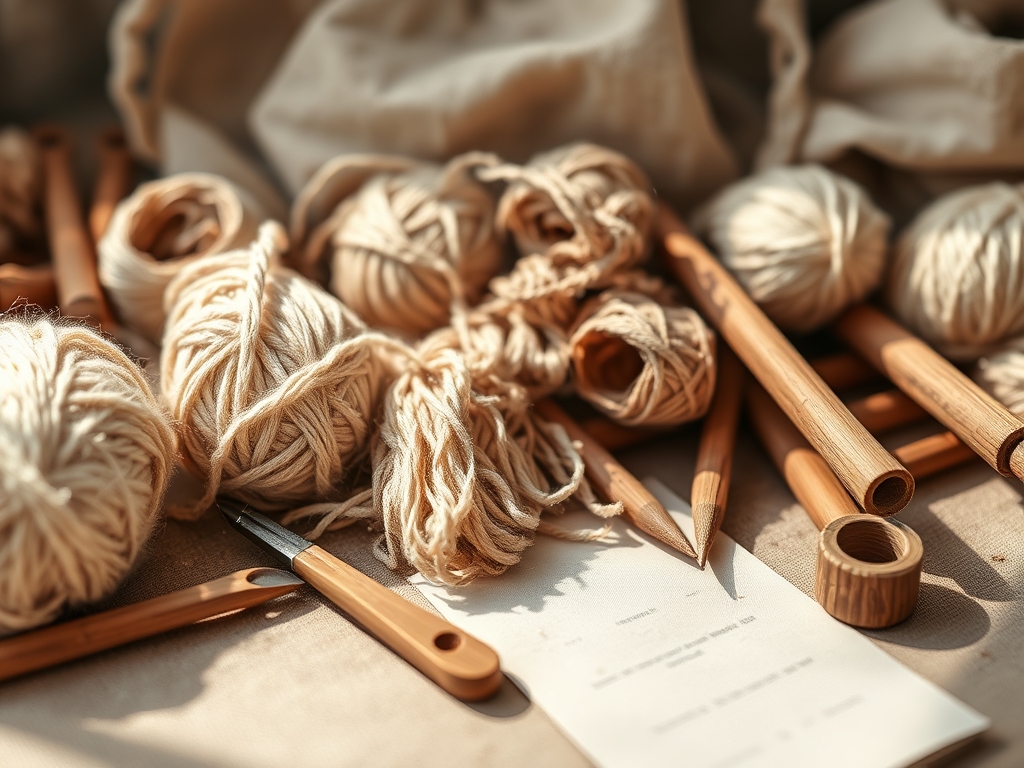
To master this build, you need more than just a brush. Your primary tool is a high-tension **aluminum silk screen** fitted with a 110-mesh count. This specific mesh **gauge** allows for maximum ink flow while maintaining crisp edge definition. You will also need a **dual-durometer squeegee**; the rubber blade should have a 70-shore hardness to ensure even pressure across the fabric grain. For the ink, we use water-based **elastomeric pigments** that bond to the fibers rather than sitting on top of them. This ensures the design does not crack when the bag is laundered.
Material Substitutions: If you cannot find heavy canvas, you can use a triple-layered muslin or a recycled denim. If a professional squeegee is unavailable, a stiff silicone spatula or a credit card can work for small designs, though you lose the ergonomic leverage needed for large-scale prints. For the frame, a wooden embroidery hoop can substitute for an aluminum screen if you are working on a miniature scale.
THE TEMPO
The "Maker's Rhythm" is all about respecting the drying times and the viscosity of your materials. Total active construction time is approximately four hours, but the project spans twenty-four hours to account for curing.
- Phase 1: Preparation (45 Minutes): Measuring the fabric using a rotary cutter and a self-healing mat. This is where we ensure the grain direction is vertical to maximize load-bearing capacity.
- Phase 2: Screen Setup (60 Minutes): Coating the screen with light-sensitive emulsion and allowing it to dry in a dark, climate-controlled space.
- Phase 3: The Pull (30 Minutes): The high-energy phase where we transfer the ink.
- Phase 4: The Cure (12 Hours): The passive phase where the ink undergoes polymerization to become permanent.
THE CORE METHOD
1. Architectural Cutting and Grain Alignment
Before the first drop of ink touches the cloth, we must respect the physics of the weave. Use a transparent quilting ruler and a rotary cutter to slice your panels. Ensure the warp threads (the vertical ones) run the length of the bag. This provides the structural integrity needed to prevent sagging.
Mastery Tip: Always cut on the true grain. If your cut is "off-grain," the bag will twist and torque after the first wash because the internal tension of the fibers is unevenly distributed.
2. Screen Emulsion and Exposure
Apply a thin, even layer of photo emulsion using a scoop coater. The goal is a coat that is only a few microns thick. Place your design transparency over the screen and expose it to a UV light source. The light hardens the emulsion everywhere except where your design blocks it.
Mastery Tip: This process relies on cross-linking polymers. If you under-expose, the emulsion will wash away; if you over-expose, the fine details of your design will "choke" and disappear.
3. The Ink Flood and Shear Force
Place your fabric on a flat platen. Load a bead of ink at the top of the screen. Perform a "flood stroke" by lightly pulling the ink across the mesh without touching the fabric. Then, with a 45-degree angle on your squeegee, pull firmly.
Mastery Tip: This uses shear-thinning fluid dynamics. The pressure of the squeegee temporarily lowers the viscosity of the ink, allowing it to pass through the mesh and wrap around the cotton fibers through capillary action.
4. Heat Setting and Polymerization
Once the ink is touch-dry, it must be heat-set. Use a professional heat press or a dry iron set to the cotton setting. Apply heat for three minutes to ensure the pigment molecules fully fuse with the cellulose fibers.
Mastery Tip: Use a non-contact infrared thermometer to ensure the ink surface reaches 320 degrees Fahrenheit. This is the "glass transition temperature" where the ink becomes a permanent part of the textile.
5. Handle Integration and Box Stitching
Cut two strips of heavy cotton webbing. Attach them to the top hem using a "box-X" stitch pattern. This geometric configuration distributes the weight across a larger surface area, preventing the fabric from tearing at the stress points.
Mastery Tip: Use a bone folder to crisp your hems before sewing. This creates a mechanical crease that guides your needle, ensuring the seam allowance is perfectly consistent for professional-grade durability.
THE TECHNICAL LEDGER
To keep your Handmade Cotton Bags in peak condition, avoid harsh bleaches that can degrade the molecular bonds of the ink. Wash in cold water and air dry to prevent the cotton fibers from shrinking at different rates than the printed design.
Material Variations:
- Sustainable: Organic hemp-cotton blends offer higher mold resistance.
- Recycled: Repurposed sailcloth provides extreme hydrophobic properties.
- Premium: Mercerized cotton offers a lustrous finish and higher dye absorption.
The Correction:
- Bleeding Edges: Caused by too much pressure. Fix by increasing the "off-contact" distance between the screen and the fabric.
- Faded Prints: Caused by insufficient heat setting. Fix by re-ironing the design through a piece of parchment paper.
- Ink Clogging: Caused by the ink drying in the mesh. Fix by using a retarder additive to slow down the evaporation rate.
Studio Organization: Store your screens vertically in a dry, dust-free rack. Keep your inks in a temperature-controlled environment; extreme cold can cause the emulsion to separate, rendered it useless for future pulls.
THE FINAL REVEAL
There is nothing quite like the moment you peel the screen away to reveal a crisp, bold design on a piece of raw cotton. Your new Handmade Cotton Bags are not just accessories; they are masterpieces of textile engineering. The ink is vibrant, the stitching is reinforced, and the fabric feels substantial in your hands. You have successfully balanced the aesthetic of screen printing with the structural physics of heavy-duty sewing. Whether you are carrying books or groceries, these bags are built to handle the friction of daily life while looking absolutely stunning.
STUDIO QUESTIONS
What is the best fabric weight for shopping bags?
A weight of 10 to 12 ounces per square yard is ideal. This provides enough tensile strength to carry heavy loads without being too bulky to fold.
Can I use acrylic paint instead of screen ink?
You can, but you must mix it with a fabric medium. This lowers the stiffness and ensures the paint remains flexible enough to resist cracking during use.
Why did my design wash off?
The ink likely did not reach the required curing temperature. Ensure the core of the ink reaches 320 degrees Fahrenheit to trigger the necessary chemical bonding.
How do I prevent the bag from shrinking?
Pre-wash your cotton fabric before printing. This allows the fibers to settle into their final dimensional stability, preventing the design from warping later.
What mesh count is best for bold designs?
A 110-mesh screen is the gold standard. It has larger openings that allow more pigment to pass through, resulting in a vibrant and opaque finish.

