
Grab your favorite nib and clear some desk space because we are diving deep into the fluid mechanics of the page. Your Daily Calligraphy Rituals are about to get a serious upgrade from shaky lines to soaring, architectural flourishes that feel like silk. We are talking about the perfect marriage of ink surface tension and muscle memory.
Imagine the scent of iron gall ink hitting heavy, cotton-rag paper. It is a sensory explosion. When you press that metal tine against a porous surface, you are not just drawing; you are managing a controlled hydraulic leak. The physics of the flex nib depends entirely on the tensile strength of the steel. If you push too hard without the right angle, you risk catching a fiber and ruining the flow. But when you hit that sweet spot? It is pure magic. We are going to master the nine essential drills that turn a simple stroke into a masterpiece of elegant lines. This is where your studio practice becomes a meditative science experiment.
THE STUDIO KIT
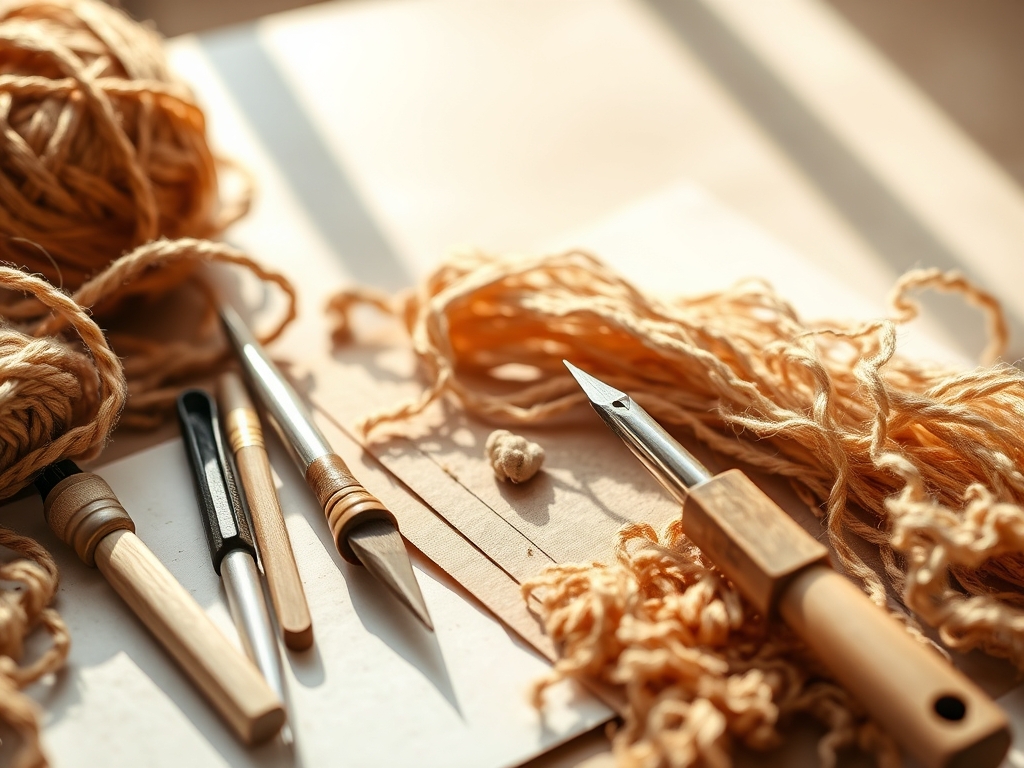
To execute these drills with precision, you need a kit that respects the laws of friction. Your primary tool is an oblique pen holder with an adjustable brass flange. This ergonomic offset allows you to achieve the 55 degree slant required for Copperplate without contorting your wrist. For the nib, start with a Zebra G or a Hunt 101. These have high elasticity, meaning they return to their original shape quickly after a heavy swell.
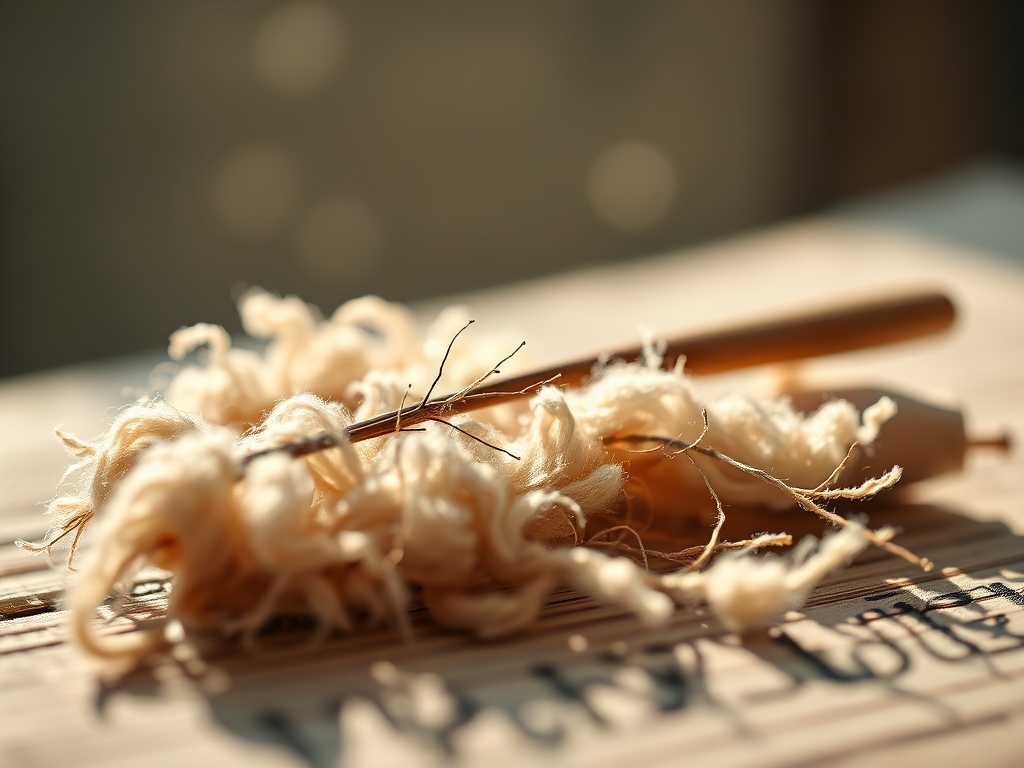
The paper is your substrate, and it must be non-porous enough to prevent "feathering." Look for 100gsm smooth Rhodia or Clairefontaine. If the paper is too fibrous, the capillary action will pull the ink outward into messy webs. For ink, a high-pigment sumi ink or a walnut crystals solution provides the best viscosity.
Material Substitutions: If you lack a professional nib, a high-quality brush pen with a felt tip can mimic the pressure-sensitive swells. Instead of professional ink, a diluted gouache works beautifully, though you must monitor the pigment-to-water ratio to ensure it flows through the tines without clogging the breather hole.
THE TEMPO
The Maker's Rhythm is not about speed; it is about the "heartbeat of the stroke." Each of these drills requires a specific cadence. The Initial Prep Phase takes about five minutes to clean your nib of manufacturing oils using a bit of toothpaste or a quick pass through a flame.
The Active Practice Phase for these nine drills should span thirty minutes. You are training your ulnar nerve to recognize the difference between a hairline and a swell. The Curing Phase is often overlooked; give your ink at least ten minutes to fully polymerize and dry before you even think about erasing your pencil guidelines. If you rush the rhythm, you lose the structural integrity of the ink pool, leading to smudges and heartbreak.
THE CORE METHOD
1. The Ascending Loop
Start at the header line and sweep upward with zero pressure. This drill focuses on the tactile feedback of the nib skimming the paper. You want a line so thin it looks like a stray hair.
Mastery Tip: This relies on the angle of attack. If your nib is too steep, you increase friction. Keep the pen at a low 35 degree angle to the paper to minimize drag.
2. The Descending Swell
Apply gradual pressure as you pull the pen toward your body. The tines will spread, allowing a wider channel of ink to flow.
Mastery Tip: This is a lesson in fluid dynamics. As the tines open, the ink forms a meniscus between them. If you pull too fast, the vacuum breaks and the line "rails," leaving two thin lines with a gap in the middle.
3. The Figure-Eight Infinity
Create a continuous horizontal eight. This integrates your whole arm movement rather than just your fingers.
Mastery Tip: Use your shoulder as the pivot point. This reduces the torque on your wrist and ensures the curves remain symmetrical and fluid.
4. The Oval Enclosure
The oval is the DNA of calligraphy. Practice clockwise and counter-clockwise circles, focusing on where the thickest part of the swell sits.
Mastery Tip: To achieve perfect symmetry, visualize the axis of rotation. The weight should be distributed evenly on either side of the slant line to maintain visual balance.
5. The Feathered Entrance
Start with a heavy swell and slowly lift the pen until only the tip touches the paper.
Mastery Tip: This tests the elasticity of your nib. A high-quality steel nib will snap back to a closed position instantly. If your nib stays "sprung," it has reached its elastic limit and needs replacement.
6. The Spiral Vortex
Start in the center and work outward in increasing circles. This builds control over the radial distance of your strokes.
Mastery Tip: Watch the ink flow. As the circle grows, you must adjust your hand position to ensure the nib remains parallel to the slant of the oval.
7. The Underturn Hook
A sharp downward swell that transitions into a thin upward curve at the baseline.
Mastery Tip: This transition is where surface tension is most volatile. Release pressure a fraction of a millimeter before you hit the baseline to prevent the ink from pooling in a "blob" at the turn.
8. The Compound Curve
An S-shape that moves from thin to thick to thin again in one continuous motion.
Mastery Tip: This requires rhythmic breathing. Exhale on the downstroke to steady your hand and ensure the transition between the tines opening and closing is seamless.
9. The Flourished Exit
A long, sweeping tail that extends far beyond the letterform.
Mastery Tip: This is about kinetic energy. The stroke should be fast and confident. If you hesitate, the line will wobble because the friction of the nib overcomes the momentum of your hand.
THE TECHNICAL LEDGER
Maintenance & Longevity: After every session, clean your nib with a soft cloth and a drop of rubbing alcohol. Never leave ink to dry in the tines, as the acidity can cause pitting in the metal. Store your nibs in a dry container with a silica gel packet to prevent oxidation.
Material Variations: For a sustainable approach, use handmade hemp paper. It has a high ply count and incredible durability, though it requires a thicker ink like acrylic-based ink to prevent bleeding. For a premium feel, try vellum, which offers almost zero friction but requires a very long drying time.
The Correction:
- Feathering: If ink spreads like a spiderweb, your paper is too porous. Fix: Add a drop of "Gum Arabic" to your ink to increase its viscosity.
- Railroading: If the nib leaves two thin lines, you are pressing too hard or the ink is too thick. Fix: Thin your ink with a drop of distilled water.
- Scratching: If the nib digs into the paper, your angle is too steep. Fix: Lower your pen holder and check the nib for a bent tip using a jeweler's loupe.
Studio Organization: Store your paper flat in a cool, dark drawer to prevent the fibers from warping due to humidity. Use a dedicated bone folder to crease your practice sheets rather than your fingernails, which can transfer oils to the paper and create "blind spots" where ink won't stick.
THE FINAL REVEAL
Look at those lines! When you commit to these Daily Calligraphy Rituals, you aren't just writing; you are choreographing a dance between steel and cellulose. The finished piece should have a vibrant, raised texture where the ink has dried in thick swells. It feels tactile, professional, and utterly elegant. You have mastered the physics of the page, turning simple tools into an extension of your creative soul.
STUDIO QUESTIONS
How do I stop my ink from smearing?
Ensure you are using a high-viscosity ink and allow at least ten minutes for the ink to polymerize. Use a "bridge" or a piece of scrap paper under your hand to prevent skin oils from touching the substrate.
Why does my nib keep catching on the paper?
This usually indicates a "burr" on the nib or an incorrect pen angle. Ensure your nib is aligned with the paper's grain and lower your grip to reduce the vertical force on the tines.
Can I use regular printer paper for drills?
Printer paper is generally too porous and will cause the ink to bleed. For effective rituals, use a "sized" paper like Rhodia, which has a coating that keeps the ink sitting on the surface.
How often should I replace my calligraphy nibs?
Replace your nib when you notice a loss of "snap" or if the tines no longer meet perfectly at the tip. For daily practice, a single nib typically lasts about 15 to 20 hours of active use.
What is the best way to store ink?
Keep your ink in airtight glass jars away from direct sunlight. Sunlight can degrade the organic pigments in walnut or iron gall inks, causing them to fade or change color over time.

