Imagine the weight of a raw lipid block in your palm; it is dense, cool, and surprisingly heavy for its volume. When you start crafting your own Handmade Soap for Daily Use, you are not just mixing liquids; you are orchestrating a violent yet beautiful molecular dance called saponification. The air in the studio shifts as the caustic scent of lye meets the earthy, fatty notes of unrefined cocoa butter. You can feel the potential energy stored within these oils. As the lye solution hits the fats, the exothermic reaction begins, releasing a subtle warmth that you can track with an infrared thermometer. This is the moment where chemistry becomes art. We are aiming for a finished bar that feels like polished marble but lathers like a silk cloud. By controlling the fatty acid profile, we ensure that every wash maintains the skin's lipid barrier while providing a deep, satisfying cleanse. It is about the tactile joy of a perfect pour and the steady, rhythmic pulse of the stick blender.
THE STUDIO KIT
To master the art of the sud, you need more than a kitchen pot. Your primary tool is a high-torque immersion blender with stainless steel blades to ensure a stable emulsion. For precision, use a digital scale with a 0.1-gram gauge to measure your sodium hydroxide and distilled water. You will also need heat-resistant polypropylene pitchers, silicone spatulas for scraping every drop of "trace," and a heavy-duty silicone mold with a reinforced frame to prevent bowing under the weight of the raw batter.
Material Substitutions: If you cannot source high-quality pomace olive oil, you can substitute sweet almond oil, though you must recalculate the lye value to account for the different iodine values. For a vegan alternative to beeswax, try candelilla wax at half the volume to maintain the bar's tensile strength and hardness. Never substitute tap water for distilled; the mineral ions in tap water can trigger dreaded "dreaded orange spots" (DOS) through rapid oxidation of the free fats.
THE TEMPO
The "Maker's Rhythm" is a game of patience and thermal management. The active "Hot Phase" takes roughly 45 to 60 minutes, which includes melting solids and reaching the perfect thermal equilibrium between your lye and oils (ideally between 100 and 110 degrees Fahrenheit). Once the pour is complete, the "Saponification Phase" requires 24 to 48 hours of insulated rest. Finally, the "Curing Phase" is a marathon, not a sprint. Your bars must sit in a well-ventilated space for 4 to 6 weeks. During this time, water evaporates, the crystalline structure of the soap densifies, and the pH levels drop to a skin-safe range. A rushed cure results in a "mushy" bar that dissolves instantly in the shower.
THE CORE METHOD
1. The Lye Solution Prep
Carefully pour your sodium hydroxide beads into the distilled water; never the reverse, or you risk a volcanic eruption. Stir until the solution is clear.
Mastery Tip: This reaction is highly exothermic. The solubility of lye increases with temperature, but so does the risk of caustic fumes. Always work in a ventilated space to manage the vapor pressure.
2. Melting the Hard Fats
Combine your coconut oil, shea butter, and cocoa butter in a stainless steel vat. Heat gently until the solids transition into a clear liquid state.
Mastery Tip: Avoid overheating, which can denature the delicate tocopherols (Vitamin E) in your premium butters. Use a digital thermometer to ensure you stay below 130 degrees Fahrenheit.
3. Achieving the Emulsion
Slowly pour the lye solution into the oils. Submerge your immersion blender fully to avoid introducing air bubbles, then pulse until you reach "light trace."
Mastery Tip: Trace is the point of viscosity where the mixture reaches the consistency of thin pudding. This indicates that the oils and lye are chemically bonded and will not separate.
4. Incorporating Botanicals and Scents
Fold in your essential oils and any exfoliants, such as fine pumice or colloidal oatmeal, using a manual spatula.
Mastery Tip: Essential oils have varying flash points. Adding them at a lower temperature prevents the aromatic compounds from evaporating before the soap sets.
5. The Pour and Texture
Pour the batter into the mold from a low height to minimize air entrapment. Tap the mold firmly on the studio table to release any stubborn bubbles.
Mastery Tip: Use a palette knife to create surface texture. The high surface tension of the soap at "thick trace" allows it to hold peaks and valleys without collapsing.
6. The Insulation Period
Cover the mold with a lid and wrap it in a heavy towel to trap the heat generated by the saponification process.
Mastery Tip: This encourages a "full gel phase," which increases the translucency and color vibrancy of the final bar by altering the soap's crystalline structure.
7. The Unmolding and Slicing
After 24 hours, check the hardness. If it feels like firm cheese, remove it from the mold and use a wire cutter for clean, professional edges.
Mastery Tip: A wire cutter provides a cleaner shear than a knife because it minimizes frictional drag, preventing the soap from sticking or crumbling during the cut.
8. The Long Cure
Arrange the bars on a stainless steel or plastic rack, ensuring they do not touch to allow maximum airflow.
Mastery Tip: During the cure, the soap undergoes carbonation on the surface if air is stagnant. Keep a small fan running to maintain a steady atmospheric exchange.
THE TECHNICAL LEDGER
To keep your Handmade Soap for Daily Use in peak condition, store it in a cool, dark environment with low humidity. High moisture levels can lead to "glycerin dew," where the humectant properties of the soap pull water from the air, making the bars feel sticky.
Material Variations:
- Sustainable: Use RSPO-certified palm oil to ensure environmental integrity.
- Recycled: Incorporate "soap confetti" from previous batches to reduce waste.
- Premium: Swap distilled water for goat milk or silk amino acids for a luxurious tactile finish.
The Correction:
- Problem: Cracking. This happens when the soap gets too hot. Fix: Move the mold to the refrigerator immediately if you see a crack forming.
- Problem: Soft/Oily Bars. This is usually a measurement error or under-mixing. Fix: Re-batch the soap by grating it down and melting it with a small amount of liquid to force emulsification.
- Problem: Soda Ash. A white film on top caused by carbon dioxide. Fix: Steam the bars or spritz the wet batter with 99 percent isopropyl alcohol to create a barrier.
Studio Organization: Use a rotary tool to engrave batch numbers on your curing racks. Keep a logbook detailing the humidity and temperature of the room during the pour to track how environmental variables affect the final pore density of the soap.
THE FINAL REVEAL
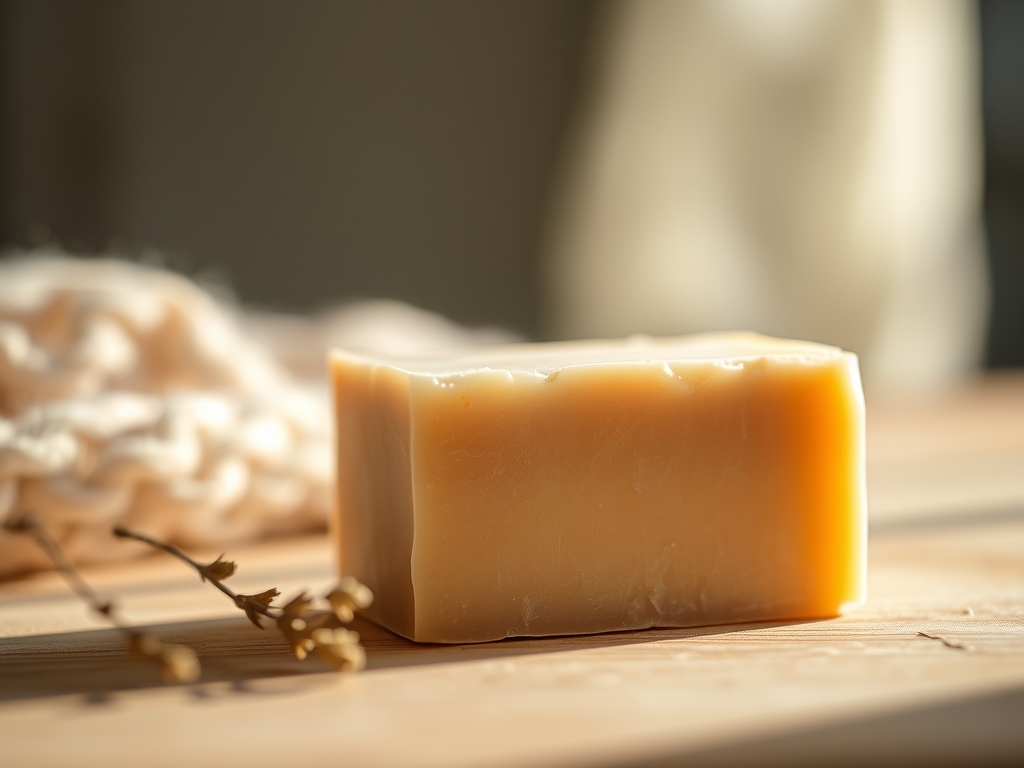
There is nothing quite like the moment you hold a perfectly cured bar of your own making. The edges are crisp; the surface is smooth and burnished to a soft matte glow. When you finally take it to the bath, the lather is dense and stable, a testament to your precise calculations and technical execution. You have transformed basic lipids into a functional tool for wellness. It feels substantial, ergonomic, and infinitely better than anything found on a commercial shelf. This is the power of the maker; you have mastered the chemistry of clean.
STUDIO QUESTIONS
How do I make my handmade soap last longer?
Increase the percentage of "hard" oils like cocoa butter or palm oil in your recipe. Ensure the bar has a full six-week cure to maximize structural integrity and allow the water to evaporate completely, creating a denser, more durable product.
Why is my soap crumbling when I cut it?
Crumbling usually occurs if the soap is too cold or if the lye-to-oil ratio is too high (lye heavy). It can also happen if you wait too long to cut. Aim to slice the loaf within 24 to 48 hours.
Can I use fragrance oils instead of essential oils?
Yes, but ensure they are "skin-safe" and rated for cold-process soap. Fragrance oils can "accelerate" trace, making the soap thicken rapidly, so work quickly and keep your temperatures low to maintain control over the viscosity.
What is the best way to store soap during the cure?
Place bars on a non-reactive rack in a cool, dry place away from direct sunlight. Sunlight can fade natural pigments and accelerate the oxidation of oils, leading to rancidity. Proper airflow is vital for a consistent evaporation rate.