

The smell of fresh cedar shavings and the cool, heavy drag of a steel blade against grain is better than any morning espresso. When you engage in Crafting for Personal Growth, you are not just making a trinket; you are rewiring your neural pathways through tactile resistance. Feel that? That is the friction of a high carbon steel blade meeting the cellular structure of the wood. It requires a specific kind of presence that demands you leave your phone in the other room. We are talking about the visceral satisfaction of seeing a raw material transform because you had the discipline to stay the course. This is where your hands teach your brain about patience and precision. Every curl of wood or stitch of leather is a data point in your journey toward a more disciplined version of yourself. Grab your apron and clear the workbench. We are diving deep into the physics of creation to build habits that actually stick because they are literally etched into the physical world.
THE STUDIO KIT
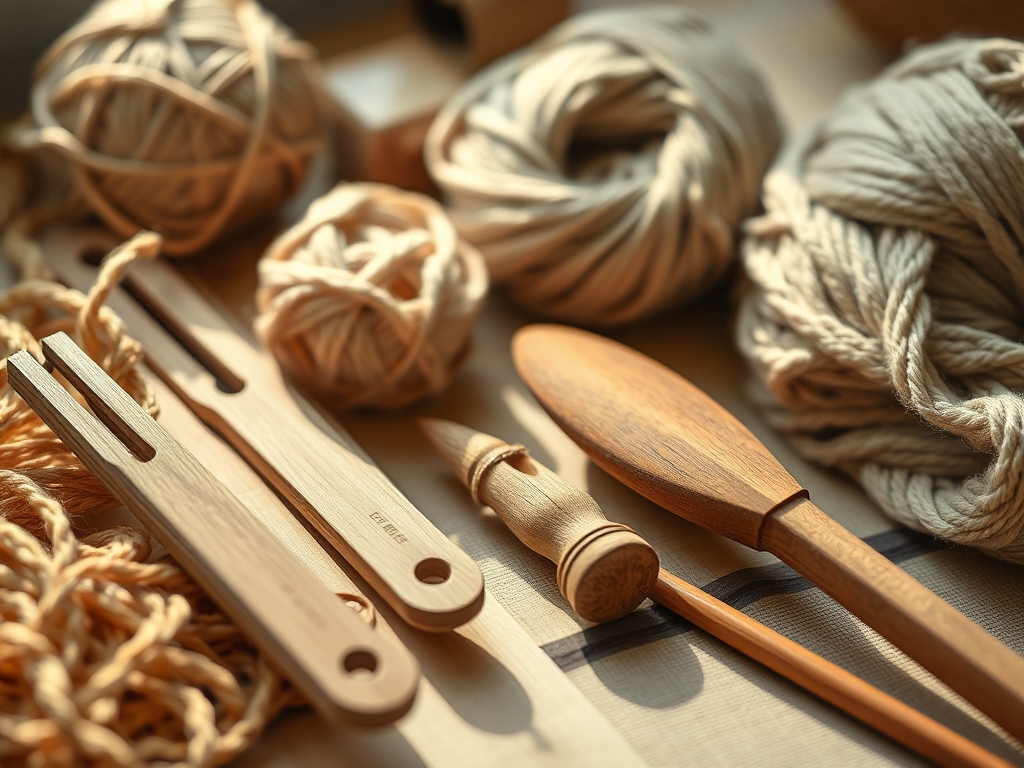
To track your growth effectively, you need a kit that respects the laws of physics. Start with a precision bone folder for creating crisp, high-density creases in heavy-gauge cardstock. You will also need a self-healing cutting mat and a rotary cutter with a 45mm tungsten steel blade to ensure clean edges without fraying the fibers. For those working with textiles or leather, a diamond-point awl is essential for pre-piercing holes, which maintains the structural integrity of the material by preventing jagged tears.
Material Substitutions: If you cannot source premium vegetable-tanned leather, high-density recycled felt offers similar resistance and durability. Instead of a professional bookbinding press, you can use two flat birch plywood boards and heavy-duty C-clamps to apply even pressure across the surface area of your project. This ensures that your adhesives cure under the correct compression levels to prevent air pockets or warping.
THE TEMPO
The Maker's Rhythm is a three-phase cycle: Preparation, Execution, and Integration. The Preparation Phase takes approximately forty-five minutes. This is where you calibrate your tools and organize your workspace to minimize cognitive load. The Execution Phase is the heart of the habit, lasting anywhere from thirty to ninety minutes depending on the complexity of the task. During this time, your heart rate typically stabilizes as you enter a "flow state," a psychological phenomenon backed by neurobiology.
Finally, the Integration Phase requires fifteen minutes of cleanup and reflection. This is not just tidying; it is a ritual that signals to your brain that the work is complete. By maintaining this tempo, you create a Pavlovian response to your tools. When you pick up that 6-inch stainless steel ruler, your brain knows it is time to focus. Discipline is simply the result of repeating this rhythm until the resistance of the material becomes a comfort rather than a chore.
THE CORE METHOD
1. The Daily Grain Tracker
Start by selecting a piece of soft pine or balsa wood. Every day that you complete your primary habit, use a v-gouge chisel to carve a single notch along the grain. This provides a permanent, physical record of your consistency.
Mastery Tip: Always carve with the grain to avoid "tear-out." This occurs because wood fibers have a specific tensile strength and orientation; cutting against them disrupts the cellular bonds, resulting in a jagged, unprofessional finish.
2. The Tensile Strength Journal
Construct a custom journal using the Coptic stitch binding method. Each signature (section of pages) represents a week of growth. As you sew the spine, the tension in the thread mirrors the discipline required to hold your life together.
Mastery Tip: Use waxed linen thread to take advantage of its high friction coefficient. The wax coating allows the thread to grip the paper fibers, ensuring the knots do not slip and the structural integrity of the spine remains intact over years of use.
3. The Incremental Gauge Bead
Create a "habit ladder" using copper wire and glass beads. Use round-nose pliers to create a loop for every day you stay disciplined. The physical weight of the beads increases as your habit grows, providing a sensory reminder of your progress.
Mastery Tip: Understand work hardening. As you bend the copper wire, the crystalline structure of the metal changes, making it stiffer and more brittle. Do not over-manipulate the wire or it will snap due to molecular fatigue.
4. The Burnished Edge Milestone
For long-term goals, use a leather "strap" tracker. Every time you hit a milestone, use a wooden slicker to burnish the edge of the leather with beeswax. This creates a smooth, glass-like finish that is incredibly satisfying to touch.
Mastery Tip: Burnishing works through frictional heat. The heat melts the natural waxes within the leather and the added beeswax, fusing the fibers together into a sealed, water-resistant edge.
5. The Mosaic of Minutes
Dedicate a small wooden frame to a mosaic project. For every thirty minutes spent on personal development, glue one small tile or glass shard into the frame using a high-viscosity PVA glue.
Mastery Tip: Watch for capillary action when applying glue. If your adhesive is too thin, it will be pulled into the porous surface of the wood or tile backing, weakening the bond. Use a spreader to ensure even distribution.
THE TECHNICAL LEDGER
Maintenance & Longevity: To keep your tools in peak condition, wipe all steel surfaces with a light coat of camellia oil after every session. This prevents oxidation, especially in humid studio environments. Your honing strobe should be used every three hours of active cutting to realign the microscopic "teeth" of your blades.
Material Variations: For a sustainable approach, use "stone paper" made from calcium carbonate; it is waterproof and incredibly durable. If you want a premium feel, upgrade to top-grain leather and brass hardware, which develop a patina over time, visually representing the age and maturity of your habits.
The Correction:
- The Mistake: Ragged edges on paper or fabric. The Fix: Replace your blade immediately. Most makers wait too long; a dull blade requires more force, which decreases your precision and safety.
- The Mistake: Glue seeping through the front of your project. The Fix: Use a bone folder to "chase" the glue away from the edges before it sets, or use a dry-mount adhesive film for delicate materials.
- The Mistake: Warped wood or cardstock. The Fix: Always account for moisture content. If you apply a wet medium to one side, you must apply it to the other to balance the surface tension as it dries.
Studio Organization: Store your materials in a temperature-controlled environment away from direct UV light. Use acid-free archival boxes for paper-based trackers to prevent yellowing and lignification, which causes the fibers to become brittle over time.
THE FINAL REVEAL
Look at that! You have moved from a pile of raw components to a sophisticated, tactile system for tracking your evolution. There is a specific kind of electricity that hums through a finished piece when the physics are right and the discipline was consistent. Your hands might be a little tired, but your brain is firing on all cylinders. You have successfully externalized your internal growth into something you can hold, weight, and admire. This is not just "crafting"; it is the engineering of a better you. Now, clear your bench, reset your tools, and get ready for tomorrow's session. You have earned this win.
STUDIO QUESTIONS
How does crafting improve my actual discipline?
Crafting requires delayed gratification and precision. By focusing on the tactile resistance of materials like wood or leather, you train your prefrontal cortex to value long-term results over immediate digital hits, effectively strengthening your "discipline muscle" through physical feedback.
What is the best tool for a beginner?
Invest in a high-quality stainless steel cork-backed ruler. It prevents slipping during cuts, ensuring safety and accuracy. Precision is the foundation of discipline; starting with accurate measurements sets the technical standard for every subsequent step in your project.
Can I use recycled materials for these habits?
Absolutely. Using recycled materials adds a layer of material science to your practice. You must evaluate the "memory" of used fibers and adjust your techniques to account for previous wear, which actually requires more advanced problem-solving skills.
How do I stop my projects from falling apart?
Focus on structural integrity and adhesive selection. Match the porosity of your material to the viscosity of your glue. Use mechanical fasteners like rivets or stitches alongside chemical bonds to ensure your tracker survives daily handling for years.

