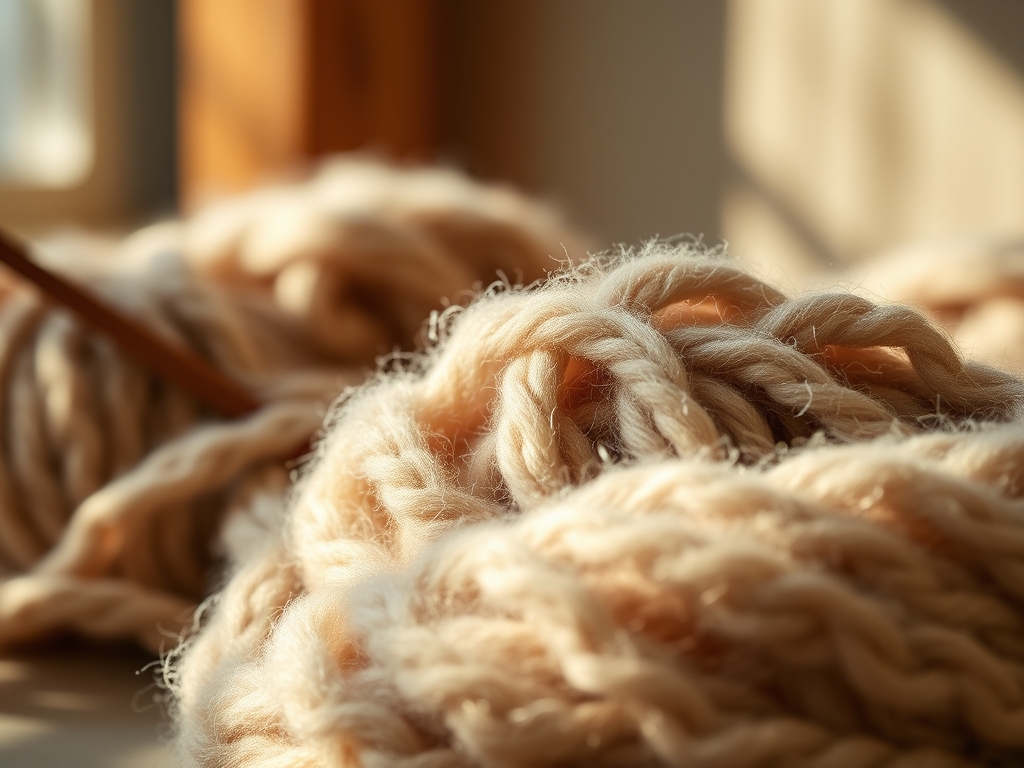
Imagine the sharp, rhythmic snap of a wooden shuttle passing through a tight shed. Your fingertips brush against the raw, fibrous texture of unspun wool and the slick, high-tensile strength of mercerized cotton. This is where your Daily Weaving Practice begins. It is not just about making fabric; it is about the physics of tension and the tactile satisfaction of interlocking threads. Weaving is a structural dance where every millimeter of yarn placement dictates the final integrity of the cloth. By committing to a small-scale routine, you train your hands to recognize the subtle shifts in warp density and the way different fibers respond to the pressure of a beating comb. It is fast, it is addictive, and it is the ultimate way to master the mechanics of textiles without the intimidation of a massive floor loom.
THE STUDIO KIT
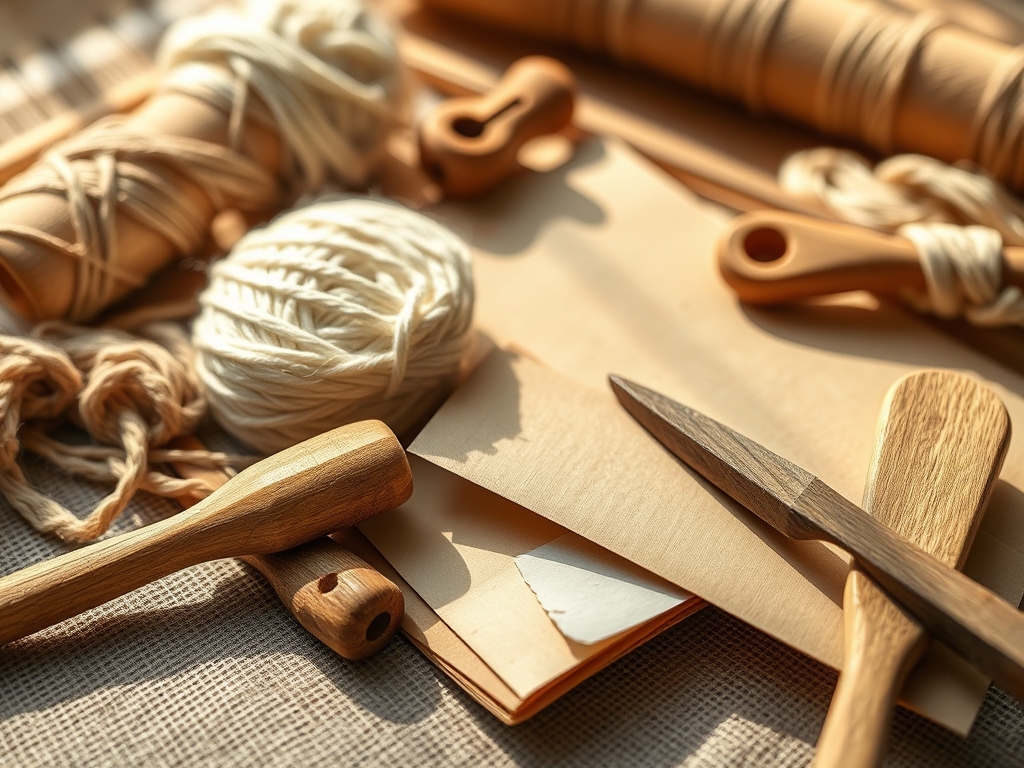
To execute these projects with precision, you need a kit that respects the tensile properties of your materials. Start with a high-quality frame loom made of hardwood like maple or beech; these woods have a high Janka hardness rating, ensuring the pegs do not bend under the immense pressure of a high-tension warp. You will need a tapestry needle with a blunt tip to prevent piercing the yarn fibers, and a weaving sword or shed stick to create a clean opening for your weft. For measurement, skip the flimsy tape and use a pair of digital calipers to ensure your spacing is consistent to the tenth of a millimeter.
Material selection is where the science gets fun. For your warp, choose a multi-ply cotton twine with zero elasticity. You want a material that resists "creep," which is the tendency of a fiber to deform over time under stress. For the weft, experiment with varying yarn gauges. A thick, roving wool provides high insulation and volume, while a fine silk thread offers a lustrous finish due to its triangular prism-like fiber structure that reflects light at different angles.
Material Substitutions: If you lack a professional frame, a sturdy piece of corrugated cardboard can suffice, provided you reinforce the edges with masking tape to prevent the fluting from collapsing. Instead of a commercial beater, a common kitchen fork works wonders, though a professional weighted comb provides a more even distribution of force across the fell line.
THE TEMPO
The "Maker's Rhythm" is a psychological state of flow backed by physiological repetition. For a small-scale daily project, expect a total time investment of forty-five to sixty minutes. The warping phase takes roughly ten minutes; this is the most critical stage, as uneven tension here will result in a "waisted" or distorted final piece. The weaving phase occupies thirty minutes, where your speed is dictated by the complexity of your pattern and the friction coefficient of your yarn. Finally, the finishing phase takes five to ten minutes, involving the delicate process of tucking in tails and securing the warp ends. By sticking to this tempo, you build muscle memory, allowing your hands to detect tension imbalances before they become visible to the eye.
THE CORE METHOD
1. Setting the Foundation
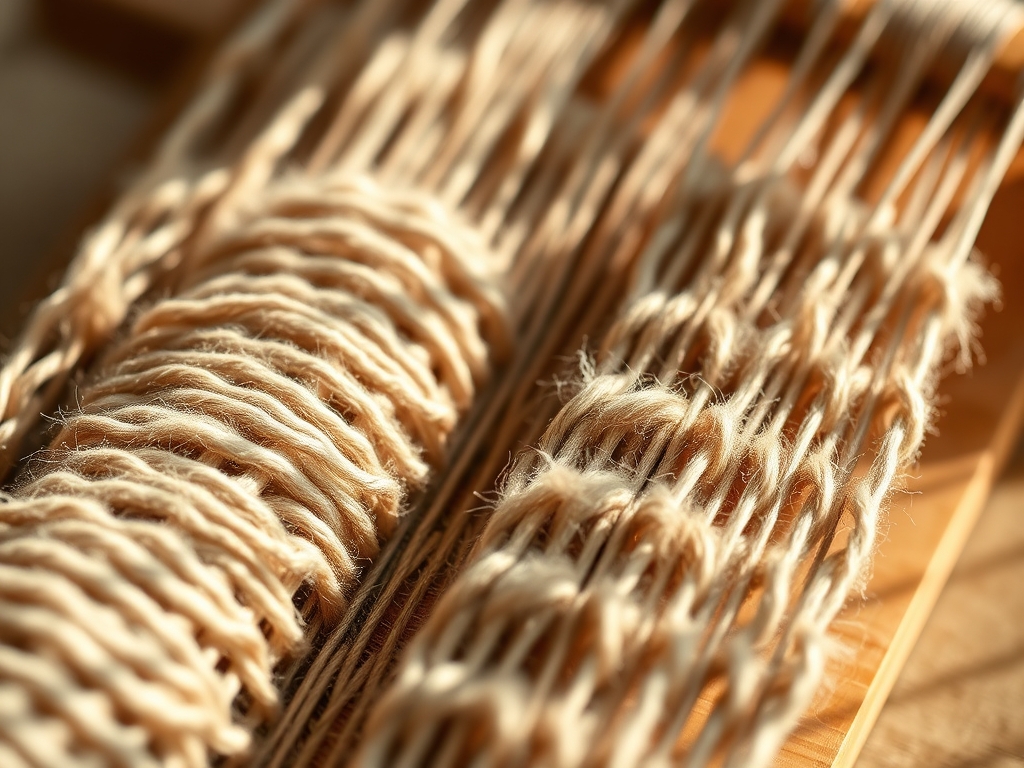
Begin by securing your warp thread to the loom using a double hitch knot. Maintain a consistent pull-force as you wind the thread across the notches. Your goal is to achieve a uniform pitch, which is the distance between each warp thread. If one thread is tighter than the rest, it will pull the weft upward, creating an unsightly ridge in your fabric.
Mastery Tip: This is all about Hooke's Law. The stress you apply to the warp is proportional to the strain. If you exceed the elastic limit of your fiber during warping, the finished piece will sag once it is removed from the frame. Always test the "note" of your warp by plucking it; a consistent pitch across all threads indicates uniform tension.
2. Creating the Shed
Insert your shed stick under every other warp thread and turn it on its side. This creates a triangular opening known as the shed. By creating this mechanical advantage, you allow the weft to pass through without generating excessive friction against the warp fibers, which can cause pilling or breakage.
Mastery Tip: Understand the coefficient of friction. Smooth fibers like mercerized cotton slide easily, but "toothy" wools will grab onto each other. Using a shed stick reduces the surface area contact between the threads, preserving the structural integrity of the delicate outer scales of the wool fibers.
3. The Weft Pass and the Arc
Pass your shuttle through the shed, but do not pull the yarn tight. Instead, create a high arc with the weft thread before beating it down. This provides the "extra" length needed for the weft to travel over and under the warp threads without pulling the sides of the weaving inward.
Mastery Tip: This technique manages lateral contraction. When the weft interlaces with the warp, it follows a serpentine path. If you do not provide enough slack (the arc), the physics of the path will force the outer warp threads to migrate toward the center, resulting in an hourglass shape rather than a perfect rectangle.
4. Beating the Fell Line
Use your weaving comb to push the weft thread down toward the base of the loom. Apply even pressure across the entire width. This establishes the picks per inch (PPI), which determines the density and drape of your textile.
Mastery Tip: This step utilizes compressive force. You are essentially packing the fibers together to create a solid structure. If you beat too hard, you create a stiff, rug-like texture; if you beat too lightly, the fabric will be "loose" and prone to shifting. Aim for a density where the warp is entirely hidden but the weft still retains some loft.
5. Managing Color Transitions
When introducing a new color, overlap the old and new threads by about two inches within the same shed. This is called a friction join. It relies on the natural grip of the fibers to hold the yarn in place without the need for bulky knots that would disrupt the flat surface of the cloth.
Mastery Tip: This relies on interfacial adhesion. The microscopic scales on animal fibers or the twisted structure of plant fibers lock together under the pressure of the surrounding weave. This creates a seamless transition that maintains the tensile continuity of the weft line.
6. Securing the Selvedges
The edges of your weaving, or the selvedges, are the most vulnerable points. Ensure your weft loop around the outermost warp thread is snug but not restrictive. Use a bone folder to gently crisp the edges of your weave if you are using a thicker, more stubborn yarn.
Mastery Tip: The selvedge is a point of stress concentration. By keeping the edges consistent, you distribute the tension evenly across the entire width of the loom. A messy selvedge is a sign of inconsistent hand-tension and can lead to the unraveling of the entire structure over time.
7. The Cut and Finish
Once you reach your desired length, carefully cut the warp threads from the loom, leaving at least three inches of fringe. Tie the threads in pairs using a surgeon's knot. Use a rotary cutter and a self-healing mat to trim the fringe to a perfectly uniform length.
Mastery Tip: When you remove the tension of the loom, the fibers will undergo elastic recovery. They will shrink slightly as they return to their relaxed state. By tying the knots immediately, you "set" the dimensions of the fabric and prevent the weave from migrating off the warp ends.
THE TECHNICAL LEDGER
Maintenance & Longevity: To keep your loom in peak condition, occasionally rub the wood with a light coating of beeswax or mineral oil. This prevents the wood from becoming porous and snagging your delicate silk or wool fibers. Clean your metal needles with an isopropyl alcohol wipe to remove skin oils that can oxidize and stain light-colored yarns.
Material Variations:
- Sustainable: Use recycled sari silk or "t-shirt yarn" made from garment offcuts.
- Recycled: Unravel old sweaters to reclaim high-quality wool, but be sure to wash and "relax" the yarn to remove the previous crimp.
- Premium: Invest in Qiviut or Vicuna fibers for unmatched softness and thermal properties, though these require a very high warp density to support their fine gauge.
The Correction:
- The Hourglass Effect: The sides are pulling in. The Fix: Increase the height of your weft arc. You are not leaving enough "take-up" for the yarn to travel.
- Loops in the Weft: Small loops are popping out of the surface. The Fix: Your beat is uneven. Use a weighted beater to ensure the force is perpendicular to the warp.
- Fraying Warp: The warp threads are breaking. The Fix: You have too much tension or your shed stick is too rough. Sand your tools with 400-grit sandpaper to reduce friction.
Studio Organization: Store your ongoing projects on a flat surface in a climate-controlled room. Avoid hanging a loom mid-project, as gravity will cause differential stretching in the warp threads. Keep your yarn in airtight bins with cedar blocks to prevent moth damage to natural protein fibers.
THE FINAL REVEAL
Look at that! You have successfully navigated the complex physics of fiber to create a stunning piece of hand-woven art. There is a visceral thrill in seeing those individual strands of yarn transformed into a cohesive, structurally sound textile. Your edges are straight, your tension is flawless, and the "hand" of the fabric feels professional and expensive. This Daily Weaving Practice is more than just a hobby; it is a masterclass in precision and material science. You have turned raw potential into a tactile reality, one pick at a time. Now, take a moment to run your hand over the surface and feel the rhythmic architecture you just built.
STUDIO QUESTIONS
How do I choose the right warp yarn?
Select a yarn with high tensile strength and minimal stretch. A 24/4 or 12/6 cotton warp is standard. Avoid single-ply yarns, as they can untwist and snap under the constant friction of the shuttle and beater during the weaving process.
What is the best way to fix a broken warp thread?
Use a "repair thread" weighted with a clip at the back of the loom. Pin the new thread into the weaving an inch below the break, weave as normal, and then darning-stitch the ends back into the fabric once finished.
Why are my selvedges uneven?
Uneven selvedges usually stem from inconsistent weft tension. Ensure you are creating the same size arc for every pass. Using a temple or a small ruler to check the width every few rows can help maintain a constant dimension.
Can I weave with non-traditional materials?
Absolutely. You can use copper wire, strips of leather, or even recycled plastic bags. Just be mindful of the modulus of elasticity; rigid materials like wire require a very sturdy loom and will not "settle" like traditional fiber will.
How do I prevent my weaving from smelling musty?
Natural fibers are hygroscopic, meaning they absorb moisture from the air. Always store your materials in a dry environment. If a piece develops an odor, a light steam with a distilled water and vodka mix can neutralize bacteria without damaging the fibers.