Grab your flush cutters and clear some bench space because we are diving headfirst into the tactile world of Daily Jewelry Making. Can you feel that? The slight oily residue on a fresh coil of dead soft copper and the cold, unyielding weight of your steel mandrel are the first signs that a masterpiece is brewing. When you grip a length of wire, you are not just holding a craft supply; you are engaging with a material defined by its ductility and tensile strength. We are going to transform industrial alloys into wearable art using nothing but physics and a little bit of sass. The secret to mastering this craft lies in understanding how metal behaves under pressure. Every bend you make introduces work hardening, a process where the crystalline structure of the metal realigns and becomes more rigid. We are going to dance on that fine line between flexibility and structural integrity. Whether you are prepping a last minute birthday gift or curating your own signature collection, these nine wraps will become your new obsession.
THE STUDIO KIT
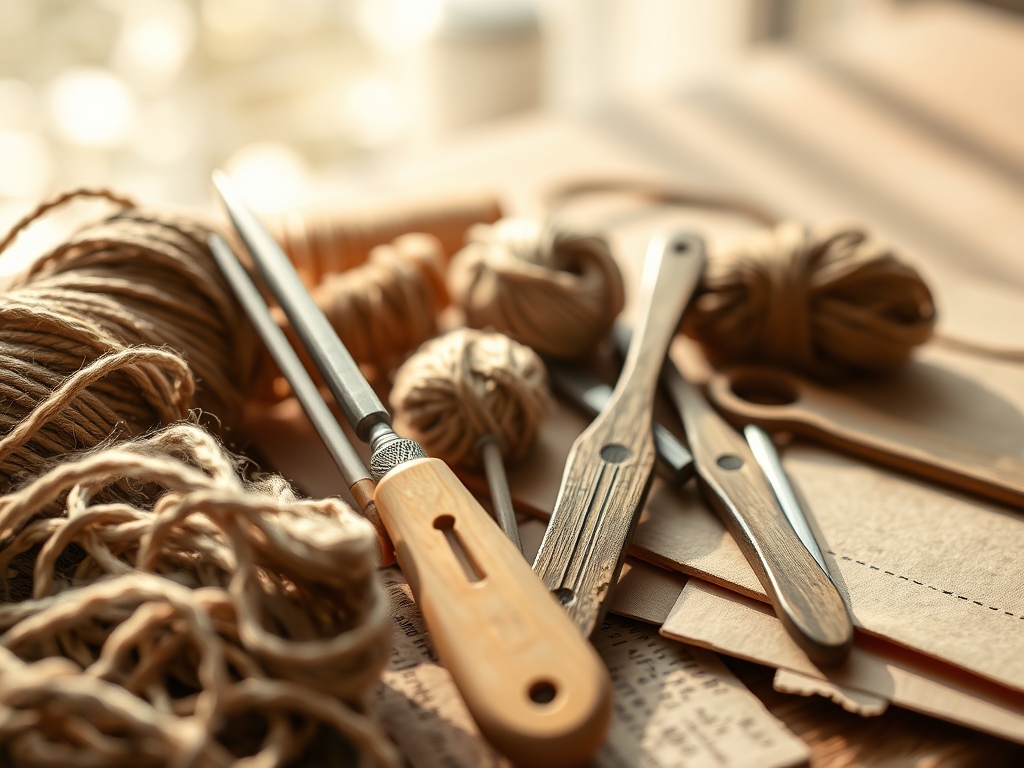
To dominate the art of Daily Jewelry Making, your toolkit needs to be more than just a drawer of pliers. You need precision instruments. Start with chain nose pliers for gripping and round nose pliers for creating those perfect geometric loops. Your flush cutters are the most important investment; they must have a bypass blade to ensure one side of your cut is perfectly flat, reducing the need for extensive filing. You will also need a jeweler's hammer and a steel bench block to finish your pieces.
For materials, we generally work with 20-gauge wire for structural frames and 26-gauge or 28-gauge wire for intricate weaving. Material Substitutions: If you cannot find sterling silver, high quality phosphor bronze offers incredible spring temper and a beautiful rose gold hue. If you are practicing, use aluminum wire; it has a lower yield strength, making it incredibly forgiving for beginners who are still developing their hand strength and muscle memory. Always keep a caliper nearby to measure your stone dimensions, ensuring your wire cage is mathematically sound before you make the first kink.
THE TEMPO
The "Maker's Rhythm" is a psychological state where your pulse aligns with the repetitive motion of the wrap. For these nine projects, expect a prep phase of five minutes where you measure and straighten your wire using a nylon jaw plier to remove kinks without marring the surface. The execution phase typically lasts fifteen to twenty minutes per wrap. This is where the tensile stress is applied. Finally, the finishing phase takes five minutes to tuck ends and burnish any sharp edges. Total time per piece is roughly thirty minutes. If you find yourself rushing, you risk metal fatigue, which occurs when the wire is bent back and forth too many times, causing it to snap at a molecular level. Slow down and let the metal tell you when it is ready to hold its shape.
THE CORE METHOD
1. The Classic Simple Loop
This is the foundation of all Daily Jewelry Making. Using your round nose pliers, create a ninety degree bend in your 20-gauge wire. Rotate the pliers to sweep the wire over the top barrel.
Mastery Tip: This relies on lever mechanics. By keeping the wire at the base of the pliers, you maximize torque, ensuring the loop is perfectly centered over the wire stem for optimal weight distribution.
2. The Wrapped Briolette
Perfect for teardrop stones, this wrap involves creating a triangular harness. Cross the wires at the top of the bead and wrap the shorter tail around the main stem in a tight spiral.
Mastery Tip: Observe the friction coefficient. The tighter the spiral, the more surface area contact you create, which prevents the stone from wobbling or slipping out of its seat.
3. The Herringbone Weave
This creates a feathered, decorative frame around a focal bead. You will alternate sides, anchoring the wire to the base after each pass.
Mastery Tip: This technique utilizes structural layering. Each successive wrap reinforces the previous one, increasing the overall moment of inertia and making the piece much harder to bend accidentally.
4. The Rosary Link
A series of interconnected loops that form a sturdy chain. Each loop must be identical in diameter to maintain a professional aesthetic.
Mastery Tip: Consistency is a matter of calibration. Mark your pliers with a permanent marker to ensure every loop is formed at the exact same point on the tapered barrel.
5. The Messy Nest
A bohemian style where wire is coiled haphazardly around a bead. It looks chaotic but requires a controlled hand to ensure the wire ends are tucked safely.
Mastery Tip: This wrap relies on compressive force. As you layer the wire, each pass pushes against the bead, locking it into place through sheer tension rather than a specific mechanical lock.
6. The Bailed Pendant
This wrap creates a dedicated loop for a cord or chain to pass through. It involves a heavy gauge frame and a finer gauge binding wire.
Mastery Tip: Pay attention to load bearing capacity. The bail must be work hardened with a hammer to ensure it does not deform under the weight of the pendant over time.
7. The Spiral Coil
A decorative element where wire is spun into a flat disc. Use your flat nose pliers to start the center and then guide the wire with your fingers.
Mastery Tip: This is a lesson in centripetal force. By keeping your guiding finger close to the center of the rotation, you prevent the wire from bowing outward, maintaining a tight, professional spiral.
8. The Cage Wrap
Ideal for rough, unpolished stones. You create a "basket" by twisting several wires together at the base and then splaying them out.
Mastery Tip: This technique manages geometric constraints. By calculating the perimeter of the stone and dividing it by the number of wires, you ensure a symmetrical cage that captures the stone at its widest points.
9. The Double Wrapped Link
A more secure version of the simple loop, where the tail is wrapped twice around the base before being trimmed.
Mastery Tip: This creates a mechanical interlock. Even if the loop is pulled with significant force, the double wrap prevents the wire from uncoiling, significantly increasing the lifespan of the jewelry.
THE TECHNICAL LEDGER
Maintenance & Longevity: To keep your jewelry pristine, avoid exposure to sulfur and high humidity, which accelerate oxidation. Use a polishing cloth treated with a mild abrasive to remove tarnish without stripping the metal.
Material Variations: For a sustainable approach, use recycled copper stripped from old electronics. For premium pieces, gold filled wire offers a thick layer of 14k gold bonded to a brass core, providing the look of solid gold with much higher durability and lower cost.
The Correction:
- The Gap: If your loops do not close, use your chain nose pliers to "click" the wire into place.
- The Mar: If you scratch the wire, use a burnishing tool or a high grit sanding stick to smooth the surface.
- The Snap: If the wire breaks, you have over-worked it. Start over and use fewer adjustments.
Studio Organization: Store your wire in airtight poly bags with anti-tarnish strips. Organize by gauge and temper to prevent accidental cross contamination of metals, which can lead to galvanic corrosion.
THE FINAL REVEAL
There is nothing quite like the moment you clip that final wire and feel the finished weight of a handcrafted piece in your palm. Your Daily Jewelry Making journey has transformed a simple spool of industrial material into a sophisticated accessory that defies its humble origins. Look at the way the light catches those burnished edges and how the tension of the wraps holds every stone in a death grip of elegance. You have mastered the physics of the bend; now go out there and wear your science with pride.
STUDIO QUESTIONS
How do I prevent my wire from scratching?
Use nylon jaw pliers or dip your metal tool tips in a liquid rubber coating. This creates a soft buffer that protects the wire surface from the serrated teeth or hard steel of the pliers during intensive Daily Jewelry Making.
What is the best wire gauge for beginners?
Start with 20-gauge dead soft copper. It provides enough resistance to teach you about hand tension while remaining pliable enough to manipulate without specialized heavy duty equipment or excessive physical strain.
How do I make my jewelry look professional?
The key is work hardening. Once your piece is shaped, lightly tap it with a plastic or rawhide mallet. This compresses the molecular structure, making the piece rigid and giving it a high end, finished feel.
Why does my wire keep snapping?
You are likely experiencing metal fatigue from over-manipulation. Every time you bend wire back and forth, you create heat and stress at the pivot point. Plan your moves carefully to minimize the number of adjustments made to a single area.