
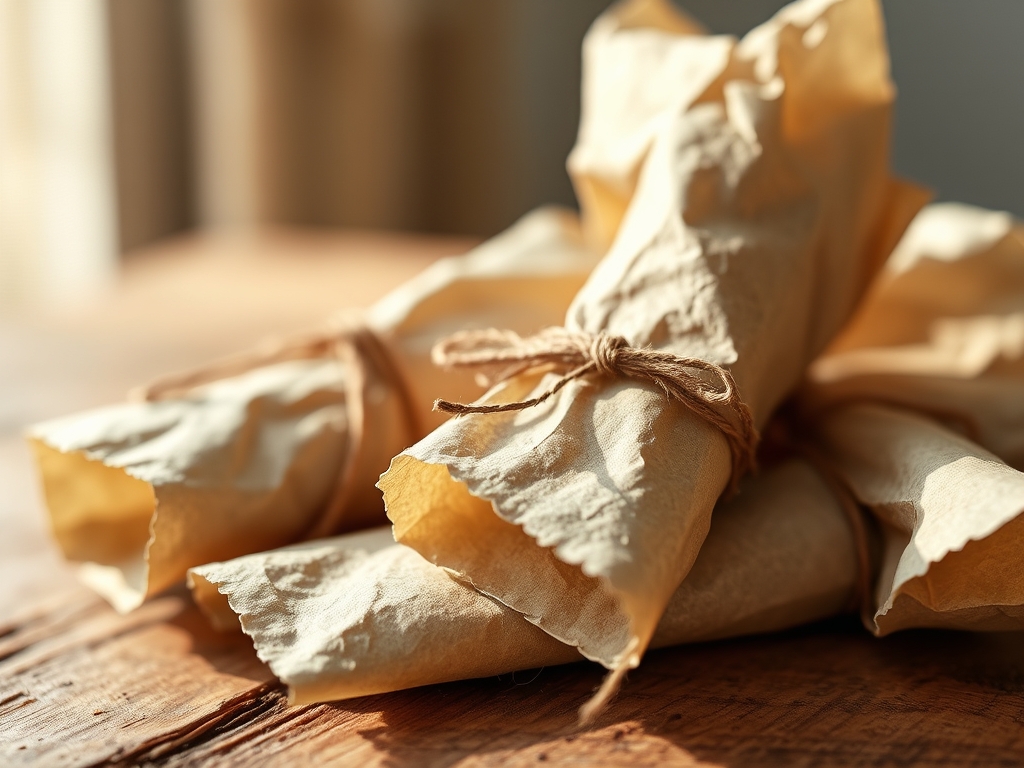
Imagine the sharp, rhythmic snap of a heavy linen sheet as it settles over a worktable. There is a specific, grounding weight to high-quality pulp that you just do not get from the flimsy, mass-produced rolls at the grocery store. When you handle Handmade Paper Wraps, you are engaging with a medium that possesses its own structural memory and tactile soul. The surface is beautifully irregular; it is a landscape of interlocking cellulose fibers that catch the light at different angles. You can feel the tooth of the paper against your fingertips, a grit that signals durability and artisanal intent. This is not just about covering a box. This is about the physics of presentation. We are looking for that perfect balance between tensile strength and foldability. If the paper is too thick, it cracks at the seams; if it is too thin, the botanical dyes bleed right through the grain. We are aiming for a sensory masterpiece that feels as intentional as the gift hidden inside.
THE STUDIO KIT
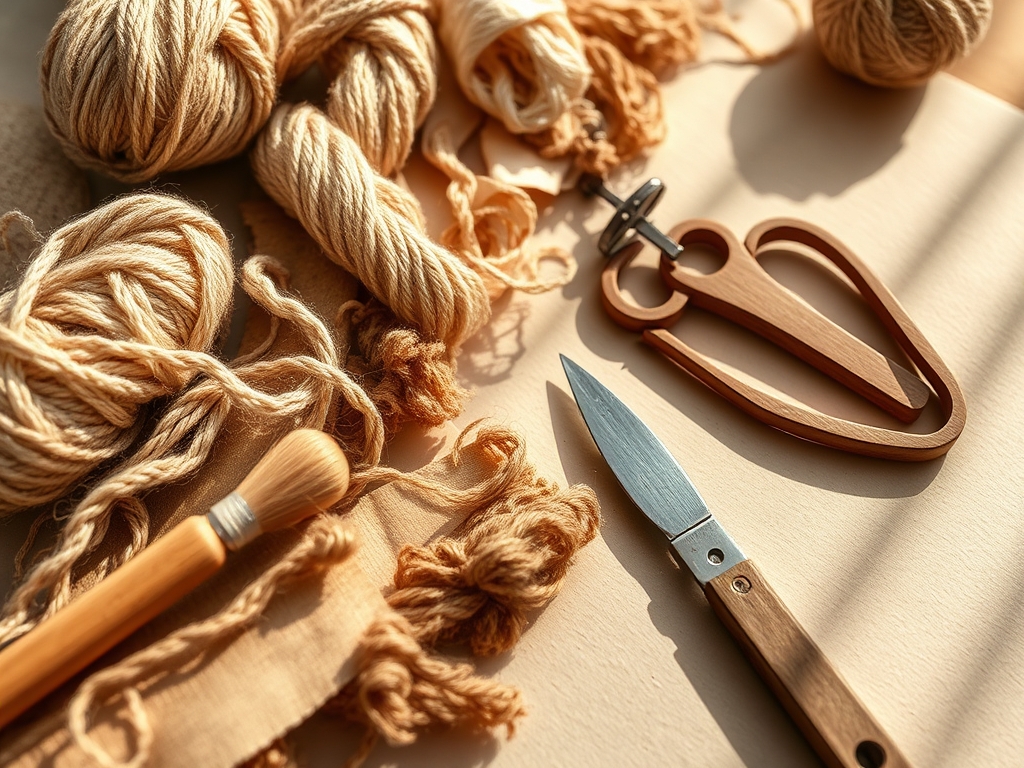
To master this craft, you need more than just "supplies." You need a curated kit that respects the material physics of organic fibers. Start with a teflon bone folder; unlike plastic versions, teflon will not leave a shiny burnish mark on your matte paper surfaces. You will need a high-precision rotary cutter with a 45mm tungsten steel blade to ensure clean edges without fraying the delicate deckle. For the botanical elements, a heavy-duty flower press or a set of flat-plate calipers will help you measure the thickness of your dried specimens to ensure they do not puncture the wrap.
Material Substitutions: If you cannot source raw abaca or hemp paper, look for high-grammage recycled cotton rag. In a pinch, heavy watercolor paper (140lb cold press) can be used, though you must pre-score the fold lines to prevent the lignins from snapping. Instead of professional pH-neutral adhesive, a high-tack rice starch paste offers a traditional, archival bond that remains flexible after drying.
THE TEMPO
The "Maker's Rhythm" is a three-act play that requires patience. First is the Hydration Phase (30 minutes), where you prep your botanical elements and ensure your paper has reached the ambient humidity of your studio. This prevents the paper from warping once the ink or adhesive is applied. Second is the Application Phase (60 to 90 minutes), which is the heart of the process. This is where you find your flow, balancing the composition of the nine botanical prints. Finally, the Setting Phase (4) hours to overnight) is non-negotiable. Because handmade paper is highly porous, it absorbs moisture deeply. You must allow the hydrogen bonds to reform as the paper dries under light pressure to ensure it remains perfectly flat and crisp for wrapping.
THE CORE METHOD
1. Specimen Calibration and Layout
Before a single drop of ink touches the surface, you must map your grid. Use a stainless steel T-square to divide your paper into nine equal quadrants. This ensures that when the gift is wrapped, the botanical prints align with the geometric planes of the box.
Mastery Tip: Understand capillary action. Handmade paper acts like a sponge. If you place your prints too close together, the moisture from the botanical dyes will travel through the fiber network and cause "ghosting" or blurred edges. Keep a 2-inch buffer between specimens to maintain crisp visual boundaries.
2. Pigment Transfer and Compression
Place your botanical specimen (like a dried fern or eucalyptus leaf) face down on the paper. Use a hard rubber brayer to apply even, downward pressure. You are essentially performing a localized debossing. The goal is to force the natural pigments into the porous craters of the paper grain.
Mastery Tip: This step relies on surface tension. By applying a microscopic amount of distilled water to the leaf before pressing, you break the surface tension of the paper fibers, allowing the organic tannins to penetrate deeper into the cellulose structure for a permanent, fade-resistant print.
3. Structural Scoring and Folding
Once the prints are dry, identify your fold lines. Never fold handmade paper "blind." Use your bone folder and a straight edge to create a precise indentation. This compresses the fibers in a controlled line, creating a hinge that prevents the outer "ply" of the paper from tearing.
Mastery Tip: Observe the grain direction. Like wood, handmade paper has a grain. Folding "with" the grain is easy, but folding "against" it requires a deeper score. Check the resistance of the paper; if it resists, increase your scoring pressure to maintain structural integrity.
THE TECHNICAL LEDGER
Maintenance & Longevity: To keep your wraps pristine, store them in a light-tight, acid-free portfolio. UV exposure is the enemy of botanical pigments; it breaks down the molecular bonds of natural dyes, causing them to yellow or fade.
Material Variations:
- Sustainable: Seed paper (which can be planted after use).
- Recycled: Post-consumer denim or linen rag.
- Premium: Mulberry silk-infused paper for a high-luster, high-tensile finish.
The Correction:
- The Bleed: If ink spreads too far, use a kneaded eraser to lift excess pigment before it sets.
- The Crack: If a fold snaps, apply a tiny amount of methyl cellulose to the tear with a fine-tip brush to re-bind the fibers.
- The Warp: If the paper curls, place it between two sheets of blotting paper and weight it down with a heavy stone or professional book press for 24 hours.
Studio Organization: Store your paper flat. Vertical storage leads to "slumping," where gravity causes the paper to develop a permanent curve. Use archival glassine sheets between each wrap to prevent "offsetting," where the print from one sheet transfers to the back of another.
THE FINAL REVEAL
There is nothing quite like the moment you finish the ninth print and step back to see the collective impact. The result is a sophisticated, tactile experience that bridges the gap between nature and engineering. These Handmade Paper Wraps are more than just packaging; they are a testament to your technical skill and your eye for botanical detail. When you hand this gift over, the recipient will feel the weight, the texture, and the sheer "madeness" of the object. It is a high-energy, high-impact way to show that the exterior of the gift is just as valuable as what is inside.
STUDIO QUESTIONS
How do I prevent the paper from tearing at the corners?
Always use a bone folder to pre-score your lines. This compresses the internal cellulose fibers, creating a flexible hinge that distributes the stress of the fold across a wider surface area, preventing the outer grain from snapping.
Which botanicals work best for natural printing?
High-tannin plants like eucalyptus, maple leaves, and ferns are ideal. Their chemical composition allows for a permanent molecular bond with the paper fibers, ensuring the "print" does not flake off or fade over time.
Can I use regular printer paper for this?
No, standard 20lb bond paper lacks the interlocking fiber density required for botanical pressing. It will likely saturate and disintegrate. Handmade paper offers the necessary "tooth" and thickness to hold the pigment and the physical impression.
How do I secure the wrap without ugly plastic tape?
Use a wax seal or a high-quality hemp twine. These methods respect the material's aesthetic and provide a mechanical hold that does not damage the delicate surface fibers of the handmade paper during the unwrapping process.
Is it possible to print on both sides?
It is possible, but you must account for opacity. Handmade paper is often translucent. Check the paper's "grammage" (GSM); a higher GSM (over 200) is required to prevent the botanical prints from showing through to the opposite side.

