Close your eyes and listen to the scritch of a pointed nib meeting the tooth of premium cotton paper. It is a sound that signals the start of your Daily Calligraphy Drills; a ritual that is as much about muscle memory as it is about artistic expression. You can feel the vibration travel from the metal tip, through the oblique holder, and straight into your palm. This is where the physics of friction meets the grace of the curve. We are not just doodling here. We are training your nervous system to handle the delicate balance of pressure and release. When you sit down with your five alphabet sheets, you are engaging in a high stakes game of fluid dynamics. The ink must flow at exactly the right rate to avoid a blob, yet remain thick enough to hold its shape against the pull of gravity. It is visceral, it is messy, and it is absolutely addictive. We are going to master the structural integrity of every letterform together.
THE STUDIO KIT
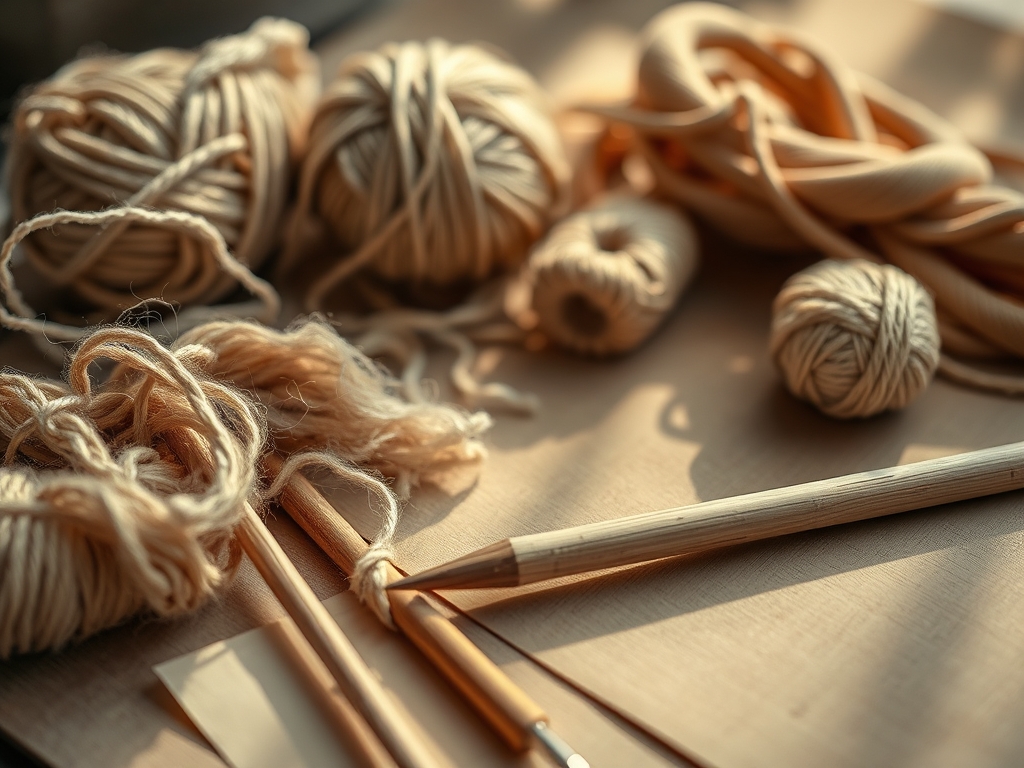
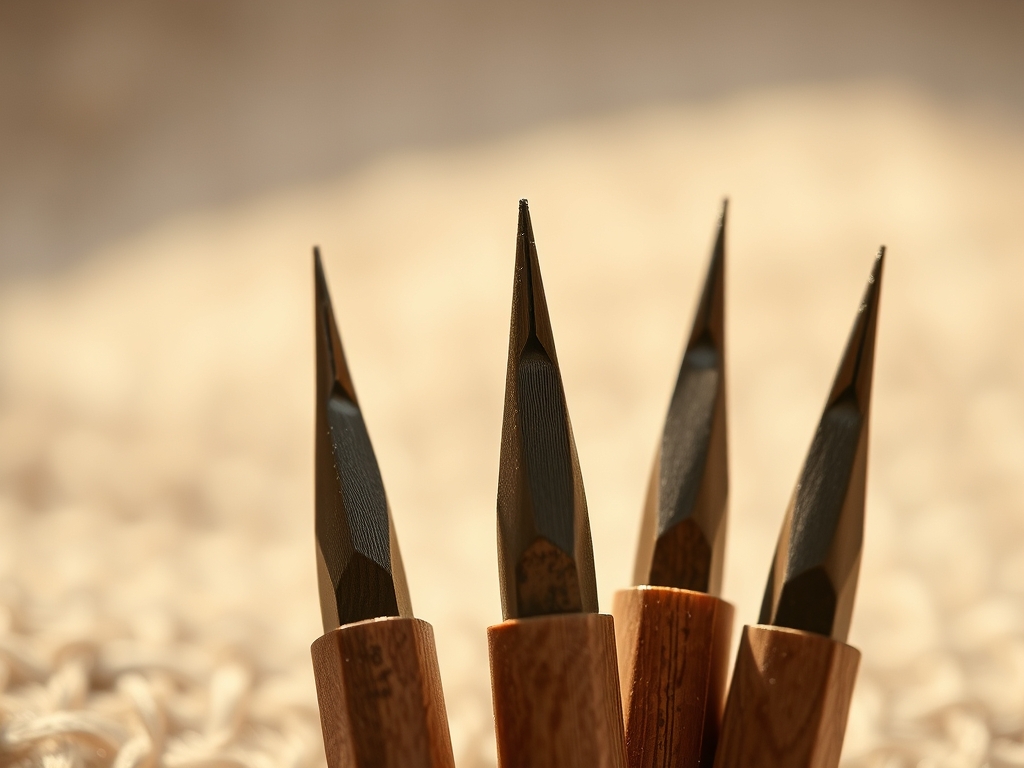
To execute these drills with professional precision, your toolkit must be curated for specific tactile responses. You need a straight or oblique nib holder with an ergonomic grip to prevent carpal fatigue during long sessions. The nib itself, perhaps a Leonardt Principal or a Nikko G, must have a high tensile strength to withstand repeated flexing without snapping. For the paper, look for a 100gsm weight with a smooth finish; anything too porous will cause the ink to feather via capillary action. Your ink should be a carbon based sumi or a high quality iron gall, which offers a specific viscosity that clings to the metal without dripping prematurely.
If you cannot find professional calligraphy paper, a high quality 32lb laser jet paper is a functional Material Substitution. It has a specialized coating that mimics the non absorbent qualities of vellum. You might also use a bone folder to crisp your guide sheets or a caliper to measure the exact height of your ascenders and descenders. Having a small jar of distilled water and a lint free cloth is essential for maintaining the clean surface of your metal tools.
THE TEMPO
The "Maker's Rhythm" is a psychological state where your breathing synchronizes with your pen strokes. For these Daily Calligraphy Drills, you should allocate approximately forty minutes. The first ten minutes are the Warm Up Phase, where you focus on basic upstrokes and downstrokes to calibrate your hand's pressure sensitivity. The next twenty minutes are the Core Execution Phase, where you work through the five alphabet sheets with intense focus on spacing and slant.
The final ten minutes are the Review and Cleanse Phase. This is when you analyze your work for consistency in "o" shapes and "l" loops. Calligraphy is a slow craft; the ink needs time to undergo its chemical drying process, and your muscles need time to recover from the isometric tension of holding the pen. Rushing the process leads to jagged lines and inconsistent ink distribution.
THE CORE METHOD
1. The Geometric Foundation
Start by aligning your paper at a thirty five degree angle to your body. Use a T-square to ensure your guidelines are perfectly horizontal. This step is about establishing a baseline that respects the gravity of the ink. If your paper is slanted incorrectly, the ink will pool on one side of the letterform, ruining the symmetry of your drills.
Mastery Tip: The science of surface tension is your best friend here. By wiping your nib with a bit of saliva or Windex before starting, you remove manufacturing oils, allowing the ink to coat the metal evenly rather than beading up.
2. The Pressure Gradient
As you begin your downstrokes, apply gradual pressure to spread the tines of the nib. This creates the thick, dramatic lines characteristic of copperplate or Spencerian scripts. Your Daily Calligraphy Drills depend on your ability to transition from a hair thin upstroke to a wide downstroke without the nib catching on the paper fibers.
Mastery Tip: This involves elastic deformation. The nib is designed to return to its original shape. If you press too hard, you reach the point of plastic deformation, where the metal stays bent and the tool is ruined.
3. The Oval Optimization
Every letter in the alphabet is essentially a collection of ovals and straight lines. Focus on the "o" shape, ensuring the thickest part of the stroke happens exactly at the midpoint of the curve. This maintains the visual balance and structural integrity of the word.
Mastery Tip: Use a light box to trace perfect ellipses during your first few sessions. This builds the neurological pathways required for "proprioception," which is your brain's ability to sense the position of the pen in space without looking.
4. The Consistent Slant
Use a protractor to mark a fifty five degree slant across your practice sheets. Every single letter must lean at this exact angle. Consistency in slant is what separates a beginner from a master. It creates a rhythmic, harmonic appearance that is pleasing to the eye.
Mastery Tip: This is about angular momentum. By keeping your elbow as a pivot point rather than your wrist, you create smoother, more consistent angles over long distances on the page.
5. The Final Flourish
Once the basic alphabet is complete, practice your exit strokes. These should taper off into nothingness, requiring a sudden but controlled release of pressure. This is the ultimate test of your fine motor control.
Mastery Tip: The viscosity of your ink changes as it sits in the nib. If the ink has thickened due to evaporation, your flourishes will look chunky. Add a single drop of water to your inkwell to maintain the ideal flow rate.
THE TECHNICAL LEDGER
Maintenance & Longevity: Always dry your nibs immediately after use to prevent oxidation and rust. Store them in a container with silica gel packets to wick away any ambient moisture.
Material Variations: For a sustainable twist, try using handmade hemp paper. It has a high fiber density that provides a unique resistance, though it requires a thicker ink like gouache to prevent bleeding. Premium options include calfskin vellum, which offers an archival surface that will last for centuries.
The Correction:
- Railroading: This happens when the ink breaks between the tines. Fix it by slowing down your stroke or thinning your ink.
- Ink Blobs: Usually caused by a dirty nib or too much pressure. Fix it by cleaning the nib with an oscillating tool brush or a simple wipe.
- Scratching: If the nib digs into the paper, your angle is too steep. Adjust your grip to a lower gauge of elevation.
Studio Organization: Store your completed Daily Calligraphy Drills in a flat file or a dry-mount portfolio. Never roll them; this creates mechanical stress on the dried ink, which can lead to cracking and flaking over time.
THE FINAL REVEAL
Look at that page! The way the light hits the raised ink creates a three dimensional effect that no digital font can ever replicate. You have successfully navigated the physics of fluid flow and the mechanics of metal tension. Your hand might feel a bit heavy, but that is the sensation of progress. These five sheets are not just practice; they are a testament to your discipline and your eye for detail. The rhythm you have established today will carry over into every other project in your studio. You are now a master of the micro-movement!
STUDIO QUESTIONS
How often should I change my calligraphy nib?
Change your nib when the tines no longer snap back together or if you notice a scratchy drag on the paper. For most, this happens after twenty to thirty hours of active Daily Calligraphy Drills.
Why is my ink bleeding into the paper?
Bleeding occurs when the paper is too porous or the ink is too thin. Switch to a higher GSM paper or add a small amount of gum arabic to your ink to increase its viscosity.
Can I use regular fountain pen ink for drills?
Fountain pen ink is generally too thin for dip pens and will result in "dumping" all the ink at once. Stick to pigmented inks designed for dip pens to ensure the best structural integrity.
What is the best way to clean a crusty nib?
Soak the nib in a specialized pen cleaner or a mix of water and ammonia. Use a soft toothbrush to gently scrub away the residue, then dry it immediately to prevent oxidation.