Running your fingers over the raw, unfinished grain of a fresh piece of walnut or feeling the cool, dense weight of a brass sheet is where the magic starts. You have spent hours obsessing over the tensile strength of your joints and the precise gauge of your wire; now it is time to make the digital world feel that same texture. Masterful Daily Photography for Makers is not about having a cinema camera; it is about manipulating photons to highlight the porous surfaces and ergonomic curves that make your work unique. We are diving into the physics of light to ensure your craftsmanship translates through the screen.
THE STUDIO KIT
To capture the true tactile quality of your work, you need a kit that respects the science of reflection. Your primary tool is a "Key Light" with a high Color Rendering Index (CRI) to ensure the pigment density of your materials looks accurate. You will also need a set of white and black foam core boards to act as reflectors and flags. Use a caliper to measure the distance between your light source and the object; even a few inches change the inverse square law impact on your shadows.
Material Substitutions: If you lack a professional softbox, a translucent white shower curtain works wonders to diffuse harsh rays. Instead of a tripod, a bag of rice can provide a stable, ergonomic base for your camera to prevent shutter shake during long exposures.
THE TEMPO
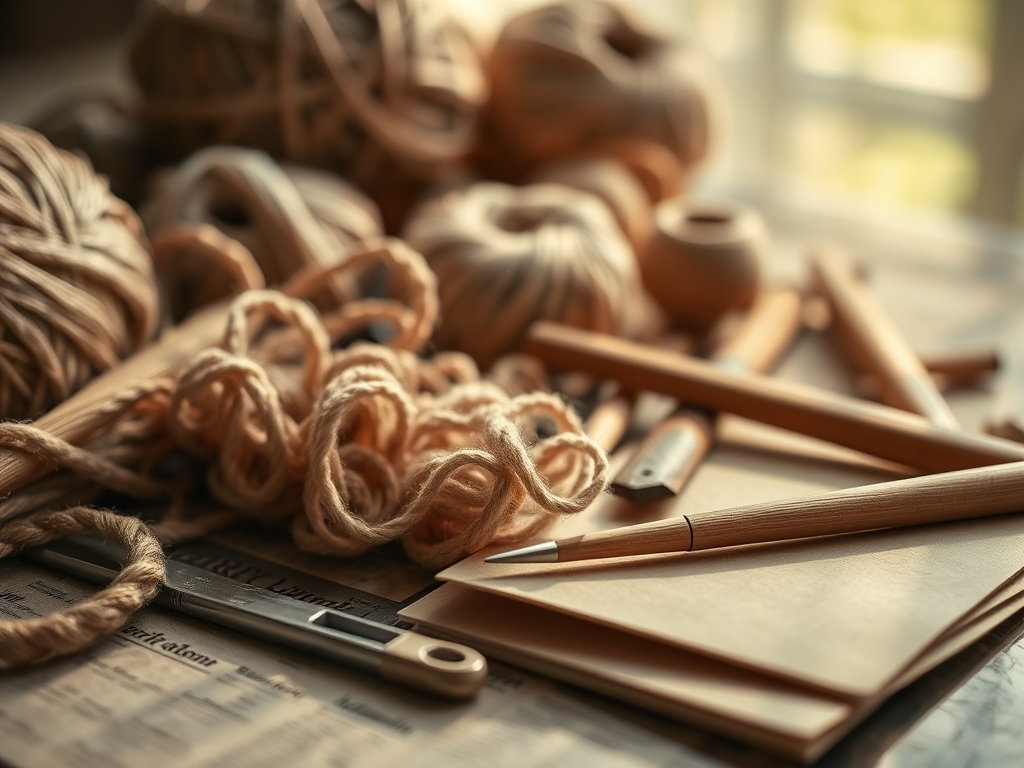
The "Maker's Rhythm" in photography is divided into three distinct phases. First is the Calibration Phase (15 minutes), where you neutralize ambient light and set your white balance. Next is the Composition Phase (30 minutes), where you experiment with the structural integrity of your frame and the placement of "hero" tools like an awl or a bone folder to add context. Finally, the Capture Phase (20 minutes) involves micro-adjustments to the light angles to eliminate unwanted glare on polished surfaces.
THE CORE METHOD
1. Harness the North Light
Position your workbench near a north facing window to achieve a consistent, cool glow. North light is naturally diffused by the atmosphere, which prevents the harsh "specular highlights" that blow out the detail on burnished leather or polished stone.
Mastery Tip: This works because of atmospheric scattering; the light is bounced so many times before hitting your object that it wraps around the ply of your material, filling in micro-gaps and reducing heavy shadows.
2. The Bounce Back Strategy
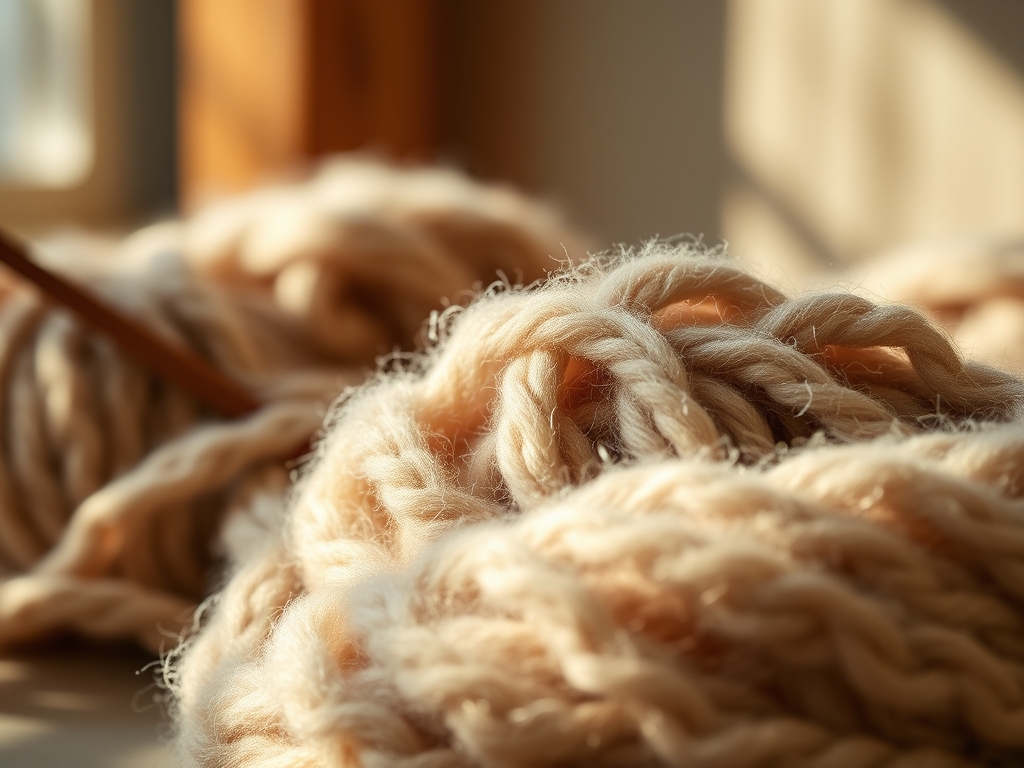
Place a white foam board opposite your main light source to "fill" the shadows. This is essential when shooting deep textures like hand-carved wood or thick knitwear where the relief of the pattern might otherwise be lost in darkness.
Mastery Tip: This utilizes diffuse reflection. By returning light to the shadowed side, you reveal the volumetric mass of the object without needing a second expensive lamp.
3. Negative Fill for Drama
Sometimes, you want more shadow to emphasize a sharp edge or a tapered silhouette. Use a black board to "suck" light away from one side of your piece. This is particularly effective for light colored ceramics or pale woods.
Mastery Tip: This technique controls light spill. By preventing stray photons from bouncing back onto the object, you increase the visual contrast and highlight the linear precision of your craftsmanship.
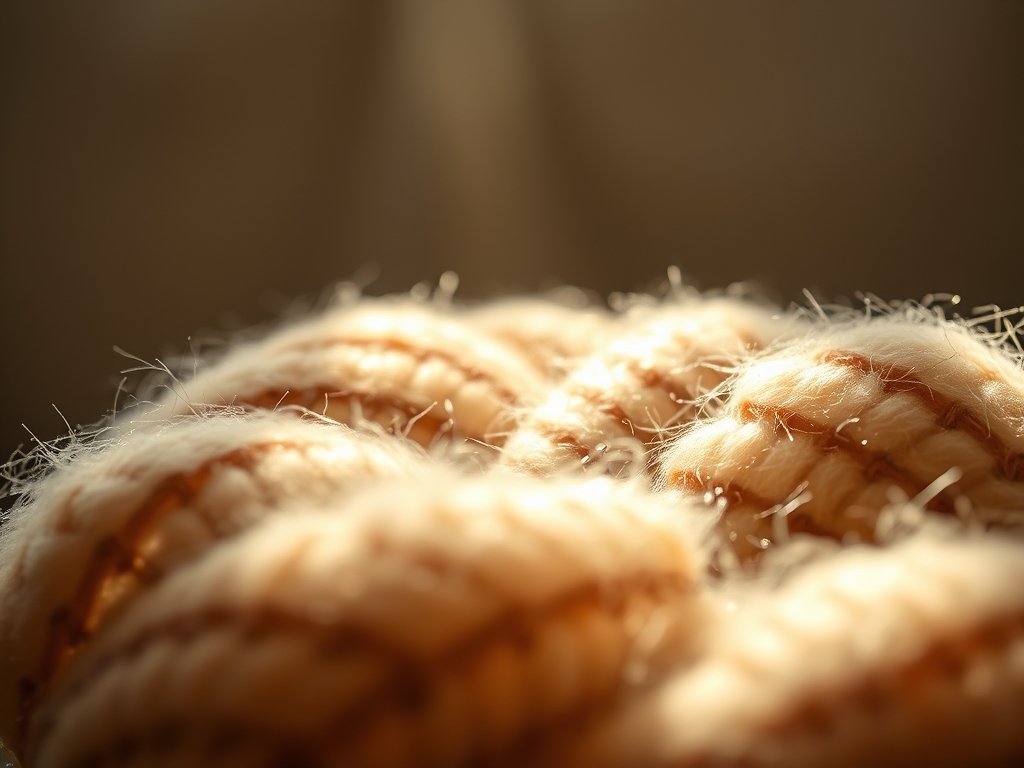
4. Diffuse for Detail
If you are using an LED panel, never point it directly at your work. Drape a thin silk or "diffusion paper" over the light. This softens the transition between light and dark, which is crucial for showing the grain direction in hardwoods.
Mastery Tip: Softening the light source increases its "effective size." A larger light source creates a "penumbra" or soft shadow edge, which mimics how our eyes naturally perceive three dimensional forms.
5. The Rim Light Reveal
Place a small light behind your object, angled back toward the camera but hidden by the piece. This creates a "halo" effect that separates the object from the background, making the outer perimeter pop.
Mastery Tip: This leverages refraction and edge lighting. It defines the silhouette integrity of the piece, ensuring that dark materials do not disappear into dark backgrounds.
6. Managing Specular Highlights
When photographing metal or glass, use a polarizing filter on your lens. This allows you to rotate the filter to "dial out" the glare that obscures the surface tension or the fine etchings made by a jeweler's saw.
Mastery Tip: Polarizing filters block specific wave orientations of light. By filtering out the chaotic bounces from shiny surfaces, you can see "through" the glare to the actual color and texture beneath.
7. Macro Focus on Process
Use a macro lens or a close up attachment to shoot the "evidence of the hand." Capture the tiny shavings left by a rotary cutter or the precise teeth of a stitch marker.
Mastery Tip: A shallow depth of field (low f-stop) creates "bokeh," which isolates the technical detail. This directs the viewer's eye to the structural density of the focal point while blurring distractions.
8. Color Temperature Calibration
Always use a "Grey Card" to set your custom white balance. Different lights (LED, Halogen, Sun) have different Kelvin ratings that can turn your beautiful premium oak into a sickly orange or a cold blue.
Mastery Tip: Proper calibration ensures that the chromaticity of your materials is true to life. This is vital for "social selling" where the customer expects the physical product to match the digital image.
THE TECHNICAL LEDGER
Maintenance & Longevity: Keep your reflectors clean; dust on a black "flag" can cause unwanted light flaring. Store your lights in a cool, dry place to prevent the degradation of the internal capacitors.
Material Variations:
- Sustainable: Use recycled cardboard painted with matte "Muslin" paint for custom backdrops.
- Premium: Invest in "Museum Glass" or non-reflective acrylic sheets for flat-lay photography to eliminate ceiling reflections.
The Correction:
- The Mistake: Yellowish tint in photos. The Fix: Adjust White Balance to "Tungsten" or use a grey card.
- The Mistake: Blurry textures. The Fix: Increase your shutter speed or use a tripod to stabilize the focal plane.
- The Mistake: Flat, boring images. The Fix: Move the light to a 45 degree angle to create dimensional shadows.
Studio Organization: Store your backdrops vertically in a "blueprint rack" to prevent creasing. Keep your delicate tools like calipers and jeweler's saws in felt lined drawers to maintain their calibration and finish.
THE FINAL REVEAL
Once you master these eight tips, your Daily Photography for Makers will transform from simple snapshots into a visceral gallery of your hard work. You are not just taking a photo; you are translating the tensile strength, the burnished edges, and the tactile soul of your creation into a visual language. Your followers will not just see your work; they will feel the weight of the wood and the sharpness of the steel through their screens.
STUDIO QUESTIONS
Why is my wood grain looking flat?
The light is likely too "flat" or hitting the piece from the front. Move your light source to the side (90 degrees) to cast tiny shadows inside the porous grain, which emphasizes the tactile depth of the timber.
How do I stop my metal tools from glowing?
High specular reflectivity causes "hot spots." Use a "diffusion tent" or bounce your light off a white ceiling rather than pointing it at the metal. This creates a larger, softer light source that minimizes harsh glares.
What is the best background for makers?
Choose a background with a "matte" finish to avoid competing with your subject. Materials with a neutral chroma, like slate or raw linen, provide a professional contrast without distracting from the structural integrity of your handmade piece.
Do I need a professional camera for this?
No; most modern smartphones have excellent sensors. The key is controlling the physics of light. By using reflectors and proper positioning, you can capture the pigment density and fine details of your work regardless of the device.