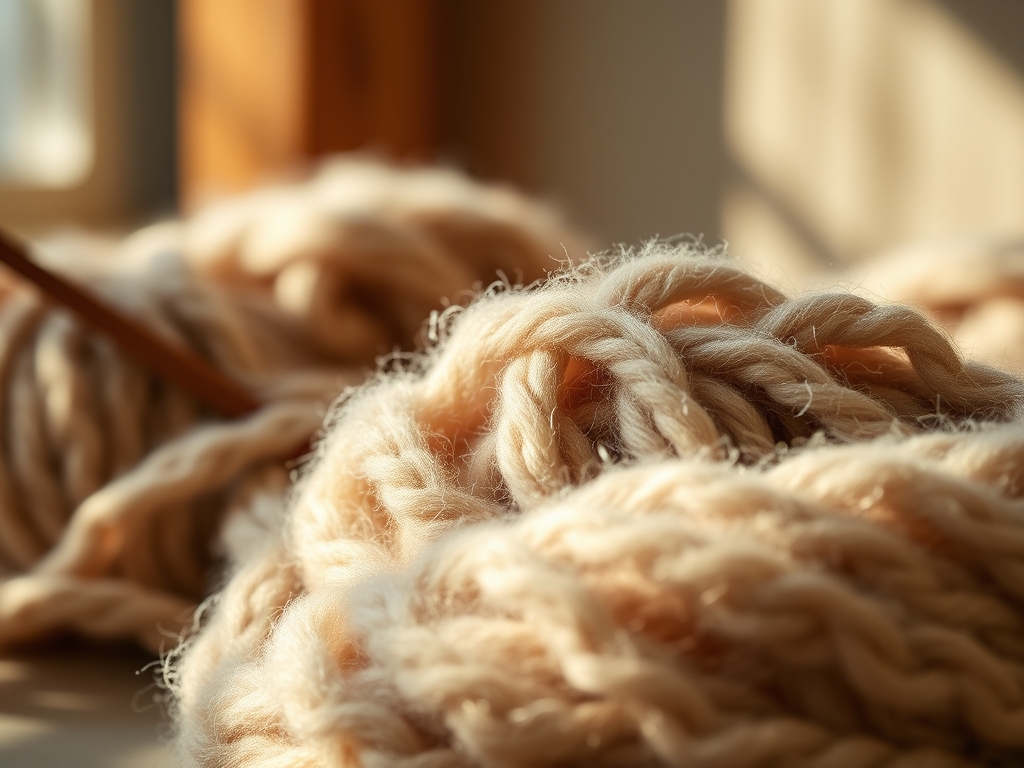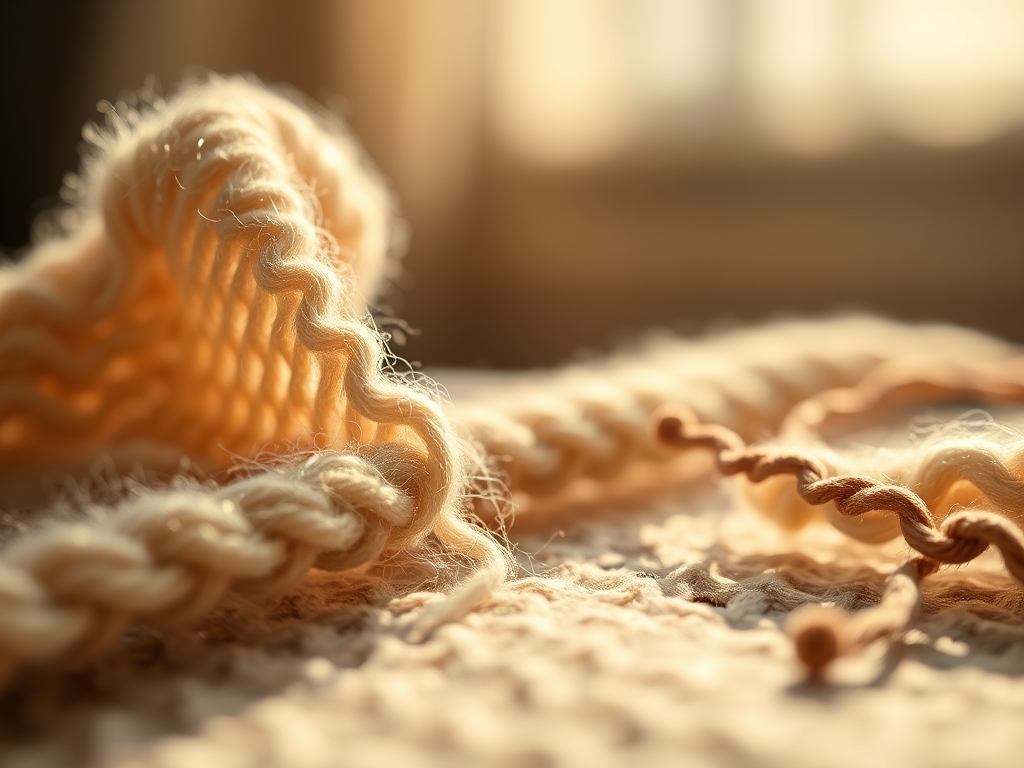
The smell of cold steel and pressed cotton is better than a morning espresso; it is the scent of potential. When you slide your fingers across a bolt of high-density poplin, you are not just feeling fabric; you are reading the tensile strength and the interlacing pattern of the warp and weft. To truly master the craft, you need a Daily Sewing Practice that treats your studio like a laboratory. It is about more than just making a garment; it is about understanding how the molecular structure of fibers reacts to heat, tension, and the sharp bite of a needle. We are diving into the physics of the stitch today. If you want to stop fighting your machine and start commanding it, you have to treat every session as a high-stakes experiment in structural integrity. By committing to a consistent routine, you train your hands to detect minute variations in fabric weight and your ears to hear the exact moment a bobbin loses its rhythmic balance.
THE STUDIO KIT
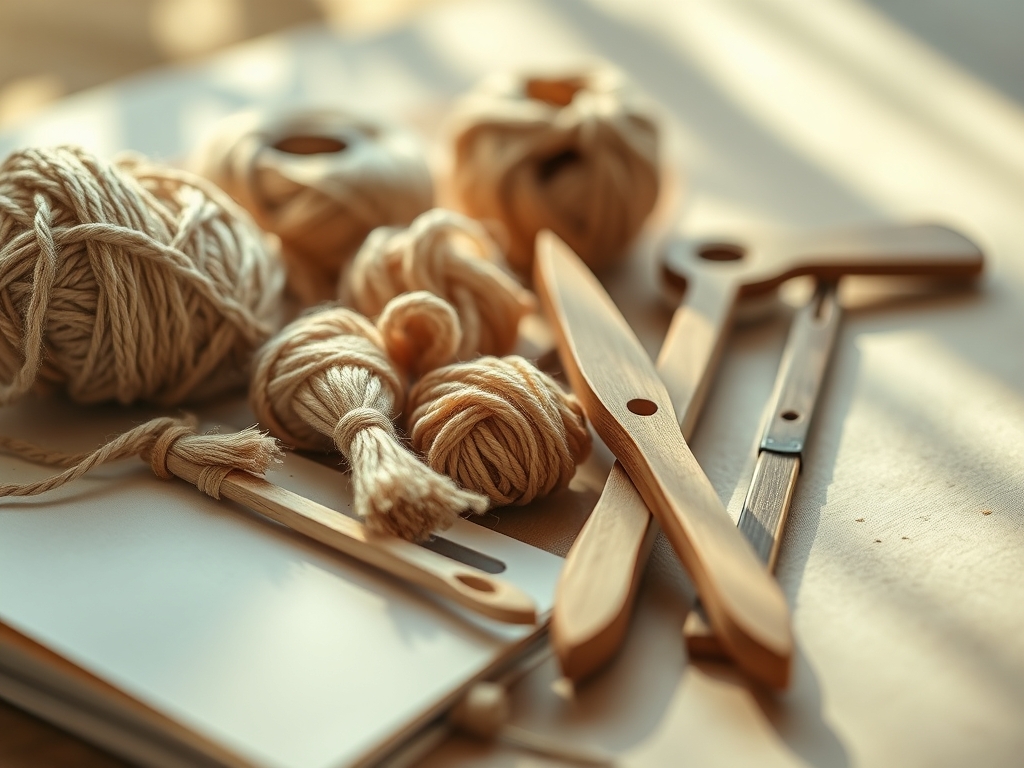
Your toolkit is an extension of your nervous system. To elevate your Daily Sewing Practice, you need precision instruments that respect the material physics of your textiles. Start with a high-carbon steel rotary cutter; the blade must be sharp enough to sever fibers without dragging, which prevents grainline distortion. You will also need a set of calipers to measure the exact thickness of your seams, especially when working with multi-ply denim or heavy canvas. For marking, skip the chalk and use a fine-point stylus or a silver marking pen that wont bleed into the porous fibers of your weave.
Material Substitutions are your secret weapon for skill building. If you cannot find high-end silk organza for stabilizing, try a lightweight nylon monofilament mesh. It offers similar sheer rigidity but handles heat differently. When leather is too pricey for practice, a heavy-duty kraft-tex paper fabric mimics the fibrous density of hide, allowing you to practice your topstitching without the ethical or financial overhead. Always keep a bone folder nearby to burnish your seams; the mechanical pressure flattens the fibers more effectively than steam alone.
THE TEMPO
The "Maker's Rhythm" is a biological synchronization between your breath and the oscillating speed of your sewing machine motor. A standard session in your Daily Sewing Practice should be divided into three distinct phases. First is the Calibration Phase (10 minutes), where you test your stitch length on scrap material to ensure the thread tension matches the specific micrometer thickness of your project.
Next is the Flow State (40 minutes). This is the core of your work where you focus on ergonomic alignment; your shoulders must remain neutral to prevent fatigue as you guide the fabric. Finally, the Analysis Phase (10 minutes) involves inspecting your work under a high-intensity lamp to check for puckering or skipped stitches. Respecting this tempo ensures that you are not just rushing toward a finished product, but actually refining the neural pathways required for expert precision.
THE CORE METHOD
1. Master the Grainline Alignment
Before you even touch a pedal, you must align the longitudinal threads of your fabric. Use a T-square to ensure your crossgrain is perfectly perpendicular to the selvage. This prevents the finished piece from twisting due to internal torque.
Mastery Tip: Fabric has a memory; if you cut it off-grain, the structural integrity will fail after the first wash as the fibers attempt to return to their natural orientation.
2. Calibrate Needle Gauge to Fiber Density
Choosing a needle is a chemical decision. A ballpoint needle pushes aside the loops of a knit, while a microtex needle shears through the dense weave of a silk.
Mastery Tip: Using a needle that is too large creates permanent perforations that weaken the fabric via capillary action, allowing moisture and oils to degrade the seam over time.
3. Implement the Directional Stitching Rule
Always sew from the widest part of a garment to the narrowest. This manages the displacement of mass and prevents the fabric from stretching unevenly.
Mastery Tip: This technique counters the frictional drag of the presser foot, ensuring that the two layers of fabric arrive at the end of the seam at the exact same time.
4. Controlled Steam and Pressing
Pressing is not ironing. You must apply vertical pressure to thermoplastically set the stitches into the fabric.
Mastery Tip: The heat breaks the hydrogen bonds in the fibers, allowing them to reform around the thread, which effectively "locks" the seam into a permanent shape.
5. Tension Tuning and Backtacking
Your Daily Sewing Practice must include a "tension check" every time you change your thread brand. Different manufacturers use different lubricants and twist counts.
Mastery Tip: A perfect stitch occurs when the lockstitch knot is buried exactly in the center of the fabric layers, maintaining an even distribution of mechanical stress.
THE TECHNICAL LEDGER
Maintenance & Longevity: Your machine is a precision engine. Use a small awl or a fine brush to remove lint buildup from the feed dogs every four hours of active sewing. Lint absorbs the machine's internal lubricants, leading to frictional heat that can warp delicate timing gears.
Material Variations:
- Sustainable: Tencel or Lyocell fibers offer high wet strength but require lower ironing temperatures to prevent fiber collapse.
- Premium: Long-staple Egyptian cotton provides superior lustrous durability and resists pilling due to the length of the individual fibers.
The Correction:
- Birdnesting: Usually caused by incorrect threading of the take-up lever. Re-thread with the presser foot up to ensure the thread seats in the tension discs.
- Seam Puckering: Often a result of high thread tension on lightweight fabrics. Switch to a thinner thread with a lower denier.
- Skipped Stitches: This indicates a blunt needle or a mismatch between needle scarf and hook timing. Replace the needle immediately.
Studio Organization: Store your current projects in acid-free containers. Exposure to UV light and atmospheric pollutants can cause photodegradation of the dyes and weaken the molecular bonds of the fibers before the garment is even finished.
THE FINAL REVEAL
There is nothing quite like the moment you hold a finished piece and realize the drape is exactly what you envisioned. When you commit to a Daily Sewing Practice, your work transforms from a hobby into a feat of engineering. You can see the precision in the topstitching, feel the stability in the interfaced collars, and hear the quality in the way the fabric moves. You aren't just a maker; you are a master of textile physics, and your studio is where science meets style.
STUDIO QUESTIONS
How do I stop my fabric from fraying during practice?
Apply a thin layer of textile sealant or use a serger to overcast the edges. This binds the loose cross-sections of the yarn, preventing the weave from unraveling under mechanical stress during handling.
Why does my thread keep snapping?
Check for burrs on your needle or throat plate. Even a microscopic nick in the metal can create enough friction to shred the thread fibers, especially if you are using a low-quality polyester ply.
What is the best way to practice straight lines?
Use washi tape on your needle plate as a physical guide. This creates a consistent visual focal point, allowing your brain to calibrate the distance between the needle and the fabric edge with millimeter precision.
How often should I change my sewing needle?
Every 8 hours of active sewing. The point of the needle undergoes micro-dulling with every penetration of the fabric, which eventually leads to fiber damage and poor stitch quality as the metal loses its edge.