Close your eyes and imagine the gritty, organic resistance of raw linen under your fingertips or the surprising structural rigidity of a dried corn husk. There is a specific, electric thrill that comes from mastering the physics of the earth to decorate your living space. When we talk about Crafting for Every Season, we are not just talking about aesthetics; we are talking about synchronized biology. We are aligning our creative output with the harvest cycles of the planet. Whether it is the high tensile strength of spring willow or the brittle, crystalline beauty of winter salt dough, each material demands a different technical approach. You have to feel the grain, respect the moisture content, and understand how temperature shifts will affect the longevity of your work. We are diving deep into the tactile soul of the home today. We are going to build things that do not just look good on a shelf but actually vibrate with the intentionality of professional craftsmanship. Grab your coffee and let us get into the grit of the studio.
THE STUDIO KIT
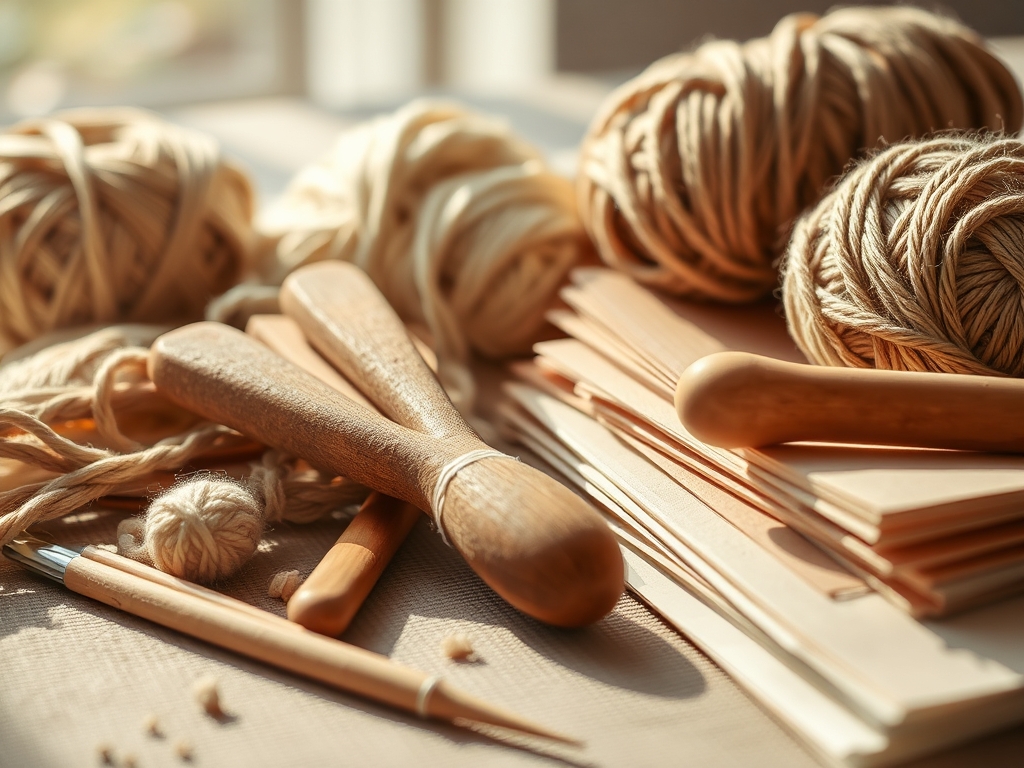
To master these nine materials, your junk drawer simply will not cut it. You need a kit that respects the molecular density of your media. For the woody perennials of spring and autumn, a high carbon steel japanese pull saw is essential for clean, non-frayed cellular edges. When working with textiles like organic wool or heavy canvas, a rotary cutter with a tungsten carbide blade ensures you do not distort the weave. You will also need a bone folder for achieving crisp, mechanical creases in heavy-gauge paper and a set of precision calipers to ensure your structural components are uniform down to the millimeter.
Material Substitutions: If you cannot source high-tannin oak galls for natural dyeing, substitute with black walnut hulls which offer similar chemical astringency. If raw beeswax is unavailable for sealing wood, a food-grade carnauba wax provides a comparable hydrophobic barrier with a higher melting point, ensuring your summer crafts do not lose their finish in the heat.
THE TEMPO
The "Maker's Rhythm" is the heartbeat of the studio. It is the understanding that you cannot rush capillary action or force a polymer to cure faster than physics allows. Crafting for Every Season requires a tiered approach to time management. The Hydration Phase usually takes 12 to 24 hours; this is where you soak fibers to increase their elasticity and prevent snapping. The Construction Phase is the high-energy window, typically lasting 3 to 5 hours, where you use your ergonomic awl and adhesives to build the form. Finally, the Stabilization Phase can take up to a week. This is when the material reaches equilibrium moisture content with your home environment. If you skip the stabilization phase, your wood will warp and your fibers will shrink, ruining the structural integrity of your hard work.
THE CORE METHOD
1. Spring Willow Weaving
Start by grading your willow rods by diameter using your calipers. Soak the rods until the cellulose fibers become pliable enough to wrap around a mandrel without splintering. Begin the weave at the base, using a three-rod wale to create a rigid foundation.
Mastery Tip: This relies on tensile strength. By overlapping the butt ends of the willow, you create a continuous tension loop that holds the structure together without the need for synthetic fasteners.
2. Summer Pressed Florals
Harvest your blooms at peak turgor pressure, usually in the mid-morning after the dew has evaporated. Place them between sheets of unbuffered, acid-free blotting paper. Use a heavy-duty flower press to apply even, perpendicular pressure.
Mastery Tip: The science here is desiccation. Rapidly removing moisture while maintaining cellular structure prevents the oxidation that turns petals brown.
3. Autumn Leaf Skeletonizing
Submerge sturdy maple or oak leaves in a solution of sodium carbonate and water. Simmer gently to break down the lignin and soft tissues, leaving only the vascular network intact. Use a soft-bristled brush to gently remove the pulp.
Mastery Tip: This is a lesson in structural anatomy. The remaining veins are composed of xylem and phloem, which are much more resistant to chemical breakdown than the surrounding leaf matter.
4. Winter Beeswax Tapers
Melt organic beeswax in a double boiler to exactly 160 degrees Fahrenheit. Dip a weighted cotton wick into the wax, allowing a thin layer to cool before repeating. Ensure the wick is centered on the vertical axis to prevent uneven burning.
Mastery Tip: This process utilizes laminar accretion. Each dip adds a microscopic layer of wax that bonds to the previous one through thermal fusion, creating a dense, slow-burning pillar.
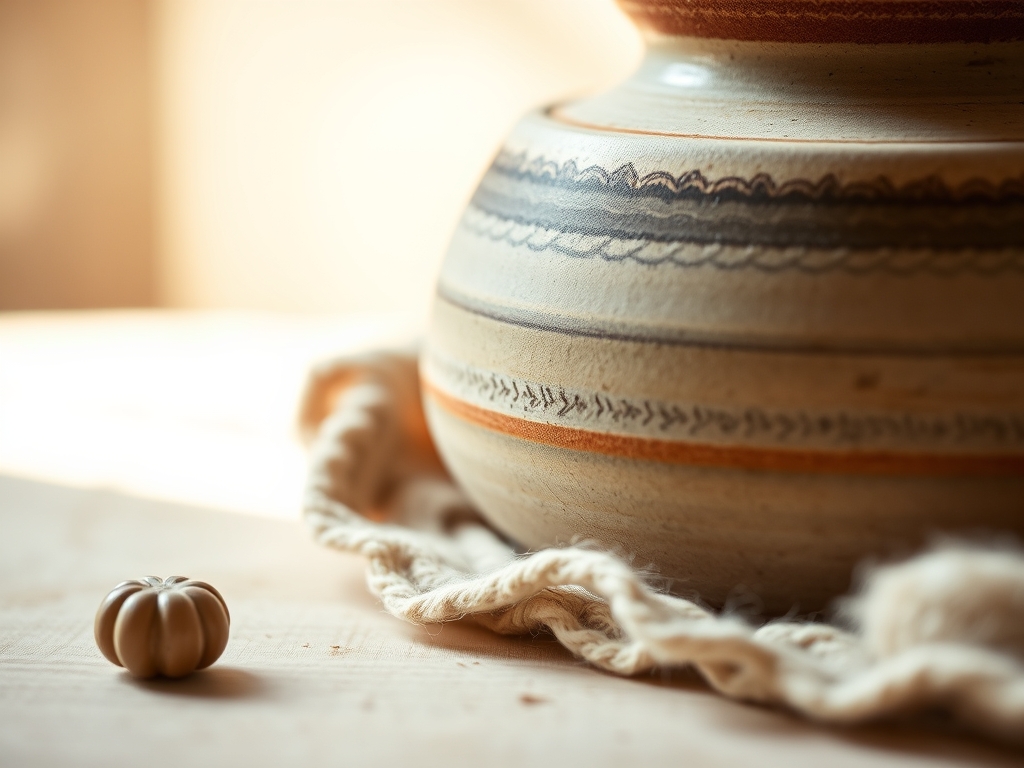
5. Year-Round Clay Sculpting
Work with a high-fire stoneware clay to create functional vessels. Use the "pinch and coil" method, ensuring you score and slip every join to prevent air pockets. Use a wooden rib tool to burnish the surface until it is smooth.
Mastery Tip: Surface tension is your enemy here. If the clay dries too quickly on the outside, the internal moisture will cause the piece to crack as it tries to escape.
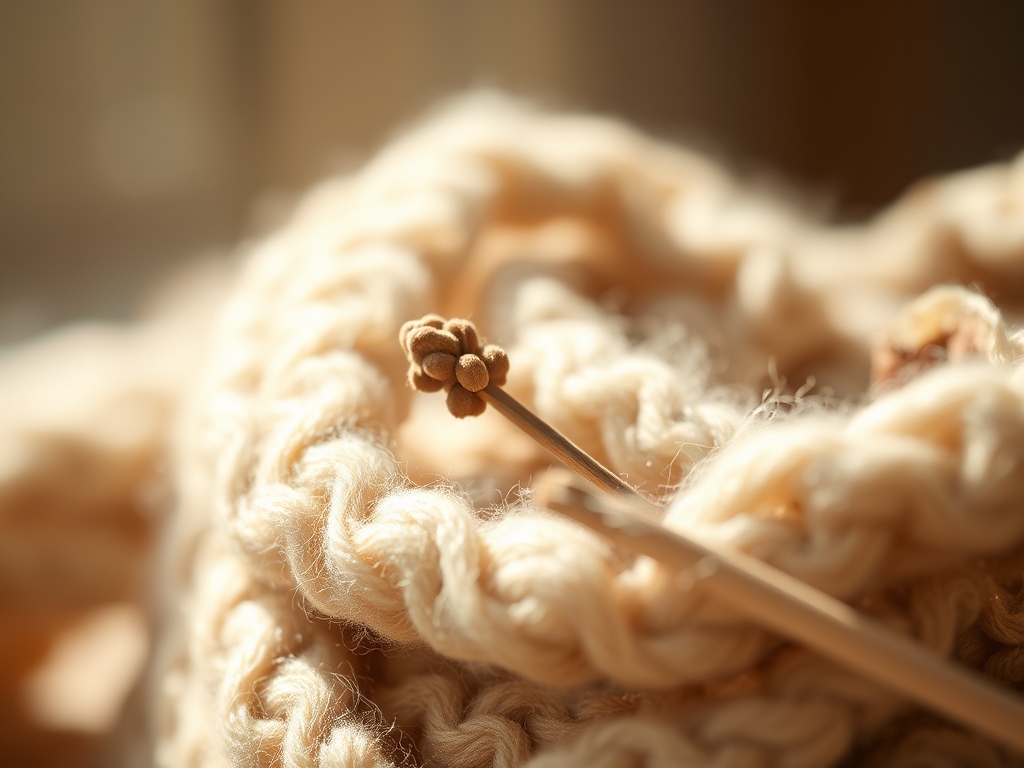
6. Organic Wool Felting
Use barbed felting needles to agitate sheep's wool fibers into a dense mat. The repeated mechanical action causes the microscopic scales on the hair shafts to lock together.
Mastery Tip: This is friction-based cohesion. The more you work the fibers, the higher the density becomes, resulting in a material that is naturally water-repellent and insulating.
7. Reclaimed Wood Joinery
Select seasoned timber with a moisture content below 10 percent. Use a jeweler's saw for intricate decorative inlays or a chisel for classic dovetail joints. Always sand in the direction of the grain to avoid tearing the fibers.
Mastery Tip: Understanding hygroscopic expansion is vital. Wood will always expand across the grain, never along its length, so your joints must allow for this seasonal movement.
8. Natural Stone Inlay
Collect river stones with varying mineral compositions. Use an oscillating tool with a diamond-grit blade to create recesses in a wooden or metal base. Secure the stones using a high-viscosity epoxy resin.
Mastery Tip: Pay attention to the Mohs hardness scale. Combining soft stones like talc with hard stones like quartz can lead to uneven wear during the final polishing stage.
9. Dried Citrus Garlands
Slice citrus fruits into uniform 5mm rounds using a mandoline. Dehydrate them at a low temperature until the pectin sets and the sugars caramelize slightly. String them using a heavy-duty upholstery needle and twine.
Mastery Tip: This involves osmotic dehydration. By removing the water, you concentrate the citric acid, which acts as a natural preservative against mold and decay.
THE TECHNICAL LEDGER
To ensure your seasonal creations last for decades, you must manage their environment. Organic materials are sensitive to UV degradation and fluctuations in relative humidity.
Maintenance & Longevity: Treat wooden items with a monthly application of mineral oil to keep the fibers supple. For textiles, a light misting of distilled water can help "reset" the memory of natural fibers if they become misshapen.
Material Variations:
- Sustainable: Use invasive species like honeysuckle for weaving.
- Recycled: Pulse old cotton rags into a slurry for handmade paper.
- Premium: Incorporate 24k gold leaf using a size adhesive for gilding natural textures.
The Correction:
- The Snap: If willow breaks, it is under-hydrated. Resoak for 4 hours.
- The Bloom: If white powder appears on beeswax, it is "bloom" caused by oils rising to the surface. Wipe with a soft cloth to restore the luster.
- The Warp: If paper curls, it was dried too fast. Re-humidify and dry under a heavy weight.
Studio Organization: Store your seasonal materials in airtight, archival-grade bins. Use silica gel packets to maintain a constant desiccated environment for dried florals and papers to prevent fungal growth.
THE FINAL REVEAL
There is nothing quite like the moment you step back and see your home transformed by your own technical skill. When you master Crafting for Every Season, your decor becomes a living record of the year. The finished pieces feel substantial; they have a weight and a texture that mass-produced items can never replicate. You have successfully navigated the complexities of tensile strength, chemical reactions, and thermal dynamics. Your home is no longer just a space; it is a curated gallery of your scientific and artistic triumphs.
STUDIO QUESTIONS
What is the best way to prevent natural materials from fading?
Keep finished pieces out of direct sunlight to prevent photochemical bleaching. You can also apply a UV-resistant matte spray, which creates a protective barrier over the organic pigments without changing the tactile feel of the material.
How do I know if my wood is dry enough for crafting?
Use a digital moisture meter to check the internal saturation. For indoor projects, a reading between 6 and 8 percent is ideal. This ensures the wood has reached equilibrium and will not shrink or crack after assembly.
Can I mix different types of natural fibers in one project?
Yes, but you must account for different shrinkage rates. Always pre-wash and pre-shrink fibers before combining them. This prevents the tension of one material from distorting the other during humidity shifts in your home.
Why did my pressed flowers turn brown?
This is usually caused by trapped moisture or exposure to oxygen. Ensure you are using highly absorbent paper and applying enough pressure to rupture the cellular walls quickly, which speeds up the drying process and preserves the color.