
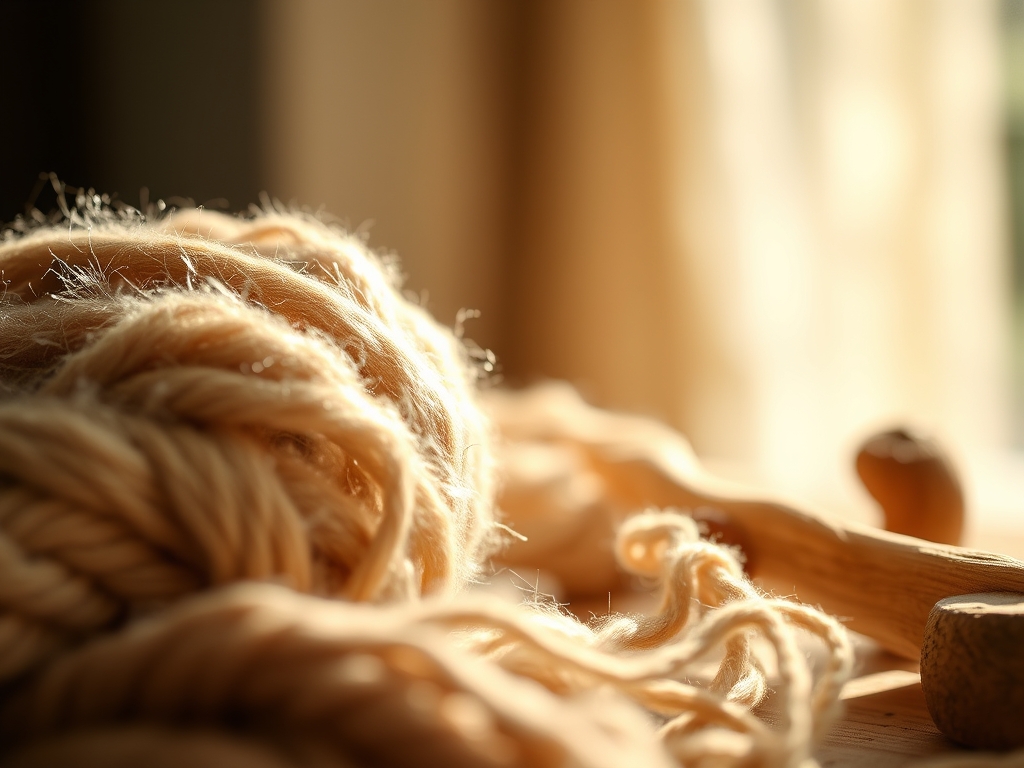
Imagine the sharp, clean scent of cedar shavings hitting the air as your chisel peels back a layer of soft wood. There is a specific kind of magic in the way raw materials respond to your hands when you are Crafting for Home Wellness. It is not just about making something pretty; it is about the physics of the pour, the tensile strength of the wick, and the way porous surfaces hold onto essential oils. When we talk about wellness, we are talking about creating a sensory environment that grounds your nervous system through tactile engagement. Whether you are pressing dried botanicals into warm wax or measuring the specific gravity of a custom room spray, every movement is a calculated step toward a more balanced home. We are diving deep into the science of scent today. We are going to master the art of diffusion and structural integrity. Grab your safety glasses and clear your workbench. We are about to turn your living space into a high performance sanctuary of calm and aromatic precision.
THE STUDIO KIT
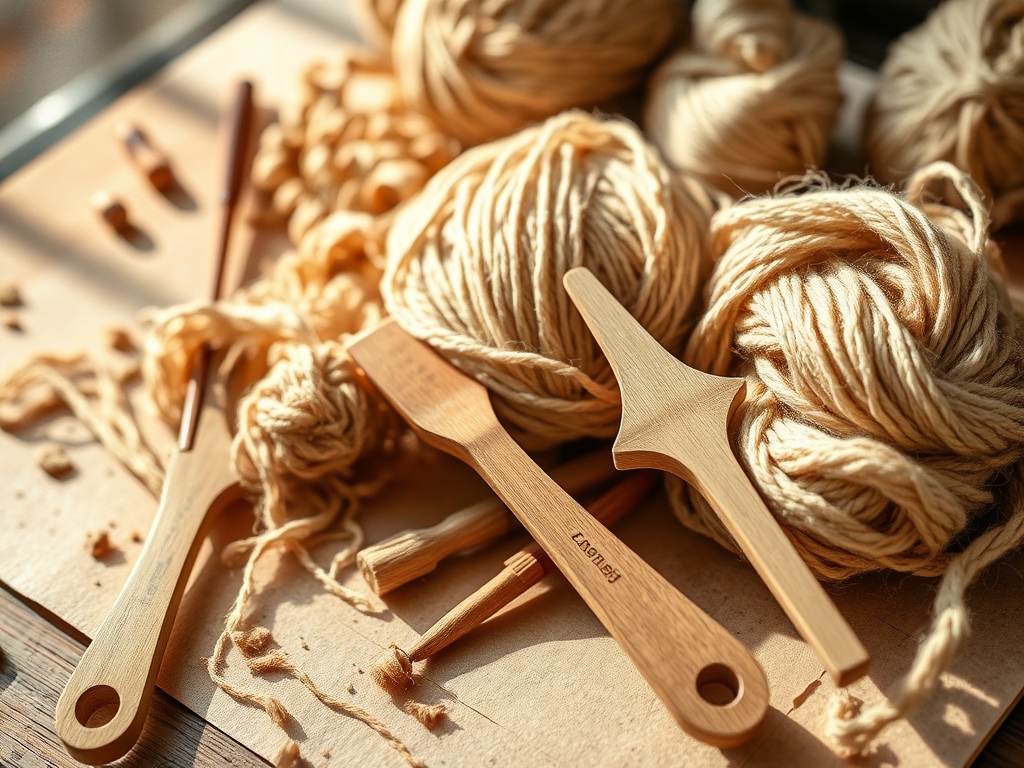
To execute these projects with professional grade results, you need more than just kitchen scraps. You need to understand the molecular density of your carriers. Your kit should include a precision digital scale capable of measuring to 0.1 grams; scent throw is a game of ratios, not guesswork. You will need a stainless steel pouring pitcher for thermal stability and a high quality infrared thermometer to monitor flash points. For the structural elements, keep a sharp rotary cutter, a set of calipers for measuring container thickness, and a bone folder for crisp edges on any paper based diffusion tags.
Material Substitutions: If you cannot source organic beeswax, soy wax serves as a reliable alternative, though it has a lower melting point and requires a different wick gauge to maintain a proper melt pool. Instead of expensive essential oil distillers, you can use a high proof isopropyl alcohol as a solvent for quick drying room mists, though professional perfumers grade ethanol is preferred for its neutral scent profile.
THE TEMPO
The "Maker's Rhythm" is the heartbeat of the studio. It is the understanding that some processes cannot be rushed because of capillary action and chemical curing times. For these six projects, expect a total active labor time of about four hours, but the total cycle time spans forty eight hours.
Phase one is the Preparation, which takes sixty minutes. This involves measuring your liquids and prepping your molds. Phase two is the Execution, taking ninety minutes of focused assembly. The final phase is the Curing Phase. This is where the physics of bonding happens. A candle needs forty eight hours for the wax crystals to stabilize; a reed diffuser needs twenty four hours for the carrier oil to fully saturate the porous fibers of the reeds. Respect the clock, or your scent throw will suffer.
THE CORE METHOD
1. The Sculpted Beeswax Taper
Begin by melting your beeswax to exactly 145 degrees Fahrenheit. Secure a square braided cotton wick to the base of your mold using a wick pin. The tensile strength of the braid is vital here; it must be taut to ensure a centered burn. Pour the wax slowly to avoid air pockets.
Mastery Tip: Understand the coefficient of thermal expansion. As wax cools, it shrinks. To prevent a "sinkhole" around the wick, save ten percent of your wax for a second pour at a slightly higher temperature to bridge the gap and create a perfectly level surface.
2. The Botanical Diffusion Stone
Mix two parts plaster of Paris with one part water. Add a tablespoon of fine pumice for added porosity. Pour the slurry into silicone molds and tap the sides to release trapped air bubbles. Let these set until they are cool to the touch.
Mastery Tip: This project relies on porosity and surface area. The more microscopic holes in your stone, the better it will hold essential oils. Using an oscillating tool with a fine sanding head can help open up the surface "pores" of the stone after it has dried, increasing its aromatic efficiency.
3. The Pressed Herb Sachet
Cut heavy linen into four inch squares using a rotary cutter for clean, fray resistant edges. Linen is chosen for its high breathability and fiber density, allowing scent molecules to pass through while keeping fine dust inside. Fill with a blend of dried lavender and cedar wood chips.
Mastery Tip: Use a bone folder to crisp your seams before sewing. This creates a structural guide that ensures your stitch line remains straight under the pressure of the sewing machine foot, preventing "seam slippage" when the sachet is compressed.
4. The Precision Reed Diffuser
Combine seventy percent carrier oil with thirty percent essential oil in a glass vessel. Use your calipers to ensure the neck of the bottle is narrow enough to minimize evaporation of the carrier while allowing the reeds to fan out.
Mastery Tip: This is a lesson in capillary action. The height of your reeds should be exactly double the height of the bottle. This ratio provides enough surface area for the oil to climb the internal channels of the reed and evaporate into the room without the reed becoming top heavy and losing its structural balance.
5. The Wood Block Essential Oil Burner
Select a dense hardwood like maple or oak. Use a jeweler's saw to cut a decorative vent into the side. Drill a recessed hole in the top to hold a small copper bowl. Copper is an excellent thermal conductor, ensuring the heat from a tea light is distributed evenly to the oils above.
Mastery Tip: Always check the grain direction of your wood. Cutting against the grain can cause splintering, which ruins the aesthetic and creates "hot spots" where the wood might char. Sand with the grain using progressively finer grits to achieve a professional burnished finish.
6. The Himalayan Salt Vapor Jar
Fill a wide mouth glass jar with large chunks of pink Himalayan salt. These stones act as a desiccant, pulling moisture from the air which then bonds with the essential oils you drop onto the surface. This creates a slow release mechanism for the scent.
Mastery Tip: This works via hygroscopy. The salt attracts water molecules. By placing the jar near a heat source, you accelerate the evaporation of that moisture, which carries the scent further. Ensure your jar is made of tempered glass to handle the minor thermal shifts of a sunny windowsill.
THE TECHNICAL LEDGER
Maintenance & Longevity: To keep your aromatic projects functioning at peak performance, keep them out of direct UV light. UV rays break down the chemical bonds in essential oils, leading to a "rancid" or "flat" scent profile. Clean your diffusion stones once a month by boiling them in distilled water to clear out old oil resins.
Material Variations: For a sustainable upgrade, use recycled glass vessels or salvaged driftwood for your burners. If you want a premium experience, swap standard cotton wicks for crackling wood wicks, which add an acoustic layer to your home wellness routine.
The Correction:
- The Tunneling Candle: If your candle burns a hole down the center, your wick gauge is too small. Fix it by using a heat gun to level the top and switching to a larger wick in your next batch.
- The Clogged Diffuser: If the scent stops, the reeds are likely clogged with dust. Flip them weekly to reset the capillary flow.
- The Cracked Plaster: If your stones crack, your water to plaster ratio was off. Use a digital scale next time to ensure the structural integrity of the mix.
Studio Organization: Store your essential oils in a dark, climate controlled cabinet. Use a labeling system that includes the "date of pour" for all wax and oil projects. This helps you track the shelf life and potency of your creations.
THE FINAL REVEAL
Look at that workbench! You have successfully navigated the intersection of physics and aesthetics. Your home is now filled with custom scents that are backed by solid engineering. There is a profound sense of satisfaction in knowing that the candle flickering on your table has a perfectly calculated melt pool, or that your diffusion stones are optimized for maximum molecular release. You did not just make "crafts"; you engineered a wellness environment. The textures, the weights, and the scents all work together in a symphony of high performance design. Now, take a deep breath and enjoy the atmosphere you built from the ground up.
STUDIO QUESTIONS
How do I choose the right wick size?
Measure the internal diameter of your vessel using calipers. Consult a wick chart to match the diameter with your wax type. A correct wick creates a full melt pool within two hours without soot or "mushrooming" at the tip.
Why does my room spray smell like alcohol?
You likely skipped the maceration phase. After mixing, let the spray sit in a cool, dark place for at least forty eight hours. This allows the alcohol molecules to fully encapsulate the fragrance oils, resulting in a smoother scent.
Can I use any wood for the burner?
No, avoid softwoods like pine which contain high levels of resin. Resinous woods have a low ignition point and can release unpleasant smoke when heated. Stick to hardwoods with a tight grain structure for safety and durability.
Why is my beeswax candle cracking?
This is caused by cooling too rapidly. Beeswax has a high shrinkage rate. To fix this, preheat your glass containers in a low oven before pouring and allow them to cool in a draft free area to slow the crystallization.

