The scent of freshly shorn cedar and the cool, oily slick of vegetable tanned leather hitting your desk is the ultimate wake up call for a cluttered brain. We are not just making trinkets here; we are engineering a sanctuary. When you integrate Handmade Office Decor into your workspace, you are fundamentally altering your cognitive environment through tactile feedback. Think about the physics for a second. Your brain craves high density textures to ground its focus. A smooth plastic stapler offers zero sensory resistance, but a hand burnished oak monitor stand? That provides a grounding weight that literally lowers cortisol levels. We are looking for that perfect intersection of tensile strength and aesthetic grace. Every time your palm grazes a hand stitched seam or a sanded wood grain, you are triggering a micro break that resets your focus. We are going to use professional grade tools to ensure these pieces do not just look good on a grid, but survive the daily grind of a high performance career. Let us get your hands dirty and your mind sharp.
THE STUDIO KIT
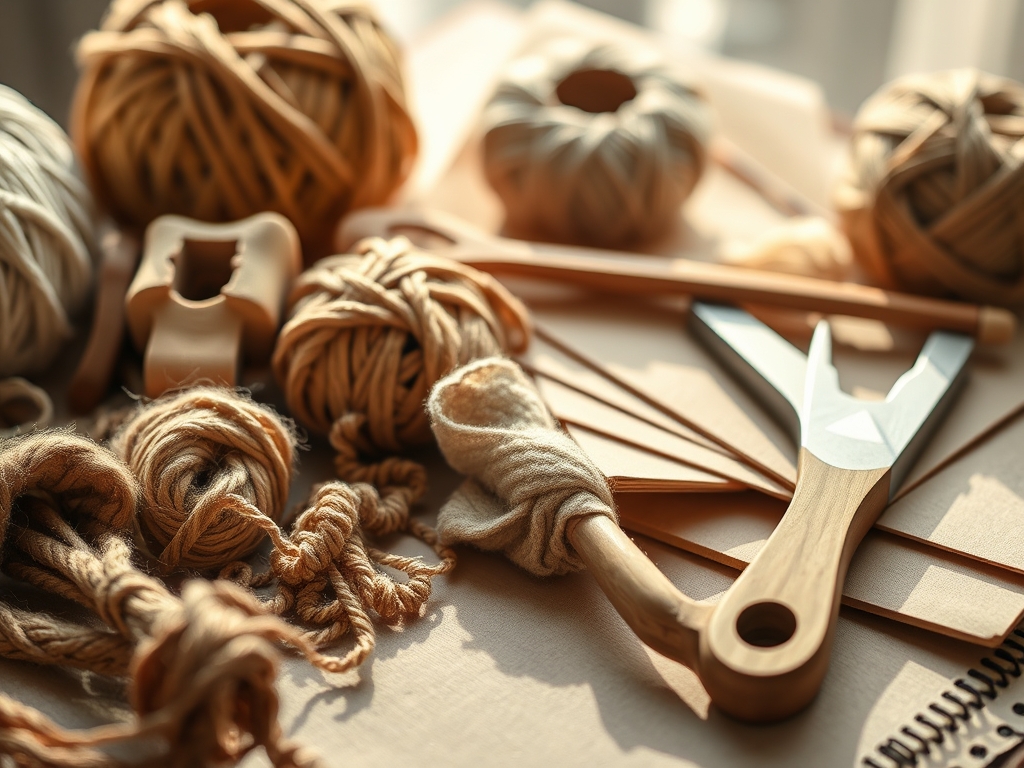
To execute these projects with precision, you need a kit that respects material science. Grab your digital calipers because we are measuring down to the millimeter. You will need a bone folder for crisp, structural creases in heavy cardstock or leather. For wood elements, an oscillating tool with a fine grit sanding attachment is non negotiable for achieving that velvet finish. We will also utilize a rotary cutter for clean, shear force edges on felt and a diamond tipped awl for piercing through high gauge hides.
Material Substitutions: If you cannot source solid walnut, look for high density fiberboard with a real wood veneer; it offers excellent dimensional stability. Instead of expensive brass rods, use copper tubing from the plumbing aisle and polish it with fine steel wool to achieve a high end luster. If genuine leather is outside the budget, heavy duty waxed canvas provides similar hydrophobic properties and a rugged, professional patina over time.
THE TEMPO
Creating a focused environment requires a specific maker's rhythm. This is not a sprint; it is a series of controlled, technical movements. We categorize the tempo into three distinct phases: The Prep (30 minutes), The Execution (2 to 4 hours), and The Curing (24 hours). The Prep involves calibrating your tools and marking your grain directions. The Execution is where the mechanical assembly happens. Finally, the Curing phase is vital. Whether it is wood glue setting or leather conditioner absorbing into the pores, you must respect the chemical bonding time. Rushing the curing phase leads to structural failure and poor surface tension.
THE CORE METHOD
1. The Weighted Leather Desk Blotter
Start by cutting a large rectangle of 6 ounce vegetable tanned leather. Use your rotary cutter against a steel rule to ensure the edges are perfectly perpendicular. Apply a thin layer of neatsfoot oil to the surface to increase flexibility.
Mastery Tip: Understand capillary action. When you apply edge dye, the liquid travels into the porous fibers of the leather. Use a wool dauber and move in one continuous stroke to prevent oversaturation and blotching.
2. The Solid Oak Docking Station
Measure your phone and tablet dimensions with calipers. Use a jeweler's saw for the intricate cord channels. Sand the interior of the grooves to a 400 grit finish to prevent scratching your devices.
Mastery Tip: Pay attention to grain direction. Always cut with the grain to prevent "tear out," which happens when the wood fibers are pulled upward by the blade rather than sliced cleanly.
3. The Brass and Marble Paperweight
Bond a polished brass hex nut to a small marble tile using a high strength cyanoacrylate adhesive. The contrast in thermal conductivity between the cold stone and the warming metal provides a unique tactile experience for your hands during deep work.
Mastery Tip: This relies on surface energy. Clean both surfaces with isopropyl alcohol first to remove oils; otherwise, the chemical bond will fail at a molecular level.
4. The Cork and Felt Pin Board
Layer high density cork sheets behind a premium wool felt topper. Use a spray adhesive to bond the layers, ensuring no air bubbles are trapped between the plys.
Mastery Tip: Wool felt has high tensile elasticity. Stretching it too tight during the bonding process will cause the cork to bow as the felt tries to return to its original shape.
5. The Concrete Pen Cup
Mix a high strength mortar with a splash of polymer additive. Pour the slurry into a custom mold made from recycled plastic. Tap the sides vigorously for two minutes to release trapped air.
Mastery Tip: This is about vibratory compaction. Removing air bubbles ensures the structural integrity of the walls and creates a glass smooth finish once demolded.
6. The Copper Wire Cable Organizers
Use heavy gauge copper wire and a pair of round nose pliers to create spiral loops. These loops utilize the ductility of the metal to hold cables in place without pinching the internal copper strands of the wires.
Mastery Tip: Work hardening occurs as you bend the metal. If the copper becomes too stiff to manipulate, you can anneal it with a small torch to restore its pliability.
THE TECHNICAL LEDGER
Maintenance & Longevity: To keep your handmade office decor in peak condition, apply a carnauba wax buffing every six months to wooden and leather surfaces. This creates a sacrificial barrier against humidity and skin oils.
Material Variations: For a sustainable shift, swap virgin leather for "Piñatex" (pineapple leaf fiber) or use reclaimed driftwood for the docking station. For a premium upgrade, integrate 316 stainless steel hardware which offers superior corrosion resistance.
The Correction:
- The Gap: If your wood joints have a gap, mix fine sawdust with wood glue to create a structural filler that matches the grain.
- The Bleed: If leather dye leaks onto the face, use a "gum tragacanth" burnishing agent to seal the edges before dyeing next time.
- The Crack: If concrete cracks during curing, you likely used too much water. Use a slurry of cement and acrylic binder to patch the fissure.
Studio Organization: Store your raw materials in a climate controlled environment. Wood should be stacked flat with "stickers" (small spacers) between layers to allow airflow and prevent warping. Leather must be rolled grain side out to prevent permanent creasing of the collagen fibers.
THE FINAL REVEAL
Look at that desk! You have successfully transformed a sterile workspace into a high performance laboratory of focus. The weight of the concrete, the warmth of the oak, and the sleekness of the brass work together to create a sensory anchor. This is not just about aesthetics; it is about the ergonomic harmony between you and your tools. You have built pieces that will age with you, developing a patina that tells the story of your hardest work days. Now, clear the scrap, wipe down your calipers, and get to work in your newly optimized sanctuary.
STUDIO QUESTIONS
How do I prevent my wood decor from warping?
Ensure you seal all sides of the wood equally. If moisture enters one side faster than the other, the differential swelling causes the board to cup or twist. Use a high quality polyurethane or oil finish.
What is the best way to clean handmade leather items?
Use a damp, lint free cloth with a pH neutral leather cleaner. Avoid excessive water, as it can strip the natural oils and cause the fibrous network to become brittle and crack over time.
Can I use regular glue for these projects?
Standard white glue lacks the shear strength required for structural office decor. Use a dedicated wood glue (PVA) for timber and a contact cement for leather to ensure a permanent, flexible bond.
Why is my concrete finish dusty?
This is called "chalking." It happens if the concrete dries too fast or the mix ratio was off. Seal the surface with a penetrating stone sealer to bind the particles and create a professional, matte finish.