

The scent of golden resin and warm honey hits your senses before you even touch the fabric. It is a thick, floral aroma that signifies the transition from raw fiber to a functional barrier. When you hold a piece of high quality cotton, you are feeling the interlocking cellulose fibers that wait to be saturated. Creating Handmade Beeswax Wraps is not just a craft project; it is an exercise in molecular bonding. You are essentially engineering a composite material that remains flexible at room temperature but creates a hermetic seal when activated by the warmth of your hands. The tactile satisfaction comes from the slight tackiness of the wax meeting the smooth, tight weave of the textile. We are looking for a specific tensile strength here. If the fabric is too loose, the wax pools; if it is too dense, the resin cannot penetrate the core. We are aiming for that perfect, crisp snap that tells you the wax has fully encapsulated every single thread. It is a sensory delight that turns your kitchen into a high end laboratory of sustainable design.
THE STUDIO KIT
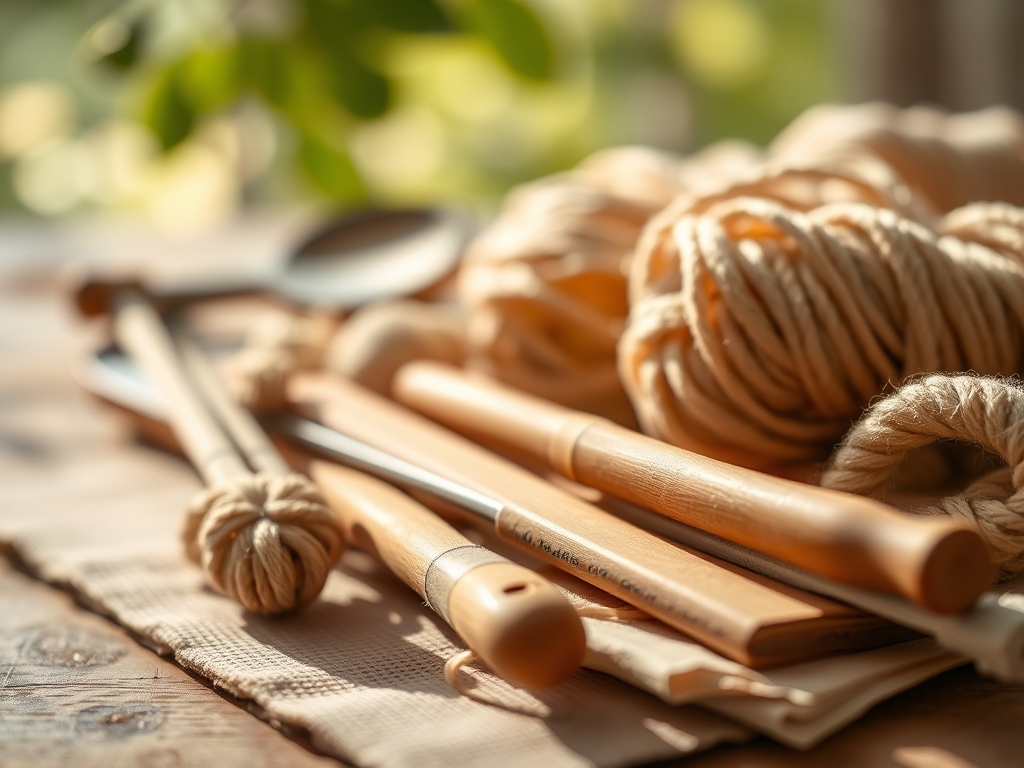
To achieve professional results, your workstation needs more than just scraps of cloth. You need tools that respect the viscosity of the wax. Start with 100 percent organic cotton or hemp. These materials are highly porous, allowing for maximum absorption. For the coating, you need cosmetic grade beeswax pellets, pine rosin for that essential "cling" factor, and organic jojoba oil to act as a plasticizer, keeping the wrap from cracking.
Your technical arsenal should include a rotary cutter and a self healing mat to ensure perfectly straight edges that will not fray. A silicone basting brush is superior to natural bristles because it does not shed and handles high heat without melting. You will also need a dedicated iron or a convection oven set to a precise, low temperature. For material substitutions, if you cannot find pine rosin, you can increase the beeswax ratio, though the wrap will have less grip. If you are vegan, candelilla wax is a viable alternative, but be aware it has a higher melting point and a much harder bristly texture once cooled.
THE TEMPO
The maker's rhythm for this project is divided into three distinct phases: the Preparation, the Infusion, and the Curing. The Preparation takes about twenty minutes; this involves measuring your fabric with a ruler and cutting your dimensions. The Infusion is the active phase, requiring roughly ten minutes per wrap to ensure the wax reaches the saturation point. Finally, the Curing phase is a passive five minute window where the wrap must hang undisturbed to allow the polymers to stabilize. Total studio time for a batch of six wraps is approximately ninety minutes. Do not rush the cooling process. If you move the fabric while the wax is still in a liquid state, you risk creating "bald spots" where the coating has migrated away from the center.
THE CORE METHOD
1. Precision Cutting and Edge Integrity
Use your rotary cutter to slice the fabric into squares or circles. By using a rolling blade rather than shears, you maintain the grain direction of the fabric, which prevents the edges from unraveling during the heating process.
Mastery Tip: Cutting on a slight bias can actually increase the structural integrity of the wrap. This prevents the threads from pulling apart when you stretch the wrap over a glass bowl.
2. The Resin Blend Ratio
In a double boiler, combine two parts beeswax to one half part pine rosin and a teaspoon of jojoba oil. The rosin must be finely ground or it will not incorporate into the wax, leading to a gritty tactile finish.
Mastery Tip: This is all about surface tension. The jojoba oil lowers the melting point of the wax blend, allowing it to flow more easily into the microscopic gaps between the cotton fibers.
3. Even Distribution and Loading
Lay your fabric on a sheet of parchment paper and sprinkle your wax blend evenly across the surface. If you are using an iron, place another sheet of parchment on top to create a "sandwich" that protects your tool from the sticky resin.
Mastery Tip: Use a bone folder or a smooth wooden spatula to push the melted wax toward the edges. This ensures the ply of the fabric is fully loaded without over saturating the material.
4. Thermal Infusion
Apply heat steadily. If using an oven, 200 degrees Fahrenheit is the sweet spot. If using an iron, keep it on a medium, no steam setting. You want the wax to transition from a solid to a liquid state without reaching the smoke point.
Mastery Tip: Watch for the color change. As the wax melts, the fabric will darken. This is a visual indicator of capillary action, where the liquid wax is being pulled into the fiber core by molecular attraction.
5. The Lift and Aeration
Carefully peel the wrap away from the parchment while it is still warm. Hold it by the corners and wave it gently in the air for thirty seconds. This rapid cooling sets the wax in a uniform layer.
Mastery Tip: This step utilizes convective cooling to snap the wax into a solid state. If you lay it flat to cool, the wax may pool on the underside, creating an uneven gauge across the wrap.
6. The Final Burnish
Once the wrap is cool to the touch, use your hands to crumple it slightly and then smooth it out. This "breaks" the initial stiffness and readies the resin for its first use.
Mastery Tip: This mechanical manipulation creates micro fractures in the wax layer, which actually improves the ergonomic flexibility of the wrap without compromising its moisture barrier.
THE TECHNICAL LEDGER
To maintain your Handmade Beeswax Wraps, always wash them in cool water with a mild, alcohol free soap. Hot water is the enemy; it will melt your hard work right down the drain. With proper care, these wraps have a longevity of about one year. When they start to lose their grip, simply pop them back in the oven for two minutes to redistribute the wax.
Material Variations: For a premium version, use a high thread count organic cotton sateen. The tighter weave creates a smoother surface that feels like leather. For a sustainable "recycled" version, use old flannel sheets; the loft of the flannel holds more wax, making for a very heavy duty wrap.
The Correction:
- Uneven Coating: If you see white, dry patches, add a few more wax pellets to that specific area and re-apply heat.
- Sticky Residue: If the wrap feels too tacky, you used too much rosin. Add a small scrap of clean fabric on top and iron it to "wick away" the excess.
- Flaking Wax: This happens when the wrap is too thick. Place it between parchment paper and iron it, pushing the excess wax off the edge of the fabric.
Studio Organization: Store your finished wraps flat or rolled in a cool, dry drawer. Keep your raw rosin in a sealed glass jar, as it is highly hygroscopic and will clump if exposed to humidity.
THE FINAL REVEAL
There is nothing quite like the sight of a stack of freshly cured wraps. They have a beautiful, semi translucent quality that glows when held up to the light. The texture is firm yet yielding, and the scent is a constant reminder of the natural, sustainable materials you have used. You have successfully engineered a reusable tool that replaces single use plastics with a high performance, biodegradable alternative. It is functional art at its finest.
STUDIO QUESTIONS
How do I clean handmade beeswax wraps?
Wash them in cool water with a drop of mild dish soap. Use your hands or a soft sponge to wipe them down. Avoid hot water and harsh scrubbing, as this will strip the wax coating from the fabric fibers.
Why is my wrap not sticking to my bowls?
This usually means there is not enough pine rosin in your blend. You can fix this by lightly dusting the wrap with powdered rosin and placing it in a warm oven for two minutes to re-infuse the resin into the cloth.
Can I use beeswax wraps for raw meat?
No. Because you cannot use hot water to sanitize the wraps, they are not suitable for raw meat or highly acidic fruits. Stick to vegetables, cheeses, bread, and covering leftovers to maintain proper food safety and hygiene standards.
How do I store my wraps when not in use?
Store them in a cool, dark place like a kitchen drawer. You can fold them flat or roll them into a tube. Avoid storing them near the stove or dishwasher, as the ambient heat can soften the wax and cause sticking.

