
The scent of freshly shaved cedar hits you before you even touch the grain; it is a sharp, resinous greeting that signals the start of a serious build. When we talk about Crafting for Modern Living, we are not just making trinkets. We are engineering objects that respect the limited square footage of a city apartment while maximizing the tactile joy of the material. Feel that resistance under your thumb? That is the tensile strength of high-quality fiber or the structural integrity of a well-sourced hardwood. We are looking for that perfect intersection where sleek aesthetics meet the raw physics of the workshop. Whether you are running your fingers over the cool, non-porous surface of polished concrete or testing the ply of organic cotton cord, the goal is the same. We want to create pieces that feel intentional. Modern living demands that every object earns its place through both utility and a high-strength-to-weight ratio. Grab your coffee; we are about to turn physics into art.
THE STUDIO KIT
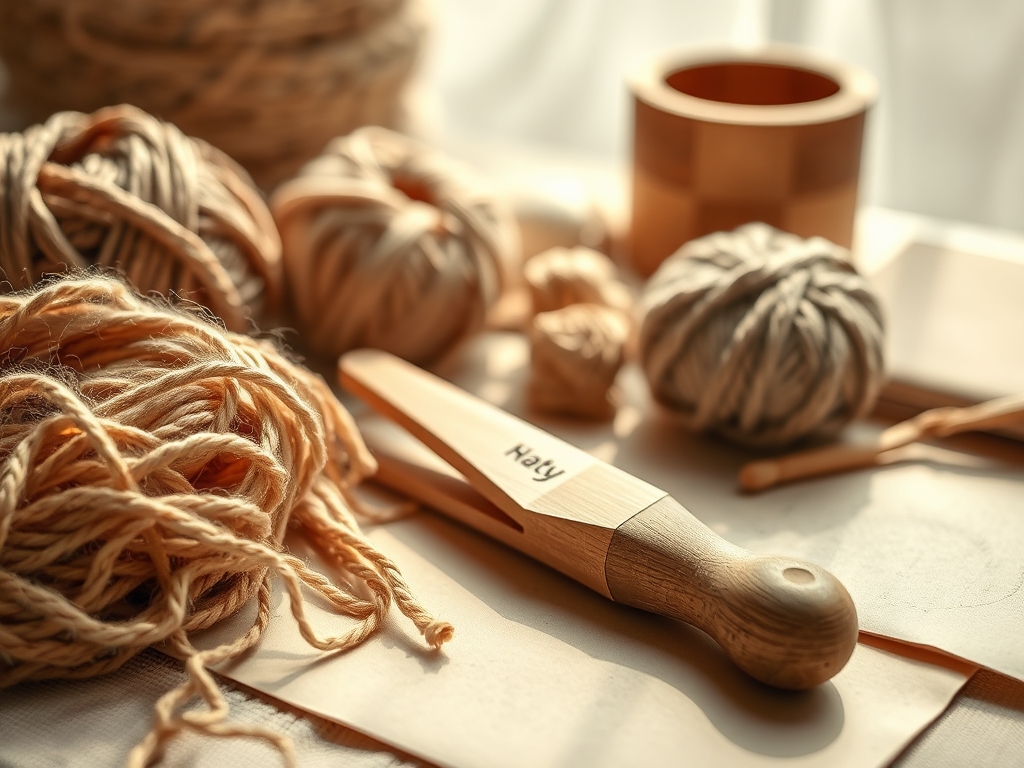
To master these minimal designs, your toolkit must be as precise as a laboratory. You will need a digital caliper for measuring thickness to the millimeter, ensuring your joints are flush. A bone folder is essential for achieving crisp, high-pressure creases in heavy-gauge paper or leather. For cutting, skip the craft scissors and reach for a rotary cutter with a tungsten carbide blade to maintain a clean edge without fraying the material fibers. You will also need a scratch awl for marking points without the drift associated with graphite pencils.
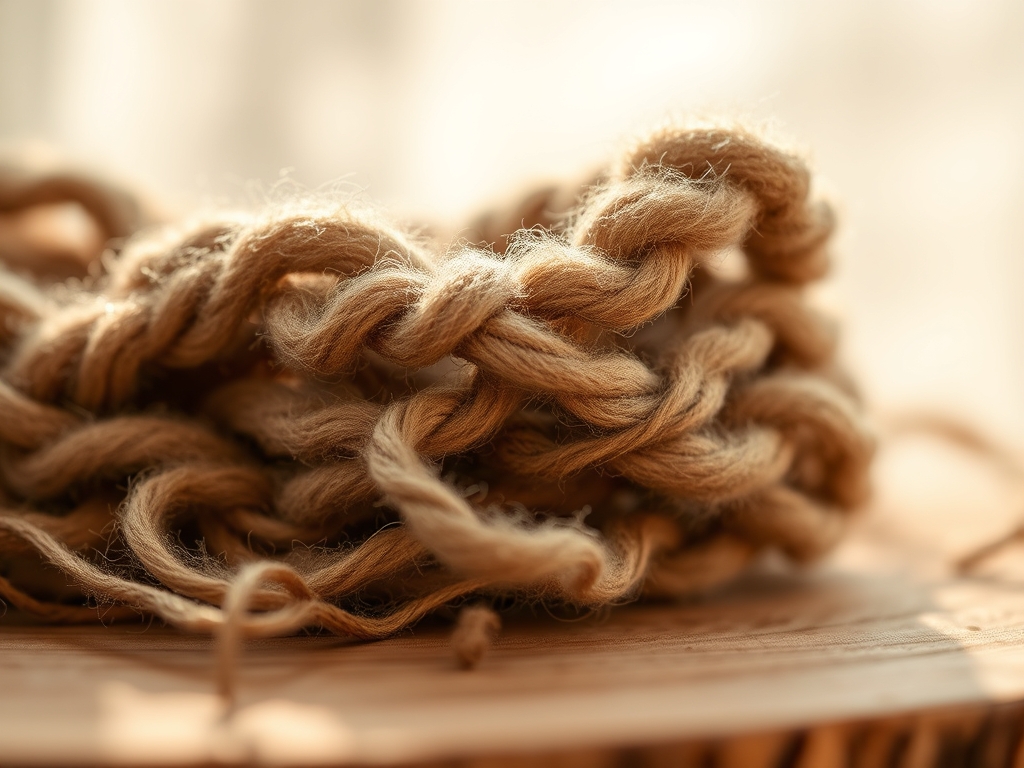
Our material palette focuses on birch plywood for its superior dimensional stability and vegetable-tanned leather for its ability to burnish over time. If you cannot source these, consider these Material Substitutions: swap birch for high-density fiberboard (HDF) if you plan on painting the surface, or use heavy-duty felt instead of leather, provided it has a high wool content to prevent stretching under tension. Always check the grain direction before you make your first cut; working against the natural orientation of the fibers will compromise the final strength of your piece.
THE TEMPO
The Maker's Rhythm is a three-act play: the Preparation, the Execution, and the Curing. For a minimal wall-mounted shelf or a modular desk organizer, expect to spend 45 minutes in the Preparation phase. This involves calibrating your tools and marking your cut lines with surgical precision. The Execution phase is the heartbeat of the project, taking roughly two hours of active assembly where you focus on the alignment of every fastener and the even application of adhesives.
Finally, do not rush the Curing phase. Depending on the humidity of your studio, wood glues and resins require at least six to twelve hours to achieve maximum molecular bonding. This downtime is not a delay; it is a chemical necessity. A project rushed during the drying stage will succumb to warping or joint failure when subjected to the daily stresses of a modern home.
THE CORE METHOD
1. Calibrating the Foundation
Before any material meets a blade, you must ensure your work surface is perfectly level. Use a spirit level to check your bench. Minimal design leaves nowhere for errors to hide; a one-degree deviation at the base will result in a visible tilt at the apex.
Mastery Tip: This stage relies on geometric precision. By using a T-square, you are ensuring that all force applied during assembly is distributed evenly across the structural axes, preventing future shearing.
2. Executing the Primary Cut
Using your rotary cutter or a fine-tooth Japanese pull saw, make your primary cuts in a single, fluid motion. For wood, always cut on the waste side of your line to allow for the kerf, which is the width of the material removed by the blade.
Mastery Tip: The physics here involves friction reduction. A sharp blade slices through the cellular structure of the material rather than crushing it, which preserves the capillary action needed for the wood to take a stain or finish evenly.
3. Managing the Joinery
For a seamless look, use miter joints or hidden dowels. Apply a thin, even layer of adhesive. When you join two porous surfaces, the glue penetrates the fibers, creating a mechanical bond that is often stronger than the material itself.
Mastery Tip: Pay attention to surface tension. If the glue beads up too much, it will not penetrate the pores. Use a small brush to spread the adhesive to the very edges to ensure a uniform bond across the entire mating surface.
4. Clamping and Compression
Apply clamps with just enough pressure to see a tiny amount of glue squeeze out. Over-clamping can starve the joint of adhesive, while under-clamping allows air pockets to form, which leads to delamination.
Mastery Tip: This is about load distribution. Use scrap wood "cauls" between the clamp and your project to distribute the pressure evenly and prevent marring the finish. This protects the compressive strength of the outer fibers.
5. The Refined Burnish
Once the adhesive is cured, use a fine-grit sandpaper (starting at 220 and moving to 400) to smooth the edges. For leather, use a wooden slicker to friction-heat the edges until they turn glossy.
Mastery Tip: Burnishing works through heat and friction. By rubbing the edge, you are compressing the fibers and melting the natural waxes within the material, creating a sealed, hydrophobic barrier that prevents moisture ingress.
THE TECHNICAL LEDGER
To ensure your minimal creations survive the rigors of modern living, maintenance is key. For wood pieces, apply a coat of beeswax or carnauba wax every six months to maintain the moisture barrier. For textile-based items, use a vacuum with a HEPA filter to remove dust from the interstices of the weave.
Material Variations:
- Sustainable: Bamboo plywood offers incredible tensile strength and grows faster than traditional hardwoods.
- Premium: Solid brass hardware adds significant ballast and a high-end aesthetic weight to small designs.
- Recycled: Compressed felt made from post-consumer plastic provides excellent acoustic dampening for home offices.
The Correction:
- Mistake: Glue spots appearing under the stain. Fix: Use a cabinet scraper to remove the dried glue; sanding often just pushes the residue deeper into the pores.
- Mistake: Wood splitting during fastening. Fix: Always drill a pilot hole that is slightly smaller than the screw diameter to relieve internal pressure.
- Mistake: Uneven leather dye. Fix: Dampen the leather with distilled water before applying dye to encourage even capillary absorption.
Studio Organization: Store your sheet goods flat to prevent gravitational bowing. Keep your adhesives in a temperature-controlled environment; extreme cold can cause polymer emulsion to break down, rendering the glue useless.
THE FINAL REVEAL
Look at that! You have just transformed raw, industrial components into a masterpiece of minimal design. The way the light catches the burnished edges and the way the joints sit perfectly flush is a testament to your technical discipline. This is not just a shelf or a box; it is a calculated exercise in material physics and aesthetic restraint. It fits perfectly in your space because it was built with the specific dimensions of your life in mind. The sleek lines and sturdy construction prove that you do not need a massive workshop to produce professional-grade results. You have mastered the art of Crafting for Modern Living!
STUDIO QUESTIONS
What is the best way to prevent wood from warping in small apartments?
Maintain a consistent humidity level and always seal all sides of the wood, including the underside. This prevents differential moisture absorption, which is the primary cause of wood fibers expanding and contracting unevenly over time.
Can I use hot glue for permanent minimal designs?
No. Hot glue lacks the structural integrity and long-term molecular bonding required for furniture or functional items. It is a thermoplastic that can soften in warm environments, leading to joint failure under even moderate loads.
Why is grain direction so important in minimal crafting?
Grain direction determines the load-bearing capacity of your piece. Cutting with the grain provides maximum strength, while cutting across it can lead to snapping. In minimal design, where material is sparse, you must optimize every fiber.
How do I achieve a professional finish without a spray booth?
Use a high-quality wipe-on poly or natural oil finish. Applying thin layers with a lint-free cloth minimizes bubbles and dust nibs, allowing the natural tactile quality of the material to shine through without needing industrial equipment.

