
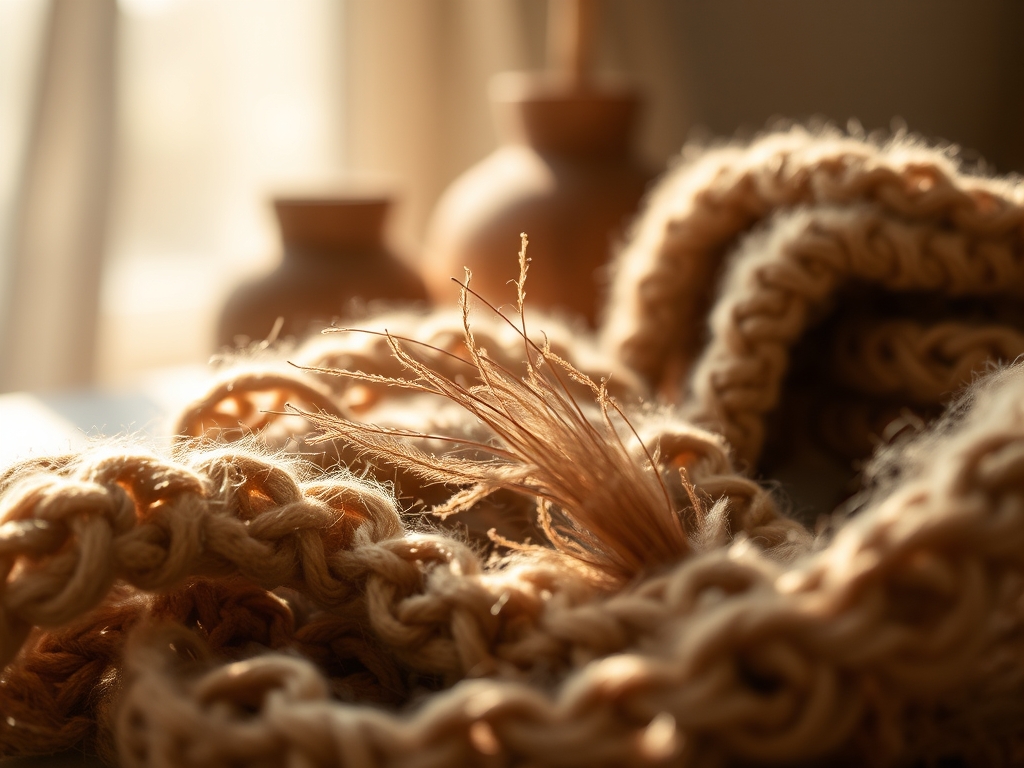
Close your eyes and listen to the crisp, rhythmic snap of a heavy-duty rotary cutter slicing through a five-ounce vegetable-tanned hide. It is a sound that signals the beginning of a transformation. When you are crafting for home office environments, you are not just making decor; you are engineering a workspace that responds to your physical touch. Feel the cool, dense grain of the leather or the slightly abrasive, fibrous texture of high-density wool felt. These materials possess a specific tensile strength that resists the daily friction of hardware and hands. We are moving beyond the flimsy plastic organizers of big-box stores. We are diving into the physics of weight distribution and surface tension. Every piece you create must balance aesthetic beauty with the structural integrity required to support your tech. This is about the marriage of ergonomics and raw material science. Let us take that nervous energy and channel it into the precise, tactile work of building a professional sanctuary from the ground up.
THE STUDIO KIT
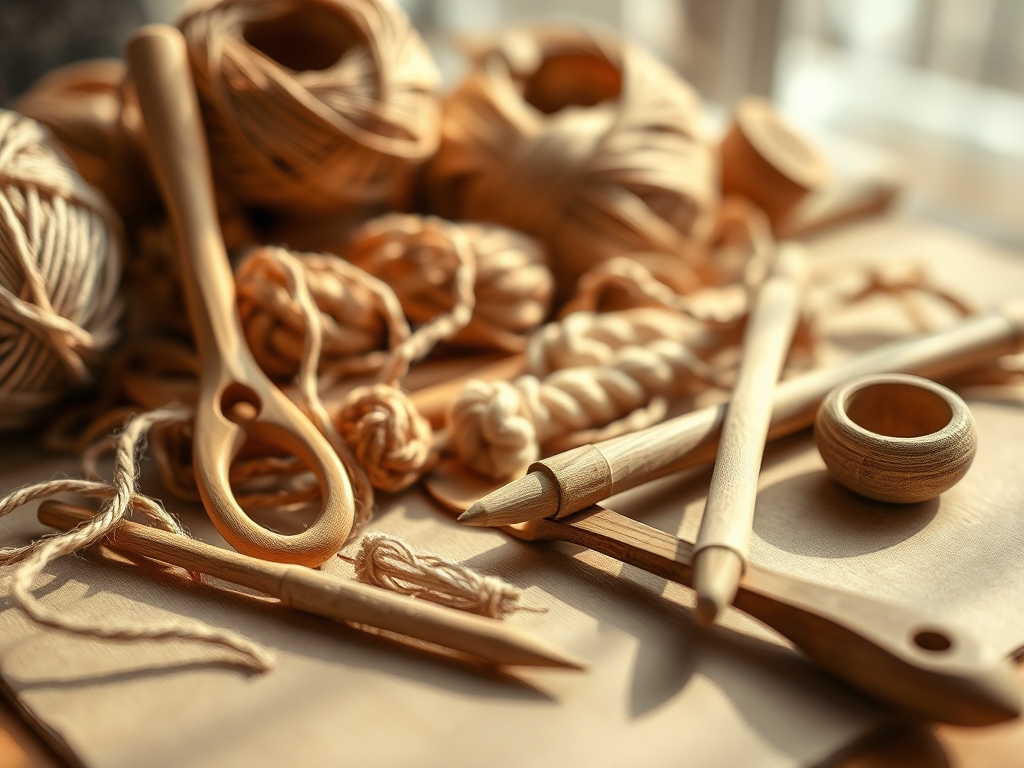
To master these projects, your toolkit must prioritize precision over guesswork. You will need a stainless steel cork-backed ruler to prevent slippage on smooth surfaces and a pair of digital calipers to measure the exact gauge of your materials. For assembly, keep a bone folder nearby to create crisp, permanent creases in heavy cardstock or leather without fracturing the surface fibers. Your cutting surface should be a self-healing pH-neutral mat that protects your blades and your tabletop.
For the material palette, focus on high-density wool felt (at least 3mm thick) for its natural acoustic dampening properties and FSC-certified hardwoods or high-grade plywood for structural components. If you cannot source specific leathers, a high-quality cork fabric serves as an excellent material substitution; it offers similar durability with a lower environmental footprint. Always keep a bottle of polyvinyl acetate (PVA) glue and a burnishing tool ready. The PVA provides a flexible yet permanent bond that moves with the material, while the burnisher seals edges to prevent moisture absorption and fraying.
THE TEMPO
The "Maker's Rhythm" is a psychological state where your movements become fluid and your perception of time shifts. For these home office projects, expect a total active working time of approximately six to eight hours, spread over a weekend to allow for proper adhesive curing.
The Preparation Phase takes about sixty minutes. This involves truing your edges and calibrating your tools. The Execution Phase is the heart of the process, requiring four hours of focused cutting, stitching, or gluing. Finally, the Curing and Finishing Phase is the most overlooked. It requires at least twelve hours of rest. During this time, the molecular bonds in your adhesives reach maximum strength and the fibers of your materials settle into their new shapes. Do not rush the drying process; forcing a project into use before it has stabilized can lead to structural failure or warping.
THE CORE METHOD
1. The Weighted Desk Pad
Begin by cutting a large rectangle of 5mm wool felt using a rotary cutter and a straight edge. This thickness provides the necessary compressive strength to cushion your wrists while remaining firm enough for writing. Apply a thin layer of contact cement to the underside of a leather accent strip and press it firmly onto one edge.
Mastery Tip: Understand capillary action when applying adhesives. If you apply too much liquid glue to porous felt, it will wick through the fibers and create a stiff, unsightly spot on the surface. Apply thin, even coats to ensure a surface-level bond.
2. The Ergonomic Cable Guide
Use a jeweler's saw or a fine-toothed hand saw to cut small blocks of walnut or oak. Drill a series of holes slightly larger than your cables using a Forstner bit to ensure clean, non-splintered exits. Sand the interior of the holes with a high-grit paper to remove any friction-causing burrs.
Mastery Tip: Consider grain direction when drilling. Drilling perpendicular to the grain reduces the risk of the wood splitting under the pressure of the bit. This maintains the structural integrity of the small block.
3. The Structural Monitor Riser
Construct a simple U-shape using 18mm birch plywood. Use biscuit joints or dowels to connect the legs to the platform. This creates a mechanical lock that significantly increases the weight-bearing capacity compared to simple butt joints.
Mastery Tip: This project relies on tensile and compressive forces. The top board is under compression while the joints experience tension. Using a wood glue with high solids content ensures the joint becomes stronger than the surrounding wood fibers.
4. The Vertical File Sorter
Cut three identical panels of heavy-duty chipboard or thin acrylic. Use a bone folder to score fold lines if using cardstock, or an oscillating tool with a sanding attachment to smooth the edges of acrylic. Join the panels at a slight angle to allow gravity to assist in keeping the files upright.
Mastery Tip: Use triangulation in your design. A triangular base provides the most stability for vertical storage because it distributes the center of gravity more effectively than a square base.
5. The Tactile Pen Tray
Mold a piece of wet-formed leather over a wooden dowel to create a series of troughs. Secure the leather to a rigid base using brass upholstery tacks. The leather will shrink and harden as it dries, retaining the shape of the pens perfectly.
Mastery Tip: This utilizes the hygroscopic nature of leather. When leather absorbs water, the collagen fibers lubricate and slide; as they dry, they lock into a new, rigid matrix. This is the science of "wet-forming."
THE TECHNICAL LEDGER
Maintenance & Longevity: To keep your desk accessories in peak condition, treat leather components with a neatsfoot oil or beeswax cream every six months to prevent desiccation. For wool felt, use a lint roller or a soft-bristled brush to remove dust. Avoid using harsh chemical cleaners which can break down the natural oils and fibers.
Material Variations: For a sustainable upgrade, swap virgin plastics for recycled HDPE sheets. For a premium feel, use solid brass hardware instead of plated steel. Brass develops a patina over time, which is a natural oxidation process that protects the metal from deeper corrosion.
The Correction:
- The Issue: Glue seeping through fabric. The Fix: Use a "dry" adhesive like double-sided archival tape or a spray tack for thinner materials.
- The Issue: Uneven wood staining. The Fix: Apply a pre-stain wood conditioner to even out the porosity of the wood grain before applying the final pigment.
- The Issue: Leather edges looking "fuzzy." The Fix: Use a burnishing gum (like gum tragacanth) and a wooden slicker to generate heat through friction, which melts the fibers into a smooth, shiny edge.
Studio Organization: Store your materials in a climate-controlled environment with low humidity. Large sheets of leather or felt should be stored flat or rolled loosely around a wide cardboard tube to prevent permanent creasing or fiber fatigue.
THE FINAL REVEAL
Look at that desk! You have successfully transformed a generic workspace into a high-functioning studio. The way the light hits the burnished edges of the leather and the way the wool felt absorbs the clatter of your keyboard creates a focused, professional atmosphere. You did not just "decorate"; you engineered a system. Your tools are now organized with mathematical precision, and your tactile environment is tuned to your specific needs. This is the peak of crafting for home office life; it is functional, beautiful, and built to last a lifetime.
STUDIO QUESTIONS
How do I prevent my desk mat from sliding?
Apply a thin layer of natural rubberized backing or use small adhesive silicone dots on the underside corners. This increases the coefficient of friction between the mat and the desk surface, ensuring it remains stationary during heavy use.
What is the best wood for office accessories?
Hardwoods like Walnut, Cherry, or White Oak are ideal due to their high Janka hardness ratings. They resist indentations from pens and equipment better than softwoods like pine, ensuring your projects maintain a smooth, professional finish for years.
Can I use a regular craft knife for thick leather?
While possible, a heavy-duty rotary cutter or a specialized skiving knife is superior. These tools allow for consistent downward pressure, which prevents the leather from stretching or distorting during the cut, resulting in a much cleaner edge.
How do I clean a wool felt desk pad?
Use a soft-bristled brush for debris and a damp cloth with mild wool detergent for stains. Avoid agitation or high heat, as this causes the fibers to felt further, leading to shrinkage and a loss of the original dimensions.

