
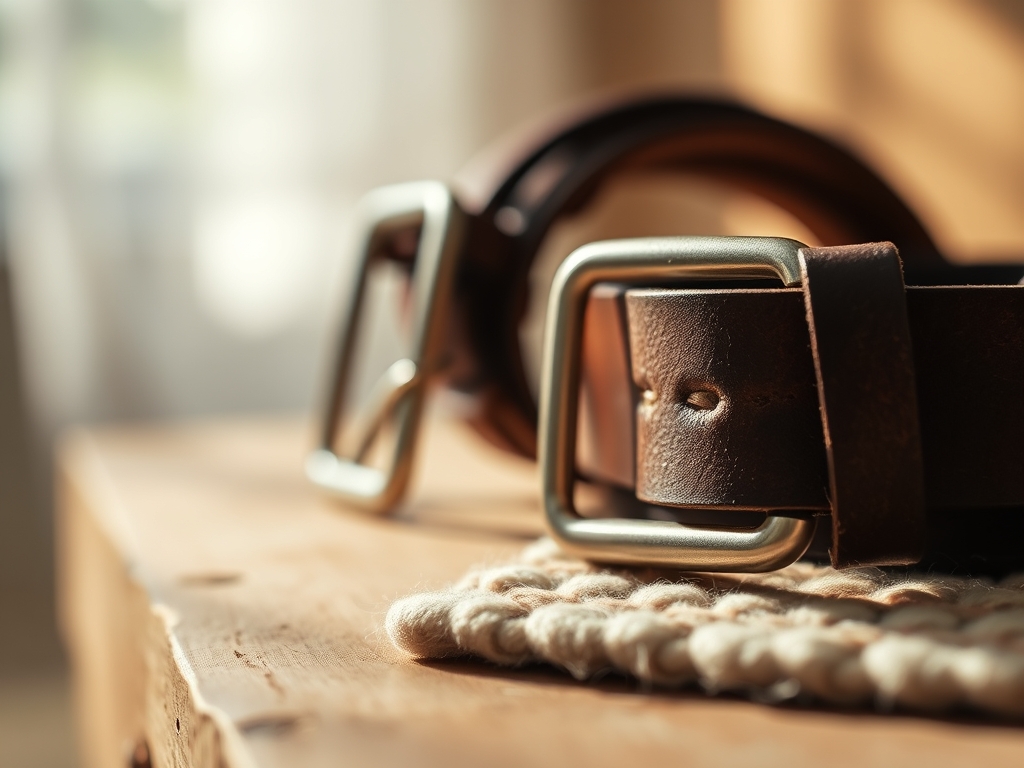
Grab your safety glasses and clear a spot on the workbench because we are about to dive into the molecular magic of Handmade Leather Belts. There is nothing quite like the scent of vegetable-tanned hide hitting the air as you unroll a fresh side of steerhide. It is earthy; it is raw; and it is packed with dense collagen fibers just waiting for a permanent transformation. When you run your thumb across the grain side, you are feeling the result of months of slow-tannin saturation. For a belt that survives the daily grind of friction and tension, the finish is not just a cosmetic choice. It is a structural necessity. We are looking for that perfect intersection of flexibility and armor. If we do this right, your belt will not just hold up your trousers; it will outlast the denim itself. We are aiming for a finish that handles the constant mechanical stress of the buckle tongue while resisting the salt and moisture of daily wear. Let us get tactile and talk shop.
THE STUDIO KIT
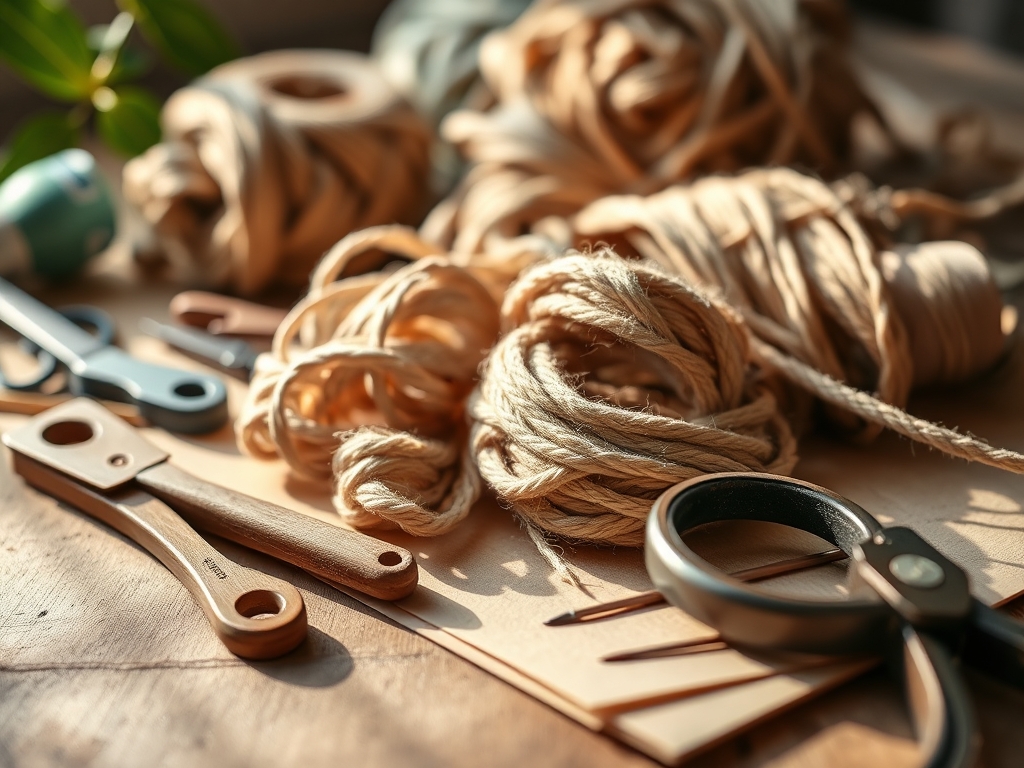
To master the art of finishing, your kit must prioritize chemical compatibility and mechanical precision. You will need a high-quality edge beveler to remove the sharp 90-degree corners of the strap, which reduces the surface area prone to fraying. Grab a bone folder or a glass slicker for compressing the grain. For the finishes themselves, stock up on resolene, beeswax, and neatsfoot oil. You will also need wool daubers for even application and a high-speed burnishing wheel if you want that professional, glass-like edge.
If you are lacking specific items, look at these Material Substitutions. Instead of a professional wood burnisher, a smooth piece of heavy canvas or denim works wonders for generating the friction heat necessary to melt wax into the fibers. No neatsfoot oil? Pure extra virgin olive oil can serve as a lipid replenisher in a pinch, though it lacks the specific animal fats that leather fibers crave for long-term tensile strength. Always use calipers to check your thickness consistency; a belt that varies in gauge will wear unevenly at the stress points.
THE TEMPO
The "Maker's Rhythm" is less about speed and more about respecting the porous nature of the hide. You cannot rush the absorption of oils or the curing of resins. Initial preparation, including cutting and beveling, takes about thirty minutes of high-focus mechanical work. The conditioning phase requires a "rest" period of at least four hours to allow the oils to migrate through the internal fiber network via capillary action.
The actual application of your chosen finish usually happens in thin, iterative layers. Expect to spend two hours on the active finishing process, with twenty-minute intervals between coats. Finally, a 24-hour "set" period is non-negotiable. This allows the volatile carriers in your dyes or topcoats to evaporate completely, ensuring the finish does not "tack" or rub off on your clothing.
THE CORE METHOD
1. The Pure Carnauba Wax Buff
This is the gold standard for a natural, breathable finish. Carnauba is a hard vegetable wax that provides a high-gloss sheen without sealing the leather so tightly that it cannot breathe. Apply it in small circular motions using a lint-free cloth.
Mastery Tip: The science here is all about melting points. Carnauba has a high melting point, meaning it stays stable even in high-heat environments. Use vigorous friction to generate enough heat to liquefy the wax into the grain, which creates a hydrophobic barrier once it cools and re-solidifies.
2. Acrylic Resolene Shielding
For maximum durability against rain and sweat, an acrylic-based finish like resolene creates a flexible plastic-like film over the surface. It is essential for belts that will see heavy outdoor use.
Mastery Tip: To avoid bubbles, dilute your resolene 50/50 with water. This lowers the surface tension of the liquid, allowing it to flow smoothly into the crevices of the grain rather than sitting on top and trapping air.
3. The Beeswax and Paraffin Burnish
This method is specifically for the edges of your Handmade Leather Belts. By applying a blend of waxes and using a high-speed burnisher, you are effectively "fusing" the fibers together.
Mastery Tip: This process relies on thermal friction. The heat generated by the burnishing tool melts the wax and the leather's natural lignins simultaneously, creating a structural bond that prevents the edge from delaminating over time.
4. Oil-Tan Saturation
Using heavy oils like mink oil or neatsfoot oil creates a "pull-up" effect. When the leather is bent, the oils displace, creating beautiful color shifts.
Mastery Tip: Focus on lipid distribution. Over-saturating the leather can weaken the collagen bonds, leading to excessive stretching. Apply oils sparingly to maintain the leather's structural integrity while enhancing its suppleness.
5. Satin Shene Topcoating
If you want a look that is between matte and gloss, a satin shene offers a sophisticated glow. It provides a water-resistant layer that is slightly more flexible than pure resolene.
Mastery Tip: This finish utilizes light refraction. The microscopic particles in the finish scatter light rather than reflecting it directly, which helps mask small scratches and natural imperfections in the hide.
6. Antique Paste Rub
Antiquing highlights the natural "character" marks and any decorative stamping you have done. It settles into the low points of the leather while the high points are buffed clean.
Mastery Tip: This is a study in pigment suspension. The heavy pigments in the paste are designed to stay in the valleys of the grain. Always apply a light resist coat first to ensure the pigment does not soak into the "hills" of the leather.
7. Lacquer Spray Finish
For a permanent, "set it and forget it" finish, a professional leather lacquer provides a hard, protective shell. It is the most water-resistant option available.
Mastery Tip: This involves solvent evaporation. As the solvent flashes off, the resins lock together in a cross-linked pattern. Use an oscillating tool with a buffing pad afterward to ensure the lacquer remains flexible and does not crack.
8. The Heavy Tallow Stuffing
This is an old-world technique where a mixture of animal fats and waxes is rubbed into the leather while it is slightly damp. It results in a belt that is virtually waterproof.
Mastery Tip: This utilizes displacement physics. By filling the microscopic voids between fibers with solid fats, you prevent water molecules from entering the structure, significantly increasing the longevity of the piece.
THE TECHNICAL LEDGER
To keep your belt in prime condition, perform a "flex test" every six months. If the grain shows tiny micro-cracks when bent, the moisture content is low. Re-apply a light coat of conditioner to maintain the ply and prevent the fibers from snapping under tension.
When choosing materials, remember that Premium Vegetable Tanned leather offers the best canvas for these finishes. Sustainable options like cork or recycled leather composites often have different fiber densities and may not react the same way to heat-based burnishing.
The Correction:
- Streaking: If your dye looks streaky, the leather was too dry. Fix this by lightly dampening the surface with a sponge before re-applying.
- Peeling: This happens when an acrylic coat is applied over an oily surface. Deglaze the area with a mild solvent and re-apply.
- Sticky Edges: This indicates the wax didn't melt. Use a higher-speed burnishing tool or more pressure to generate the necessary heat.
Store your projects in a cool, dry place away from direct UV light. Sunlight can break down the chemical bonds in your finishes, leading to premature fading and "dry rot" of the internal fibers.
THE FINAL REVEAL
There is nothing quite like the "snap" of a finished belt as you pull it through the buckle for the first time. When you have mastered these eight finishes, your Handmade Leather Belts will possess a depth of color and a tactile resilience that mass-produced items simply cannot replicate. You have taken a raw, organic material and, through the application of heat, chemistry, and elbow grease, turned it into a piece of functional armor. Feel that smooth, burnished edge? That is the sound of success. Wear it with pride, knowing the science behind every fiber.
STUDIO QUESTIONS
Which finish is best for high-humidity climates?
Acrylic resolene is the superior choice for humid environments. It creates a non-porous moisture barrier that prevents the leather from absorbing atmospheric water, which protects the internal collagen fibers from swelling, softening, or developing mold over time.
Can I use these finishes on chrome-tanned leather?
Chrome-tanned leather reacts differently due to its chemical makeup. While acrylic finishes work well, heat-based burnishing and wax stuffing are less effective because the fibers are already saturated with chromium salts, which resist the absorption of heavy waxes and fats.
How often should I re-apply a wax finish?
For daily wear, a light re-buffing with carnauba or beeswax every four to six months is ideal. This replenishes the protective surface layer that naturally abrades against clothing and hardware, maintaining both the aesthetic sheen and the leather's hydration.
Why is my leather belt stretching too much?
Excessive stretching usually indicates under-finishing or over-oiling. If the fibers are too lubricated, they slide past each other too easily under tension. Using a wax-based finish helps "lock" the grain and maintain the belt's original dimensions and structural integrity.

