
Grab your apron and clear the workbench because we are about to get intimate with some mud. There is a specific, electric hum in the air when you first slice into a fresh block of stoneware; it is the sound of potential energy waiting for a kinetic spark. To master the wheel, you must first master the prep. Integrating a consistent Daily Pottery Practice into your routine transforms the clay from a stubborn, aerated mass into a silky, homogenized partner. We are talking about the physics of particle alignment and the sheer joy of tactile manipulation. When you press your palms into that cold, porous surface, you are not just squishing dirt; you are conducting a symphony of capillary action and mineral distribution. We are going to dive deep into the 8 wedge and the essential drills that ensure your clay has the structural integrity to survive the kiln. It is time to stop fighting the material and start dancing with it. We are building muscle memory and molecular bonds today, bestie. Let us get messy.
THE STUDIO KIT
To execute a professional prep routine, you need more than just your hands. We are looking for tools that respect the tensile strength of the clay body. Your primary instrument is a high-tension wire cutter, preferably one with a braided stainless steel cable to prevent the "accordion effect" during the initial slice. You will also need a plaster bat or a high-density canvas work surface; these materials are crucial because they manage moisture through wicking, pulling excess water from the clay via osmotic pressure.
For the drills, keep a needle tool and a flexible steel rib nearby to check for air pockets and surface consistency. If you are working with reclaimed scraps, a serrated metal scraper is vital for increasing the surface area before rehydration. Material Substitutions: If you lack a plaster bat, a piece of unfinished plywood works in a pinch, though it lacks the superior absorption rate of calcium sulfate. Instead of a professional wire cutter, a heavy-gauge fishing line tied to two wooden dowels provides a clean, ergonomic grip for sectioning dense blocks.
THE TEMPO
The "Maker's Rhythm" is all about the balance between viscosity and velocity. Your initial breakdown of the clay block should take exactly three minutes; any longer and you risk losing the critical moisture levels required for plasticity. The 8 wedge, or spiral wedging, requires a steady, metronomic beat. Plan for ten minutes of active wedging per five-pound batch. This is not a sprint; it is a low-frequency vibration that aligns the platelet structures of the kaolinite. If you rush, you trap air. If you go too slow, the heat from your hands will cause the clay to reach its plastic limit too early, leading to cracking. A total of twenty minutes for prep ensures your "Daily Pottery Practice" begins with a material that is primed for the centrifugal forces of the wheel.
THE CORE METHOD
1. The Initial Shear
Start by using your wire cutter to slice the clay into manageable three-pound slabs. Do not just pull; use a steady, downward force to ensure the grain direction of the factory-extruded clay is disrupted. This disruption is the first step in breaking the "memory" of the clay, which prevents warping during the firing process.
Mastery Tip: The science here is all about thixotropy. Clay becomes more fluid when stressed. By shearing the block, you are lowering the internal friction between particles, making the subsequent wedging much more efficient.
2. The 8 Wedge Rotation
Place the clay on your porous surface. Use the heels of your hands to push the clay down and away, then lift and rotate it slightly to the left. This creates a shape resembling a seashell or a "8" figure. You are essentially folding the clay onto itself in a continuous spiral. Observe the alignment in the step-by-step photos below to ensure your hand placement is ergonomic and maximizes leverage.
Mastery Tip: This motion utilizes laminar flow. By folding the clay repeatedly, you are layering the microscopic platelets into a concentric pattern. This increases the tensile strength of the clay, allowing it to stand taller on the wheel without collapsing under its own weight.
3. The Compression Drill
Once the spiral is tight, begin the compression drill. Use a heavy wooden paddle or the side of your fist to firmly strike the clay ball on all sides. This rhythmic pounding forces any remaining micro-bubbles to the surface where they can escape. You should hear a solid "thud" rather than a hollow "pop."
Mastery Tip: This is a lesson in gas permeability. Because clay is a dense medium, air cannot easily travel through it. The physical shock of the paddle creates a pressure gradient that pushes air toward the lower-pressure environment outside the clay body.
4. The Needle Test
The final step of your prep is the verification. Take your needle tool and slice the wedged ball directly down the center. Inspect the cross-section for any "eyes" or gaps. The surface should look as smooth as chilled butter. If you see holes, you must re-wedge; if it is solid, slap the two halves back together to create a seamless bond.
Mastery Tip: This checks for homogeneity. Even a single air pocket acts as a point of failure. Under the intense heat of the kiln, trapped air expands rapidly, leading to a catastrophic release of energy (an explosion) due to the coefficient of thermal expansion.
THE TECHNICAL LEDGER
Maintenance & Longevity: Your tools are an extension of your hands. Always burnish your wooden tools with a light coat of mineral oil to prevent them from absorbing too much moisture and warping. Rinse your canvas or plaster bats daily to prevent the buildup of "clay flour," which can become an inhalation hazard when dry.
Material Variations:
- Sustainable: Use a "slop bucket" system to reclaim every scrap. Reclaimed clay often has higher plasticity due to increased organic breakdown.
- Premium: Porcelain requires a lighter touch and more frequent wedging because its particle size is much smaller than stoneware, making it prone to "slumping."
The Correction:
- The Crumbly Mess: If the clay cracks during wedging, it has passed its shrinkage limit. Fix: Spray a fine mist of distilled water and wrap in plastic for two hours to allow for even rehydration.
- The Sticky Situation: If the clay clings to your hands, it is too wet. Fix: Spread it thin on a plaster bat for fifteen minutes to allow capillary action to pull the excess water out.
- The Spiral Void: If a hole forms in the center of your wedge, your rotation angle is too steep. Fix: Flatten the clay and restart with a shallower, 45-degree push.
Studio Organization: Store your prepped clay in airtight, heavy-gauge polyethylene bags. Place a damp sponge inside the bag (not touching the clay) to create a micro-climate of 100 percent humidity. This prevents the formation of a "skin" and keeps the material ready for your next session.
THE FINAL REVEAL
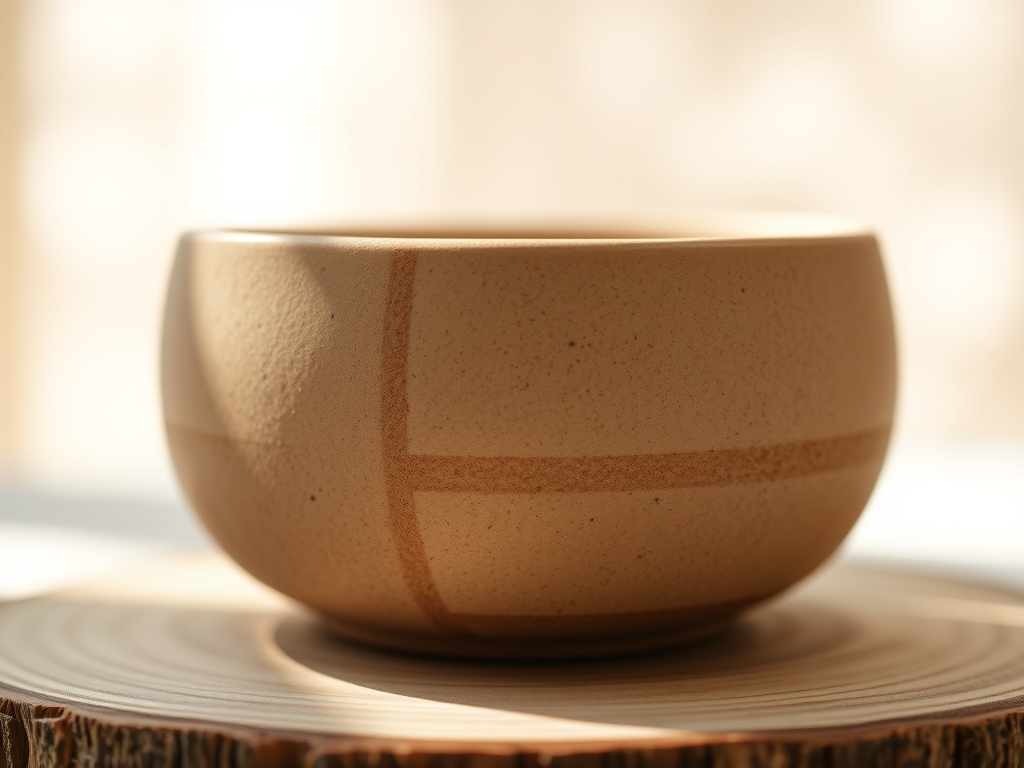
Look at that beautiful, de-aired, perfectly aligned sphere of potential! When you finish your Daily Pottery Practice prep, the clay should feel like an extension of your own body; heavy, responsive, and completely void of internal strife. You have successfully manipulated the molecular geometry of the earth itself. There is a profound sense of power in knowing that because you did the hard work now, your time on the wheel will be a breeze. Your walls will pull thinner, your centers will be truer, and your heart will be lighter. Now, let us get that masterpiece started!
STUDIO QUESTIONS
What is the best surface for wedging clay?
A high-density plaster bat is the gold standard. It uses capillary action to regulate moisture levels perfectly. If plaster is unavailable, a heavy canvas-covered table or a piece of unfinished plywood provides the necessary friction and absorption for a successful session.
How do I know if I have wedged enough?
Perform the needle test by slicing the clay in half. The internal cross-section must be entirely smooth and free of air pockets. If the texture resembles a sponge rather than solid marble, continue the spiral wedge to ensure homogeneity.
Why does my clay keep cracking while I wedge?
Your clay has likely dropped below its plastic limit due to evaporation or heat from your hands. To fix this, incorporate a small amount of water or wrap the clay in a damp towel to restore its tensile strength.
Can I over-wedge my pottery clay?
Yes, excessive wedging can actually dry the clay out or cause it to become "tired" and lose its structural integrity. Once the air is removed and the particles are aligned, stop immediately to preserve the optimal viscosity for throwing.
Does the 8 wedge work for all clay types?
While highly effective for stoneware and terracotta, the 8 wedge requires a more delicate touch with porcelain. Because porcelain has a smaller particle size, you must be careful not to introduce air while trying to align the platelets.

