Grab your bone folder and clear the workbench because we are about to turn raw paper into a structural masterpiece. There is a specific, electric thrill that happens when the blade of a precision craft knife meets the grain of high-GSM cardstock. You can feel the resistance of the cellulose fibers before they part. This is the heart of Daily Journaling Crafts; it is not just about recording memories but about the tactile physics of preservation. When you press a vintage stamp onto a porous surface, you are witnessing capillary action in real time as the pigment bonds with the paper pulp. We are going to harness that science to build eight layouts that do not just look pretty but possess the structural integrity to last a lifetime. Forget flimsy scrapbooks. We are talking about engineered memory keeping where every fold is a lesson in tensile strength and every adhesive choice is a study in chemical bonding. Let us get into the grit of the studio and build something that feels as heavy and significant as the memories you are keeping inside.
THE STUDIO KIT
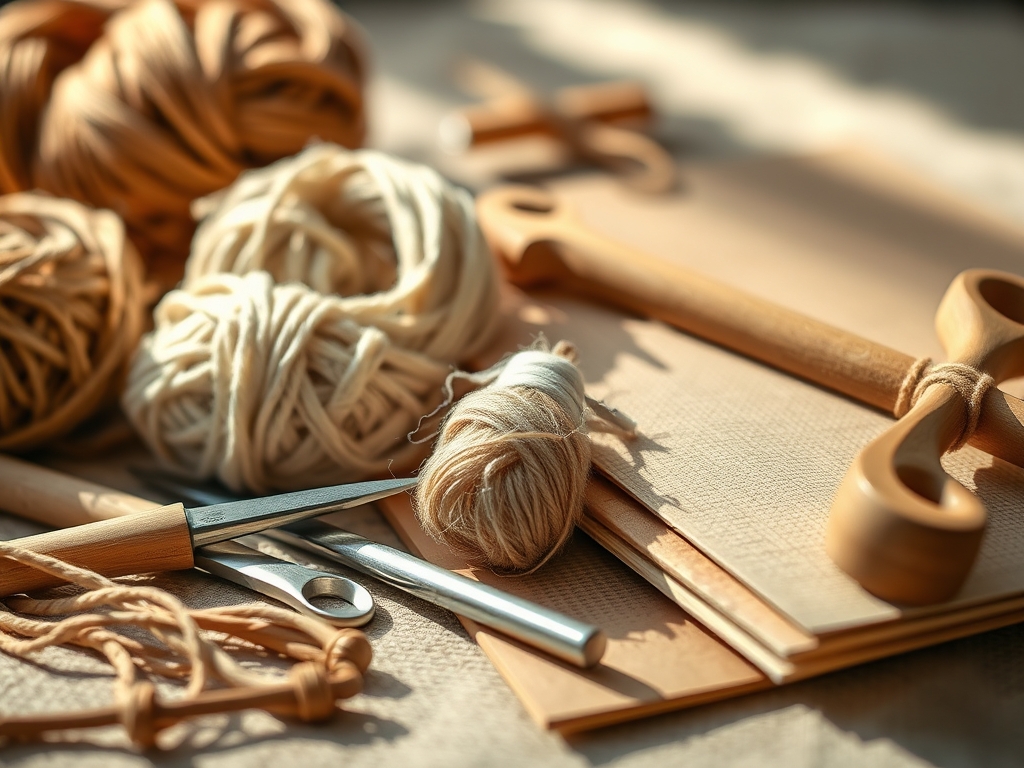
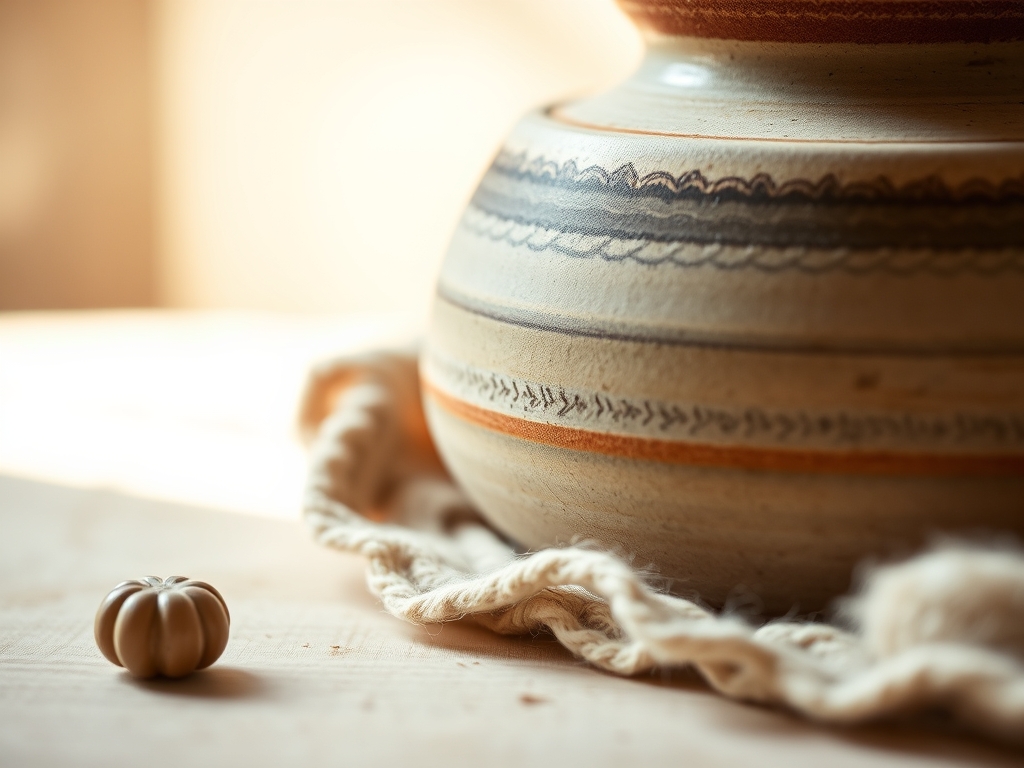
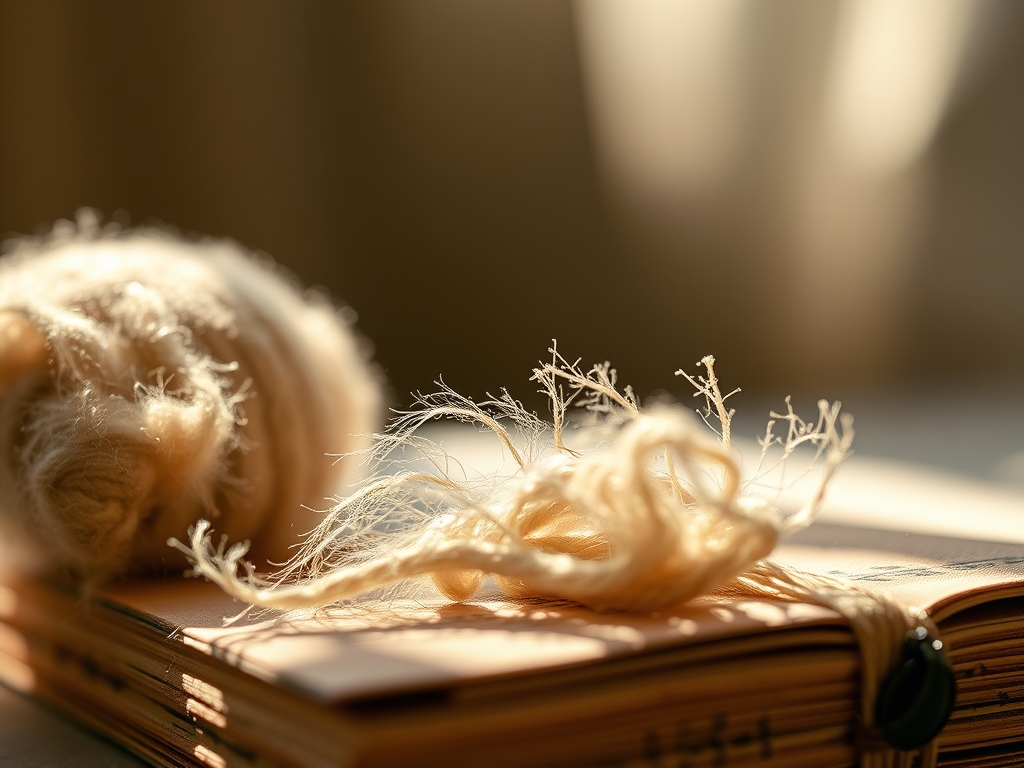
To master Daily Journaling Crafts, you need a kit that respects the material science of paper. Your primary tool is a **teflon bone folder**. Unlike plastic versions, teflon does not leave a shiny burnish mark on the paper fibers, preserving the matte finish of premium stocks. You will also need a **stainless steel cork-backed ruler** to prevent slippage during high-pressure cuts and a **rotary cutter** with a 45mm tungsten steel blade for clean, non-frayed edges on fabric inserts. For adhesives, we skip the school glue and move to **acid-free pH-neutral PVA**. This ensures that the lignin in your paper does not oxidize and turn yellow over the decades.
Material Substitutions: If you lack a professional awl for piercing signatures, a heavy-gauge upholstery needle works in a pinch. If premium vellum is out of reach, high-density tracing paper offers similar translucency but lacks the same grease resistance. For those working with recycled materials, ensure you are using de-acidification spray on newsprint to halt the breakdown of unstable wood pulp fibers.
THE TEMPO
The "Maker's Rhythm" is all about respecting the drying times and the physical limits of your materials. A standard session for these eight layouts takes approximately four hours of active bench time, but you must account for the curing phase.
- The Prep Phase (30 Minutes): Selecting your palette and measuring dimensions using digital calipers for sub-millimeter accuracy.
- The Construction Phase (2 Hours): The heavy lifting of cutting, scoring, and folding. This is where you establish the structural "bones" of the layout.
- The Bonding Phase (1 Hour): Applying adhesives and allowing them to set under weight to prevent hygroscopic warping, which occurs when paper absorbs moisture and expands unevenly.
- The Detailing Phase (30 Minutes): The final aesthetic touches and archival labeling.
THE CORE METHOD
1. The Dutch Door Flip
This layout utilizes a vertical bisect to create a multi-layered viewing experience. By cutting away the top half of a center page, you expose the underlying spread while maintaining the structural spine.
Mastery Tip: Always cut with the grain direction of the paper. Paper is easier to fold and less likely to crack when you score parallel to the fibers.
2. The Transparent Pocket
Using high-gauge acetate or vellum, create a heat-sealed pocket for loose ephemera. This adds a layer of depth and protects delicate items from skin oils.
Mastery Tip: Use a bone folder to create a sharp "memory" in the acetate. This increases the structural tension so the pocket stays closed without needing bulky fasteners.
3. The Accordion Extension
When a single page cannot contain the narrative, an accordion fold allows for a kinetic, expandable layout. This involves tip-ins where you glue a new sheet to the edge of the existing page.
Mastery Tip: Apply adhesive in a thin, 3mm strip to the margin. This creates a hinge that distributes mechanical stress evenly across the seam.
4. The Negative Space Window
Use a precision swivel knife to cut geometric shapes out of a heavy-ply cover sheet. This creates a "frame" for the content on the following page.
Mastery Tip: This technique relies on structural integrity. Ensure you leave at least a 2cm border around the window to prevent the page from tearing under its own weight.
5. The Woven Ribbon Grid
By creating parallel slits in the paper and weaving through silk or cotton ribbon, you create a tactile grid for mounting photos without using glue.
Mastery Tip: Use a jeweler's saw or a very fine blade for the slits. The friction between the ribbon and the paper creates a mechanical bond that holds the photos in place via lateral pressure.
6. The Tip-In Waterfall
Layering multiple smaller cards on top of each other creates a "waterfall" effect. This is perfect for chronological storytelling within Daily Journaling Crafts.
Mastery Tip: Space each hinge exactly 5mm apart. This allows for the arc of rotation so each card flips cleanly without catching on the layer below.
7. The Mixed Media Collage
Combine high-absorbency watercolor paper with non-porous elements like metal charms or plastic film. This layout tests your knowledge of adhesive compatibility.
Mastery Tip: Use cyanoacrylate for metal-to-paper bonds. It creates a rigid molecular chain that bridges the gap between the organic fibers and the inorganic metal.
8. The Embossed Texture Spread
Use an embossing stylus and a stencil to create raised patterns on the reverse side of the paper. This adds a 3D element that catches the light.
Mastery Tip: Work on a self-healing mat or a soft rubber pad. This allows the paper fibers to stretch into the stencil without rupturing the surface tension.
THE TECHNICAL LEDGER
Maintenance & Longevity: To keep your Daily Journaling Crafts in pristine condition, store them in a cool, dry environment with a consistent temperature. Fluctuations in humidity cause paper to expand and contract, which can eventually break down adhesive bonds. Use interleaving tissue between pages that feature heavy ink or wax seals to prevent "ghosting" or transfer.
Material Variations:
- Sustainable: Use 100% post-consumer waste paper or hemp-based sheets which have incredibly long, durable fibers.
- Premium: Opt for 300GSM Arches cold-press paper for layouts involving heavy wet media.
The Correction:
- The Issue: Paper warping after gluing. The Fix: Place the layout under a heavy, flat weight for 24 hours to ensure the moisture evaporates while the fibers are compressed.
- The Issue: Adhesive seeping through thin paper. The Fix: Switch to a dry adhesive like high-tack double-sided tape or use a "dry brush" technique with PVA.
- The Issue: Cracking at the fold. The Fix: Lightly mist the fold line with distilled water to soften the lignin before scoring.
Studio Organization: Store your paper stocks horizontally in archival-grade drawers. Vertical storage can lead to "slumping," where the weight of the paper causes it to bow at the base over time.
THE FINAL REVEAL
There is nothing quite like the weight of a finished, engineered journal in your hands. When you flip through these eight layouts, you are not just looking at a craft project; you are looking at a series of successful physics experiments. The way the light hits the embossed edges, the satisfying "snap" of a well-tensioned pocket, and the smooth glide of an accordion fold all speak to your mastery of the craft. You have taken disparate elements—pulp, pigment, and polymer—and bound them into a cohesive narrative structure. This is the peak of Daily Journaling Crafts. It is sophisticated, it is durable, and it is a total vibe.
STUDIO QUESTIONS
What is the best paper weight for journaling?
For Daily Journaling Crafts, a weight of 160GSM to 200GSM is ideal. This thickness provides enough tensile strength to support heavy adhesives and "tip-ins" without the page sagging or tearing under the weight of added ephemera.
How do I prevent ink from bleeding through?
Ink bleed is caused by high paper porosity. To stop this, choose paper with a "hard" sized surface or apply a thin layer of clear gesso. This creates a barrier that prevents the ink from penetrating the inner fibers.
Can I use hot glue for journaling?
Hot glue is generally avoided in Daily Journaling Crafts because it is a thermoplastic that becomes brittle over time. It also adds unnecessary bulk, which can distort the spine and prevent the journal from closing flush.
What does "archival quality" actually mean?
Archival quality refers to materials that are acid-free and lignin-free. This means they are chemically stable and will not undergo oxidative degradation, which causes yellowing and brittleness in paper products over long periods of time.