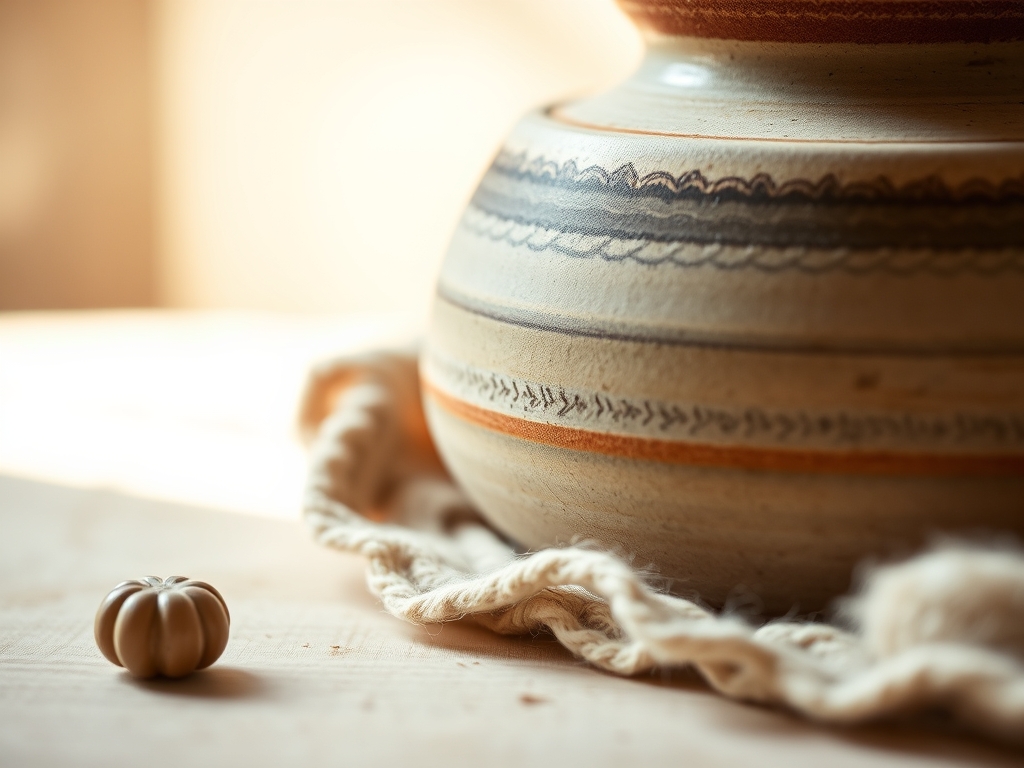
Imagine the smell of fresh cedar shavings and the cool, oily slickness of vegetable tanned leather hitting your workbench at sunrise. Your hands recognize the weight of a professional grade awl before your brain even finishes its first cup of coffee. This is where the magic happens. Crafting a Personal Style is not about following a rigid template; it is about the physical conversation between your fingertips and the molecular structure of your medium. When you understand how a specific grain reacts to humidity or why a certain thread tension creates that perfect saddle stitch, you stop being a hobbyist and start being an architect of the handmade. We are looking for that sweet spot where technical precision meets your unique creative fingerprint. It is tactile, it is messy, and it is the most rewarding puzzle you will ever solve. Grab your safety glasses and clear some space on the mat. We are about to dive into the physics of aesthetics and turn those raw materials into a signature statement that screams your name.
THE STUDIO KIT
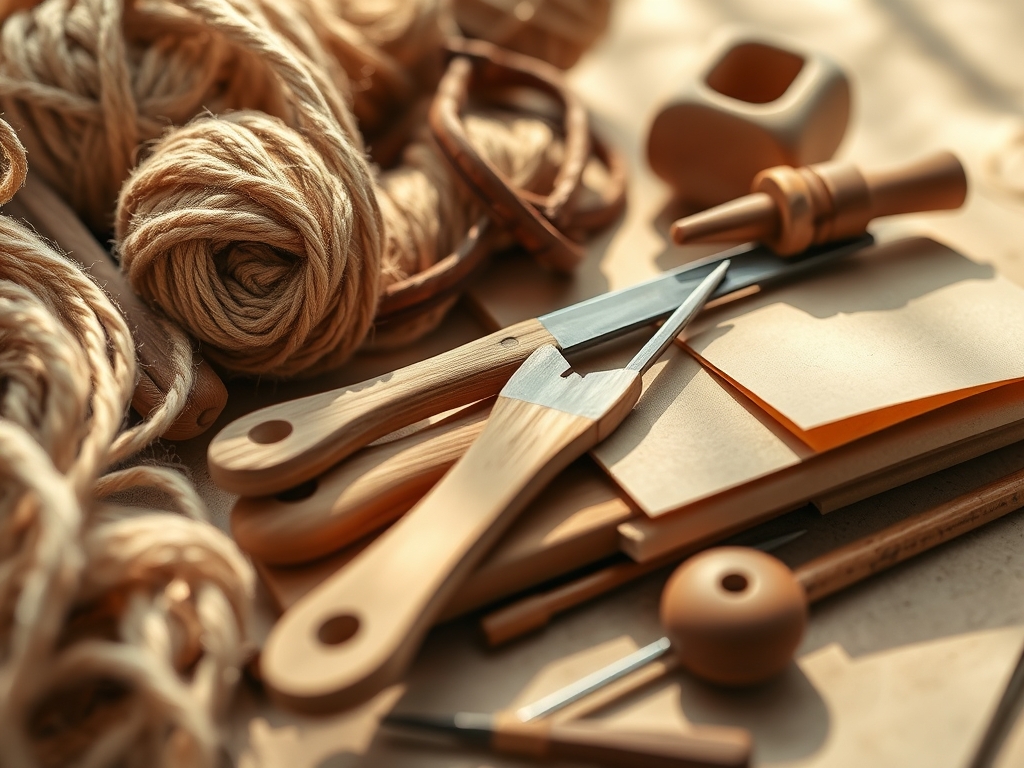
To master your signature look, you need a kit that respects the tensile strength and porosity of your materials. For leatherwork and heavy textiles, a set of stainless steel calipers is non negotiable for maintaining consistent margins. You will also need a bone folder made of genuine ox bone for high pressure creasing without damaging the fibers. If you are working with wood or resin, an oscillating tool with variable speed control allows you to manipulate surface texture without causing thermal degradation to the piece.
Material Substitutions: If you cannot source premium grade bridle leather, look for high density cork fabric. It offers similar structural integrity but requires a finer gauge needle to prevent tearing the cellular walls. Instead of traditional petroleum based epoxies, try a bio-resin derived from soy or pine rosin; it has a lower viscosity which helps it penetrate porous surfaces more effectively for a permanent bond.
THE TEMPO
The "Maker's Rhythm" is a biological clock that dictates the quality of your output. You cannot rush the curing time of an adhesive or the hygroscopic expansion of organic fibers. Generally, the conceptual phase takes about four hours of sketching and material testing. The "Rough Cut" phase requires two hours of intense focus where you establish the primary geometry of the piece.
The "Flow State" is the longest phase, often stretching over eight to ten hours, where repetitive tasks like sanding, stitching, or weaving occur. This is where your muscle memory takes over and your personal style truly emerges in the consistency of your movements. Finally, the "Finishing Phase" takes three hours. This is the most critical window because it involves burnishing edges and applying protective sealants that must bond at a molecular level to ensure longevity.
THE CORE METHOD
1. Analyzing Grain and Fiber Direction
Before you make a single cut, you must map the grain direction of your material. In woodworking, cutting against the grain causes "tear out" because you are fighting the natural lignin bonds of the cells. In fabric, the warp and weft determine how the piece will drape over time. Always align your high stress points with the strongest fiber orientation to prevent structural failure.
Mastery Tip: Use a magnifying loupe to inspect the ply of your thread or the density of the wood rings. Understanding the cellular density allows you to predict how the material will shrink or expand under different atmospheric pressures.
2. Calibrating Tool Pressure
Your tools are extensions of your skeletal system. When using a rotary cutter, the pressure must be perpendicular to the cutting mat to ensure a clean, vertical edge. If you tilt the blade, you create a beveled edge that will not align during the assembly phase. This precision is what separates amateur work from a polished personal brand.
Mastery Tip: Utilize the laws of leverage. Hold your tools at the balance point to reduce hand fatigue and increase the torque applied to the material. This ensures a consistent depth of cut across the entire surface.
3. Mastering the Bond
Whether you are using heat, chemical adhesives, or mechanical fasteners, the bond is the soul of the project. For adhesives, you must wait for the "tack" phase where the solvent evaporates and leaves behind a high energy surface. If you join the pieces too early, you trap moisture and weaken the interfacial tension.
Mastery Tip: This is all about capillary action. When applying liquid finishes or glues, the substance is drawn into the microscopic valleys of the material. Pre-sanding with a high grit paper increases the surface area, allowing for a more robust mechanical bond.
4. Controlled Abrasion and Finishing
Refining the surface is where your personal style becomes visible. Using a jeweler's saw for intricate cutouts or a series of progressive grit sandpapers allows you to control how light reflects off the finished piece. A matte finish hides imperfections, while a high gloss finish requires a perfectly level surface at the micron level.
Mastery Tip: Always sand in a circular motion to avoid creating deep linear grooves. This technique utilizes isotropic friction to create a uniform surface that accepts dyes and oils evenly across the entire substrate.
5. The Signature Burnish
The final step is sealing the edges. For leather or wood, burnishing creates heat through friction, which melts the natural waxes and fibers together into a smooth, plastic-like barrier. This prevents moisture from entering the porous interior and causing rot or warping.
Mastery Tip: The science here is thermoplasticity. By generating localized heat through rapid friction with a wooden slicker, you are literally reshaping the protein or cellulose chains at the edge of your material to create a permanent, water resistant seal.
THE TECHNICAL LEDGER
Maintenance & Longevity: To keep your handmade pieces in gallery condition, avoid direct UV exposure which breaks down polymer chains and causes color fading. Apply a pH neutral conditioner every six months to maintain the elasticity of organic fibers.
Material Variations:
- Sustainable: Use reclaimed FSC certified timber or recycled ocean plastics.
- Premium: Opt for Grade A full grain hides or long staple Egyptian cotton.
- Technical: Incorporate carbon fiber weaves for high strength to weight ratios.
The Correction:
- The Gap: If your joints have a gap, do not just fill it with glue. Mix fine sawdust from the same material with a binder to create a "structural wood flour" that matches the thermal expansion of the piece.
- The Over-Stitch: If you pierce your thread while stitching, the entire line is compromised. Back out the needle and use a blunt tip tapestry needle to avoid splitting the multi-ply cord.
- The Surface Burn: If an oscillating tool leaves a scorch mark, you are moving too slowly. Increase the oscillations per minute but decrease the downward pressure to allow the air to cool the interface.
Studio Organization: Store your materials in a climate controlled environment with a steady 40 percent humidity. Use acid free tissue paper between layers of finished work to prevent acid migration and chemical staining between different dyes.
THE FINAL REVEAL
Look at that! You have successfully navigated the complex physics of creation to produce something truly iconic. Your piece does not just look good; it is structurally sound, chemically stable, and ergonomically balanced. Notice how the light catches the burnished edges and how the weight feels substantial yet comfortable in your hand. This is the result of respecting the science behind the craft. You have taken raw, chaotic materials and imposed a beautiful, technical order upon them. That is the essence of Crafting a Personal Style. It is a bold, high energy expression of your technical mastery and your creative soul. Now, go show the world what a "smart girl with a jeweler's saw" can really do!
STUDIO QUESTIONS
How do I find my unique crafting voice?
Experiment with different material densities and finishing techniques. Your personal style emerges when you consistently choose specific aesthetic variables, such as high contrast textures or minimalist geometric forms, across all your technical projects. Consistency builds a recognizable brand.
What is the best way to prevent material waste?
Use calipers for precise measurements and create digital templates before cutting. Understanding the nesting patterns of your shapes on a substrate allows you to maximize surface area usage and minimize the "off-cut" scrap produced during the rough cut phase.
Can I mix different types of materials safely?
Yes, but you must account for different coefficients of thermal expansion. If you bond metal to wood, use a flexible adhesive that can absorb the stress as the wood swells with humidity while the metal remains rigid.
Why does my finish look cloudy or dull?
Cloudiness is usually caused by moisture entrapment during the curing process. High humidity prevents solvents from evaporating correctly. Always apply finishes in a dry, temperature controlled environment to ensure the molecular alignment of the sealant remains transparent and glossy.