

Close your eyes and listen to the snap of high-tension cotton warp as it vibrates under your fingertips. It is not just string; it is a structural grid waiting for your intervention. To master the loom, you have to treat it like an athlete treats the track. You need Daily Weaving Drills to build the muscle memory required for consistent tension and flawless edge control. When you pull a wool roving through the shed, you are engaging with the frictional coefficient of the fibers. The way those microscopic scales interlock determines whether your tapestry stays crisp or sags over time. We are diving deep into the physics of the weave today. We will be looking at how varying the ply of your yarn changes the light refraction on the surface of your work. It is about more than just making something pretty; it is about understanding the tensile strength of your materials and how they react to the atmospheric moisture in your studio. Let us get our hands dirty with some fiber science.
THE STUDIO KIT
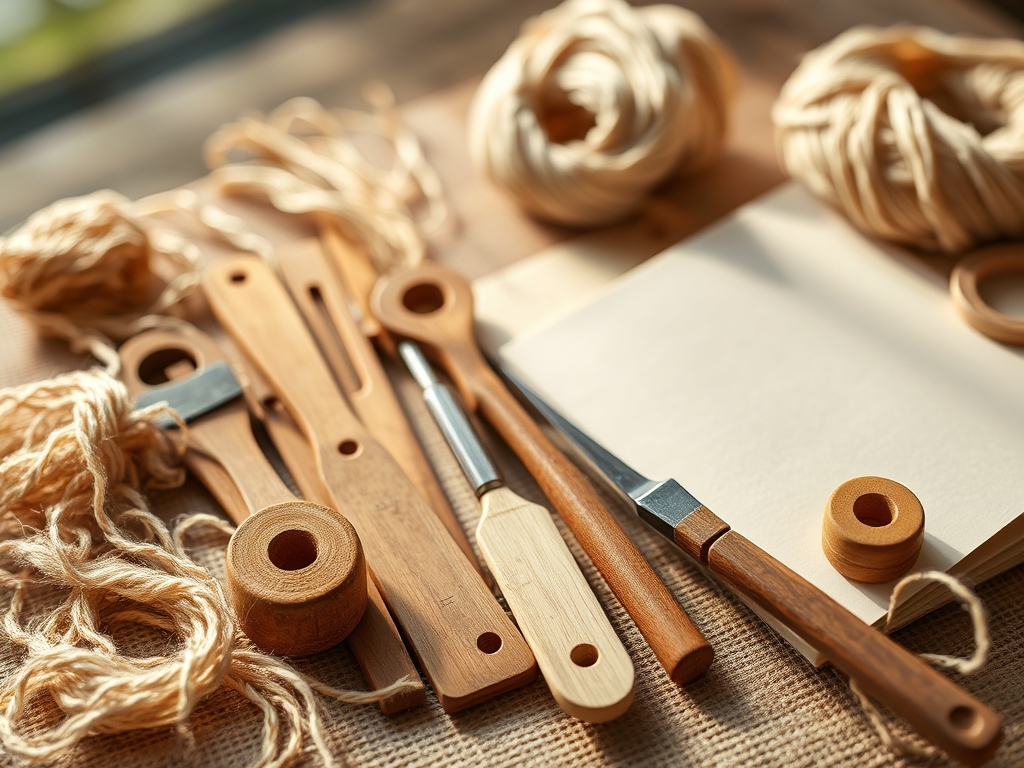
To execute these drills with precision, your toolkit needs to be calibrated for accuracy. You will need a sturdy frame loom with adjustable tension bolts. For your warp, select a high-density mercerized cotton; the mercerization process increases the luster and strengthens the cellulose fibers by swelling the cell walls. Your weft materials should range from chunky wool roving to fine silk threads to experiment with different gauges.
Essential tools include a weighted weaving beat to pack your rows evenly and a metal tapestry needle for intricate manipulation. Use a pair of precision calipers to measure your "picks per inch" (PPI) to ensure your density remains constant throughout the drill. If you do not have a professional loom, a rigid cardboard frame with notched edges serves as a functional substitute. For yarn, you can swap premium wool for recycled sari silk or even shredded cotton jersey, provided you account for the elasticity of the knit fabric which can cause the edges of your tapestry to pull inward if not handled with care.
THE TEMPO
The Maker's Rhythm is a physiological state where your heart rate synchronizes with the repetitive motion of the shuttle. For these Daily Weaving Drills, expect to spend about fifteen minutes on setup and warping. Each specific technique drill takes approximately twenty minutes of focused execution. The total cycle, including the critical "tension check" and finishing, usually spans ninety minutes. This tempo is designed to prevent repetitive strain while keeping your brain in a high-beta state of focused creativity. By timing your rows, you develop a sense of "tactile timing," allowing you to predict exactly how much material you need for a specific surface area.
THE CORE METHOD
1. The Classic Plain Weave Reset
The foundation of all textile structural integrity is the simple over-under pattern. In this drill, focus on creating a perfectly straight "fell line" where the weft meets the previous row. Use your beat to tap the yarn into place without crushing the fibers.
Mastery Tip: This relies on frictional resistance. If you pack the weft too tightly, you increase the internal pressure of the weave, causing the warp to bow. Keep the "smile" shape in your yarn before beating to allow enough slack for the yarn to travel around the warp threads.
2. Soumak Braiding for Dimensionality
Soumak involves wrapping the weft yarn around individual warp threads to create a raised, braided effect. It is a structural technique used to add literal depth and shadow to a flat surface.
Mastery Tip: The science here is torsional force. As you wrap the yarn, you are adding a slight twist to the fiber. If you wrap too tightly, the warp will twist in the direction of the wrap, distorting the plane of the tapestry.
3. Rya Knotting and Pile Density
Rya knots allow you to incorporate long fringe or "pile" into your work. This drill focuses on the mathematical spacing of knots to ensure the weight of the fringe does not distort the tension of the base weave.
Mastery Tip: Consider the gravitational pull on the warp. Heavy fringe adds downward force. You must counterbalance this by weaving several rows of tight plain weave between rows of knots to lock the structure in place.
4. Hatching and Color Gradients
Hatching is the technique of interlocking two different colored wefts to create a visual blend. This is a study in optical mixing where the eye perceives a third color at the junction.
Mastery Tip: This involves interlocking geometry. By varying the length of the "teeth" where the colors meet, you manipulate the light absorption of the surface, creating a smoother transition between values.
5. Eccentric Weaving for Organic Curves
Move away from the horizontal grid by weaving at angles. This allows you to create circles and fluid shapes within the rigid structure of the loom.
Mastery Tip: You are dealing with non-linear tension. When weaving at an angle, the weft exerts force diagonally. You must use a "stepping" technique to prevent the warp threads from bunching together at the peak of the curve.
6. Slit Weaving and Negative Space
Intentional gaps, or slits, are created by turning the weft back on itself rather than crossing over to the next warp thread. This is the basis for tapestry "kilim" techniques.
Mastery Tip: This tests the structural shear of the fabric. Long vertical slits weaken the tapestry. To maintain integrity, you must "sew" the slits together later or ensure they are no longer than one inch to prevent the fabric from splitting under its own weight.
THE TECHNICAL LEDGER
To ensure your tapestry lasts for decades, you must manage the protein and cellulose degradation of the fibers. Always store your work away from direct UV light, which breaks down molecular bonds and causes "shattering" in silk and brittleness in wool.
Material Variations:
- Sustainable: Use organic hemp for warp; it has incredible tensile strength and is naturally resistant to mold.
- Premium: Incorporate mulberry silk for high-sheen accents that reflect light differently than matte wool.
- Recycled: Use selvage edges from garment factories to add raw, industrial texture.
The Correction:
- Drawing In: If your edges are narrowing, you are pulling the weft too tight. Fix this by using a "weaving sword" to hold the width consistent as you beat.
- Looping: If loops appear on the back, your tension is uneven. Use an awl to gently pull the slack through the row until the tension is equalized.
- Warp Gaps: If the warp is visible where it should be covered, your weft gauge is too thin for the warp spacing. Double your weft yarn to increase the bulk density.
Studio Organization:
Store your ongoing drills on a vertical rack to prevent the fibers from compressing. Use acid-free tissue paper between layers if you must roll the tapestry. This prevents "fiber transfer" and keeps your whites crisp.
THE FINAL REVEAL
There is nothing quite like the feeling of cutting a finished piece off the loom. When you release the tension, the fibers "relax" into their final positions; it is a physical sigh of relief for the material. Your Daily Weaving Drills have transformed a pile of loose yarn into a cohesive, structurally sound textile. Look at the way the light catches the Soumak braids and how the hatching creates a soft, painterly glow. You have not just made a decoration; you have engineered a piece of art. The texture is rich, the edges are straight, and the structural integrity is professional grade. You are officially a fiber boss.
STUDIO QUESTIONS
How do I prevent my tapestry from curving inward?
Maintain a "weft angle" or "smile" before beating each row. This provides enough length for the yarn to travel over and under the warp without pulling the outer threads toward the center, preserving the lateral width of the piece.
What is the best warp for beginners?
A 12/6 cotton warp is ideal. It offers high tensile strength and minimal stretch, which provides a stable foundation for learning tension control. It is also smooth, reducing friction as you pass the needle through the shed.
How do I fix a broken warp thread?
Overlap a new piece of warp thread several inches above and below the break. Secure it with "T-pins" at the top and bottom of the loom. Once the weaving is complete, you can weave the loose ends into the back.
Why does my wool roving look fuzzy after weaving?
This is caused by fiber abrasion. Wool roving has no twist, making it delicate. Minimize handling and use a smooth-toothed comb rather than a heavy beat to settle the roving into place without distressing the delicate surface fibers.

