The smell of fresh cedar shavings and the cool, oily weight of a high carbon steel chisel are better than caffeine for waking up the brain. You know that feeling when the grain of the wood resists just enough to let you know it is alive? That is the tactile feedback we live for. Crafting a Productive Day starts with syncing your physical movements to the inherent properties of your materials before the first cut is even made. Whether you are working with a dense hardwood or a delicate 20 pound bond paper, the physics remains the same. You have to respect the tensile strength of your medium to avoid structural failure. If you jump into a project without a plan, you are just making a mess. But when you align your internal rhythm with the mechanical requirements of your tools, magic happens. We are talking about high density creativity that feels effortless because you have mastered the science of the studio. Let us get your hands dirty and your mind sharp.
THE STUDIO KIT
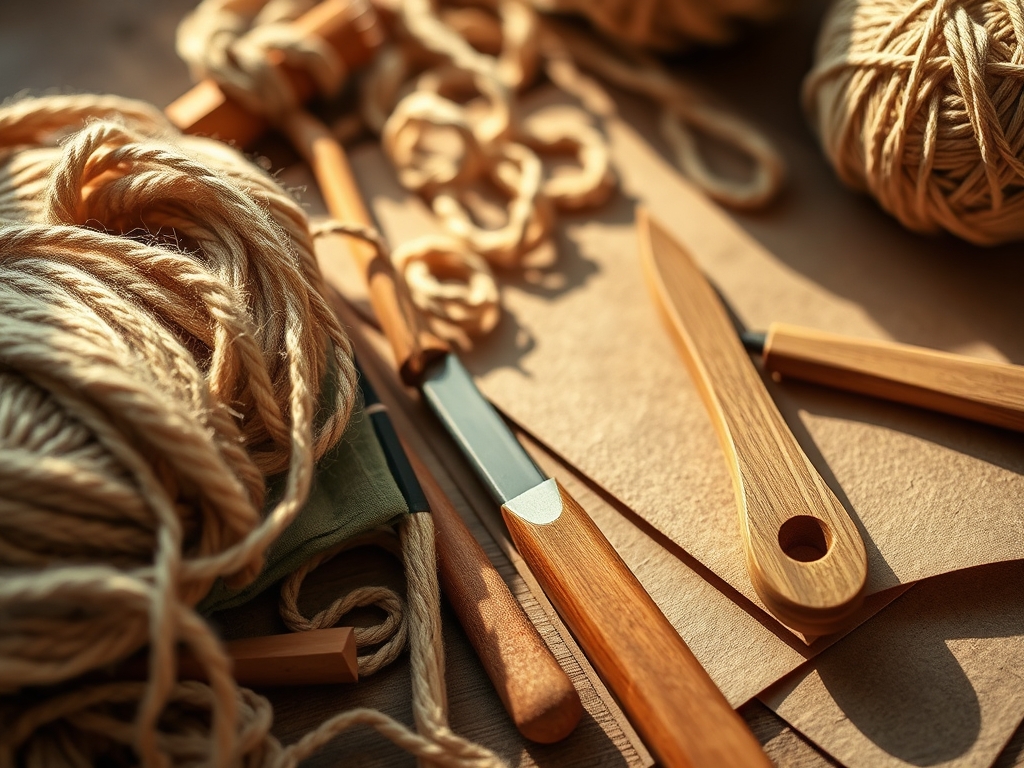
To dominate your studio session, you need a kit that balances precision with power. My go to setup starts with a pair of digital calipers for measuring thickness down to the thousandth of an inch. You cannot rely on a wooden ruler when you are dealing with material tolerances that affect how joints fit together. For marking, a thin bladed marking knife is superior to a pencil because it severs the fibers, creating a physical track for your saw or chisel to follow. This prevents grain tear out and ensures crisp lines.
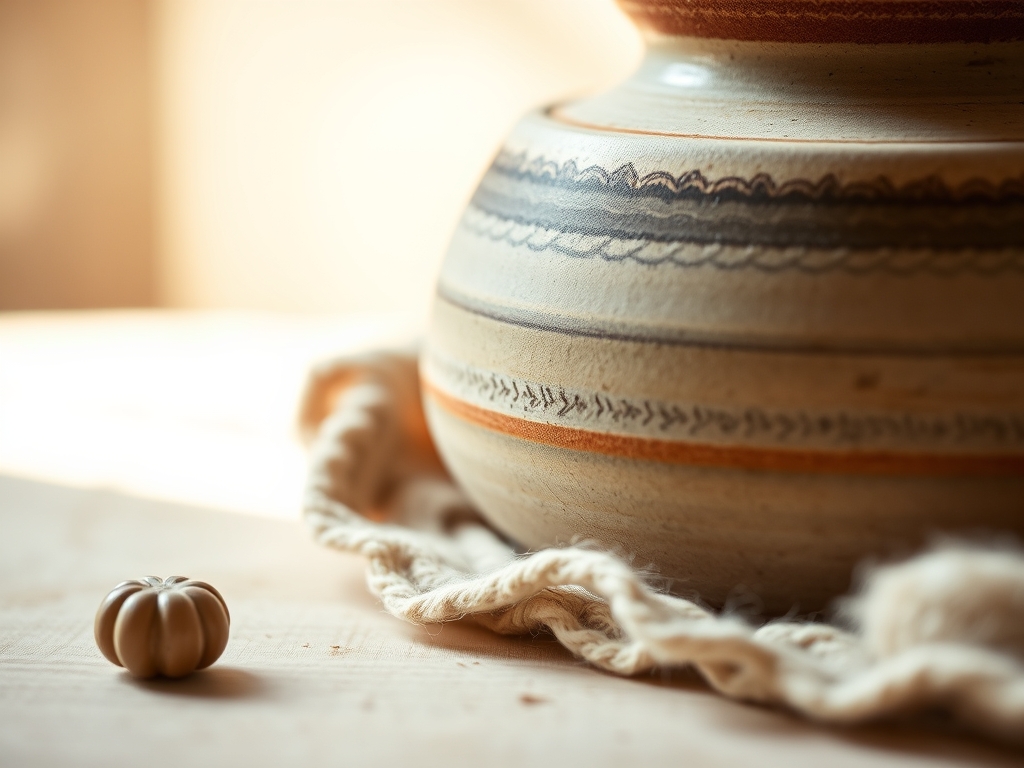
Your material list should include a variety of substrates. If you are working in wood, look for kiln dried stock with a moisture content between six and eight percent to prevent warping. If you are a paper or textile artist, consider the gsm (grams per square meter) or the thread count to ensure the base can handle the weight of your adhesives or dyes.
Material Substitutions: If you cannot find high grade birch plywood, look for MDF core veneers which offer superior dimensional stability. If you lack a professional bone folder for creasing, a polished agate stone or even a smooth plastic putty knife can work, provided you do not mar the surface of your medium.
THE TEMPO
The Maker's Rhythm is not about rushing; it is about understanding the curing times and the mechanical limits of your body. A truly productive day is divided into three distinct phases. Phase one is the Cold Start (60 minutes), where you calibrate your tools and perform test cuts on scrap material. This is where you check the bevel angle of your blades. Phase two is the Flow State (4 hours), the period of high intensity assembly where your focus is absolute. Phase three is the Refinement (2 hours), dedicated to sanding, polishing, or finishing.
Remember that viscosity dictates your pace. If you are applying a finish, you cannot rush the evaporation of solvents. Pushing a second coat too early traps moisture, leading to a cloudy finish known as blushing. Respect the clock, and the clock will respect your craft.
THE CORE METHOD
1. Calibrate the Workspace
Before you touch your primary stock, ensure your work surface is perfectly level. Use a spirit level to check the horizontal plane. A workbench that is off by even a fraction of a degree will introduce cumulative error into your measurements.
Mastery Tip: This is all about structural integrity. When your base is level, gravity works with you rather than against you, ensuring that vertical assemblies remain plumb and joints distribute weight evenly across their surface area.
2. Grain Direction Analysis
Always read the grain before you cut. In wood, this means looking at the growth rings. In paper, it means folding a corner to see which way it resists. Cutting against the grain causes frictional heat and splintering.
Mastery Tip: Use the science of cellular structure. By cutting with the grain, you are sliding between the long chains of cellulose rather than hacking through them. This results in a smoother surface that requires 40 percent less sanding.
3. The Pilot Hole Protocol
Never drive a fastener into a dense material without a pilot hole. Use a drill bit that matches the root diameter of the screw. This prevents the material from splitting under the pressure of the threads.
Mastery Tip: This utilizes displacement physics. By removing a specific volume of material first, you allow the screw threads to compress the surrounding walls without exceeding the elastic limit of the material, creating a much stronger mechanical bond.
4. Adhesive Application and Clamping
Apply glue in a thin, even layer using a silicone brush. You want just enough for capillary action to pull the adhesive into the pores of the material. When clamping, apply pressure from the center outward to avoid trapping air pockets.
Mastery Tip: Watch for "squeeze out." If no glue beads appear, you have a "starved joint." If too much appears, you risk interfering with the final stain. The goal is a uniform film that maximizes the molecular bond between surfaces.
5. Precision Burnishing
Whether you are finishing a leather edge or a wooden inlay, burnishing uses friction to heat the natural waxes and resins within the material, sealing the surface. Use a hardwood burnisher or a high grit abrasive.
Mastery Tip: This process relies on thermoplasticity. The heat generated by friction momentarily softens the fibers, allowing them to be compressed into a glass like, hydrophobic barrier that protects against moisture.
6. The Final Grit Sequence
Sanding should always follow a logical progression: 80, 120, 180, and finally 220 grit. Skipping a step leaves deep scratches that will be magnified once a finish is applied.
Mastery Tip: This is about surface topography. Each successive grit replaces the deep valleys of the previous grit with shallower ones. By the time you reach 220, the scratches are smaller than the human eye can perceive, creating the illusion of a perfectly flat plane.
7. Environmental Curing
Place your finished piece in a dust free zone with stable humidity. Rapid changes in temperature can cause the material to expand or contract, leading to stress fractures in the finish.
Mastery Tip: This stage respects equilibrium moisture content. Allowing the piece to slowly acclimate to the room's atmosphere ensures that the internal stresses of the material are neutralized before the piece is put into use.
THE TECHNICAL LEDGER
Maintenance & Longevity: Keep your steel tools coated in a thin layer of camellia oil to prevent oxidation. Sharpen your blades every four hours of active use using a water stone. A dull tool is a dangerous tool because it requires more force, increasing the risk of a slip.
Material Variations:
- Sustainable: Bamboo ply offers incredible compressive strength and grows faster than hardwoods.
- Recycled: Reclaimed oak has a high density but may contain hidden ferrous metals; always sweep with a magnet.
- Premium: Exotic hardwoods like Cocobolo contain natural oils that can interfere with standard glues; use an acetone wipe before bonding.
The Correction:
- The Gap: If a joint has a small gap, mix fine sawdust from the project with wood glue to create a matching filler.
- The Tear Out: If a cut splinters, stop immediately. Apply a piece of blue painter's tape over the cut line to provide lateral support to the fibers.
- The Blotchy Finish: If the stain looks uneven, it is because the wood has varying porosity. Use a pre stain conditioner to even out the absorption rate.
Studio Organization: Store your materials horizontally on a rack with at least three points of support to prevent sagging. For small parts, use clear conductive bins to prevent static buildup if you are working with electronic components or fine powders.
THE FINAL REVEAL
Look at that! You have successfully navigated the complex physics of the studio to create something truly substantial. When you run your hand over that burnished surface, you are feeling the result of precision engineering and a deep respect for your tools. Crafting a Productive Day is not just about the finished object; it is about the mastery you gained during the process. You handled the torque, managed the viscosity, and conquered the grain. Your studio is now a place of high efficiency and even higher vibes. Go ahead and take a photo of that masterpiece; you earned the bragging rights.
STUDIO QUESTIONS
How do I prevent wood from splitting when I use nails?
Blunt the tip of the nail with a hammer before driving it in. A blunt tip punches through the fibers like a tiny cookie cutter rather than acting as a wedge that forces the grain apart.
Why is my glue not holding on certain plastics?
Many plastics have low surface energy, meaning liquids bead up rather than wetting the surface. Lightly abrade the area with 120 grit sandpaper to create a mechanical "tooth" for the adhesive to grip.
What is the best way to clean a clogged sandpaper belt?
Use a rubber crepe stick while the sander is running. The rubber creates high friction that pulls the loaded dust and resin out of the abrasive grits without dulling the sharp edges of the aluminum oxide.
How can I tell if my chisel is truly sharp?
A truly sharp edge will shave the hair on your forearm or slice through a piece of loose tissue paper without snagging. This indicates the edge has been honed to a micron level thickness.