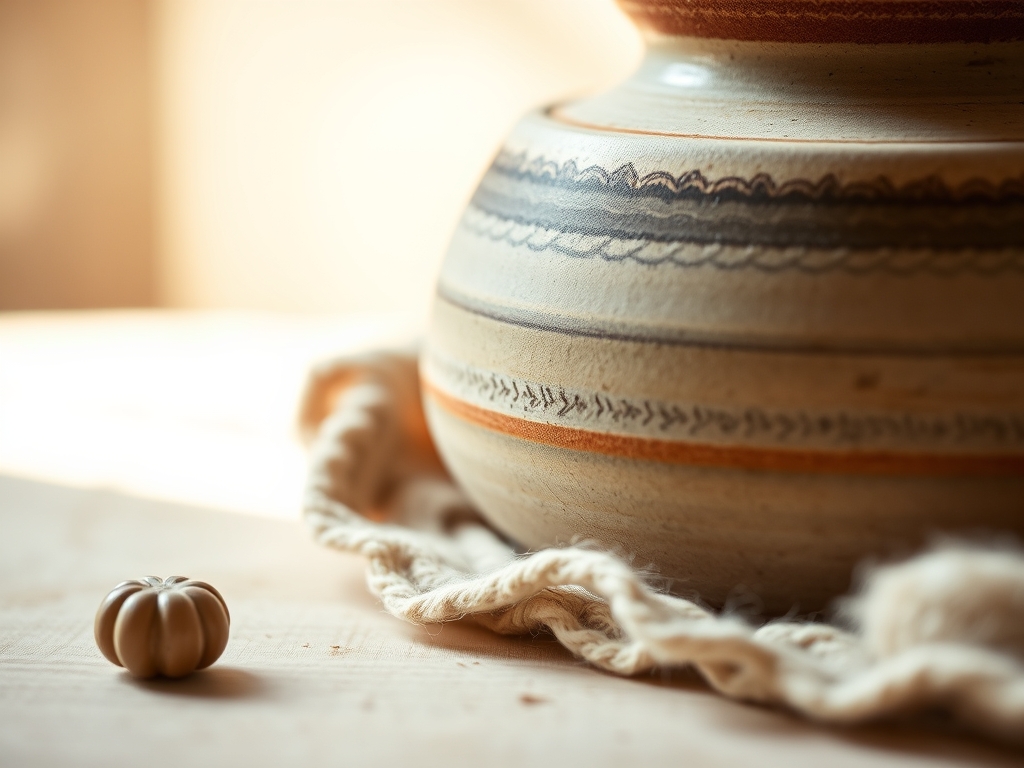
The tactile crunch of mercerized cotton sliding against a polished steel hook is the ultimate sensory reset. When you integrate Daily Crochet Habits into your morning routine; you are not just making art; you are recalibrating your nervous system through repetitive mechanical motion. The physics of the loop depends entirely on the tensile strength of your fiber. If your yarn has too much "give," your stitches will lose their structural integrity over time. By focusing on small motifs, you create a manageable feedback loop that rewards your brain with a hit of dopamine every fifteen minutes. Think of your crochet hook as a precision lever. You are using mechanical advantage to manipulate a continuous strand of fiber into a stable, interlocking lattice. Whether you are sipping espresso or riding the train; these tiny geometric anchors provide a grounding force. We are going to master five specific shapes that utilize different tension profiles to ensure your hands stay nimble and your mind stays sharp.
THE STUDIO KIT
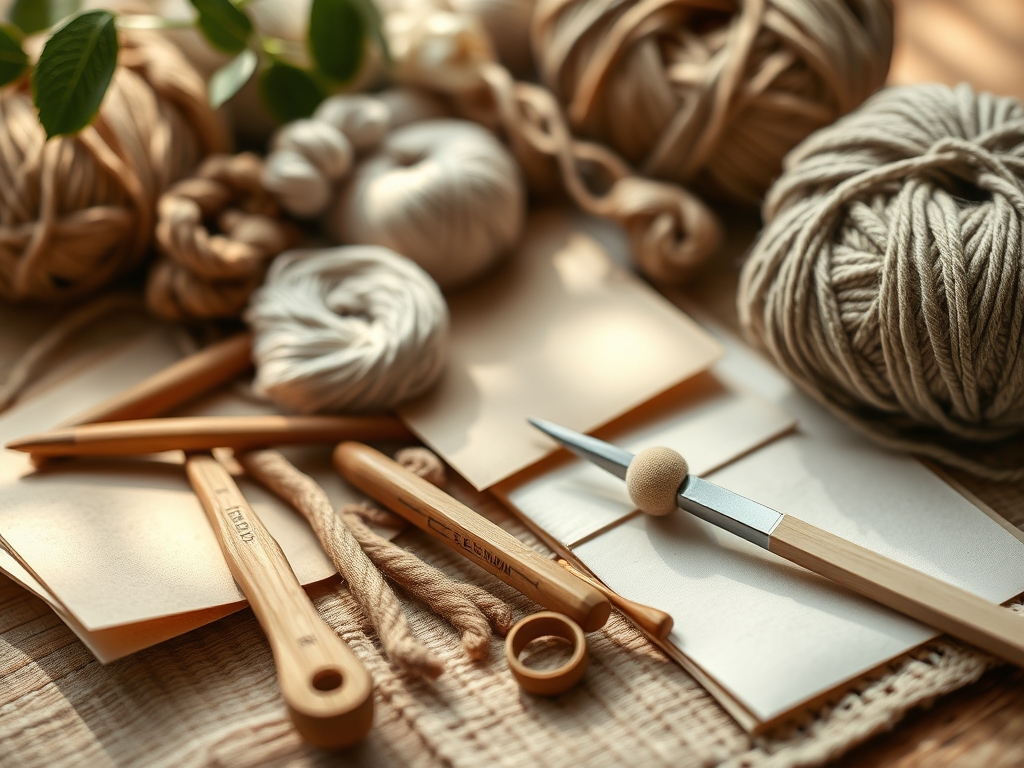
To execute these motifs with professional precision; you need tools that respect the physics of the fiber. I recommend a set of ergonomic aluminum hooks or high-carbon steel if you are working with fine lace weights. Use a digital caliper to check your yarn diameter; consistency is the enemy of the amateur. For your material, start with a four-ply combed cotton. Cotton is inelastic, meaning it provides immediate feedback on your tension. If you pull too hard, the stitch won't budge; if you are too loose, the gaps are obvious.
Material Substitutions: If you cannot find combed cotton; look for bamboo blends. Bamboo has a high silica content which provides a natural sheen and antimicrobial properties. For a more rugged, industrial look, you can use hemp cord, though the high lignin content makes it much stiffer and harder on the joints. Always keep a sharp pair of micro-tip embroidery scissors and a heavy-gauge darning needle in your kit. A bone folder is also surprisingly useful for flattening your finished motifs and "setting" the stitches before blocking.
THE TEMPO
The "Maker's Rhythm" is a state of flow where your stitch count becomes subconscious. For these small motifs; the tempo is divided into three distinct phases. First is the Initiation Phase (2 minutes), where you establish the magic ring or foundation chain. This requires the highest cognitive load as you set the center of gravity for the piece. Second is the Expansion Phase (8 minutes), where the geometric pattern repeats and your speed increases. Finally; there is the Finishing Phase (3 minutes), where you weave in ends and burnish the edges.
By dedicating just fifteen minutes to these Daily Crochet Habits; you complete a full cycle of creation. This short duration prevents hand fatigue and "claw cramp," a common issue caused by sustained isometric contraction of the flexor digitorum muscles. If you find your rhythm lagging; check your hook's friction coefficient. A tiny drop of wax or even the natural oils from your skin can help the yarn glide more efficiently across the throat of the hook.
THE CORE METHOD
1. The Kinetic Circle
The foundation of most motifs is the magic ring. Unlike a standard chain loop; the magic ring allows you to collapse the central void entirely. This creates a high-density core that prevents the motif from stretching out of shape over years of use. You are essentially creating a slipknot that acts as a structural anchor for the first round of stitches.
Mastery Tip: Understand surface tension. When you pull the tail of the magic ring; you are applying radial pressure to the base of your stitches. If you pull too quickly; the friction can cause the fibers to fray or "pill." Pull slowly to allow the fibers to settle into their new alignment without thermal damage from friction.
2. The Radial Star
This motif uses "treble" stitches to create long, elegant rays extending from the center. The physics here involves cantilevered strength. Because the stitches are tall; they have a tendency to lean or wobble. You must maintain a high "twist per inch" in your yarn to ensure the vertical pillars remain upright and do not collapse into a messy spiral.
Mastery Tip: Observe the ply direction. Most yarn is S-twisted or Z-twisted. If you notice your star points are twisting clockwise; you are likely working against the natural grain of the fiber. Adjust your hook insertion angle to compensate for the yarn's inherent torque.
3. The Hexagonal Lattice
The hexagon is nature's most efficient shape for tiling. In this motif; we focus on the "corner" increases. By placing three stitches into a single coordinate; you create a 120-degree angle. This distributes the mechanical stress of the fabric evenly across six points; making it the most durable motif for blankets or bags.
Mastery Tip: Use capillary action knowledge when blocking. When you wet-block a hexagon; the water travels through the porous fibers. As it evaporates; the hydrogen bonds in the cellulose reform in the shape you have pinned down. Always use a T-square to ensure your angles are exactly 120 degrees.
4. The Picot Edge Drop
The picot is a decorative "nub" created by chaining three and slip-stitching back into the base. It adds a tactile, bumpy texture to the perimeter of your work. From a physics perspective; the picot acts as a "buffer zone" that protects the main body of the motif from edge-wear and abrasion.
Mastery Tip: Maintain structural integrity by tightening the slip stitch. If the slip stitch is loose; the picot will flop. You want the picot to stand proud of the edge; which requires a high-tension "anchor" at the base of the chain.
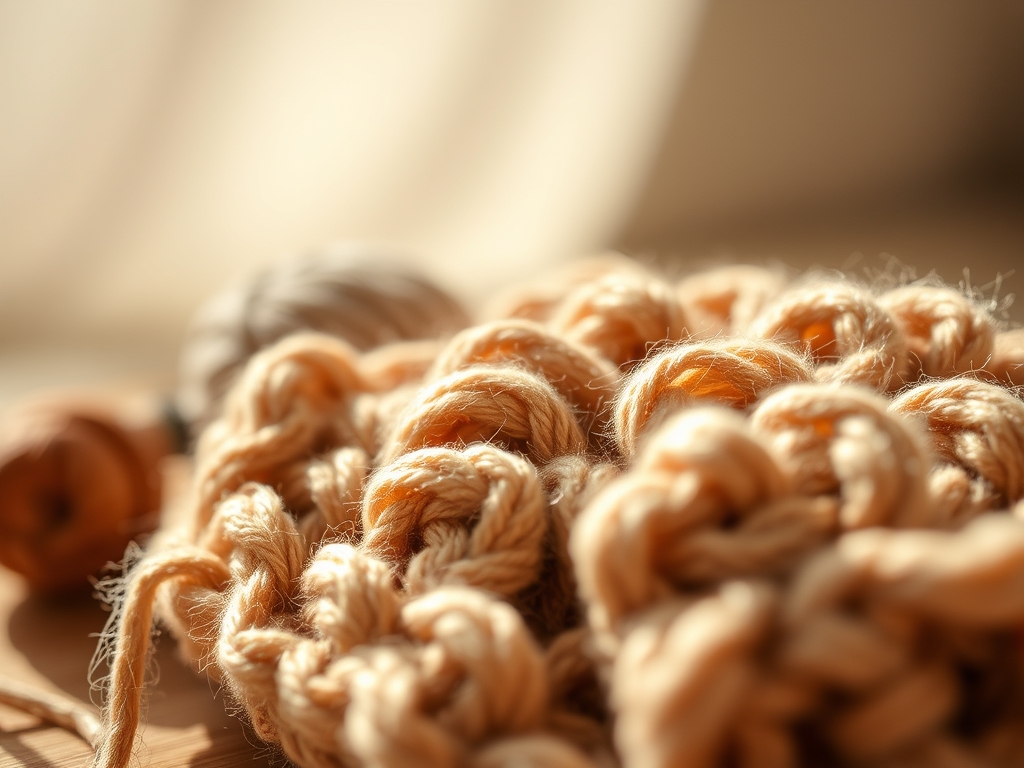
5. The Volumetric Puff
Unlike flat motifs; the puff stitch adds a third dimension. By pulling up multiple loops without finishing them; you create a pocket of trapped air. This increases the thermal insulation properties of the fabric and creates a soft; squishy texture that is incredibly satisfying to touch.
Mastery Tip: Watch your gauge consistency. Because the puff stitch uses a significant volume of yarn; any variation in your pull-length will result in uneven "bubbles." Use your index finger as a depth gauge to ensure every loop is pulled to the exact same height before closing the stitch.
THE TECHNICAL LEDGER
Maintenance & Longevity: To keep your motifs pristine; avoid machine washing. The agitation can cause "micro-felting" where the fibers lock together and lose their definition. Instead; soak them in room-temperature water with a pH-neutral detergent. Dry them flat on a cork board to maintain their geometric precision.
Material Variations: For a sustainable upgrade; use recycled PET yarn made from plastic bottles. It has incredible tensile strength and is virtually waterproof. For a premium experience; try mulberry silk. Silk has a triangular prism-like structure that reflects light; giving your Daily Crochet Habits a literal glow.
The Correction:
- The Cupping Effect: If your motif looks like a bowl; you have too few stitches in your outer rounds. Increase your frequency of additions to flatten the plane.
- The Ruffle Effect: If the edges are wavy; you have too many stitches. The material is fighting for space. Frogging (ripping back) is the only scientific fix.
- The Gap Tooth: If you see holes between stitches; your hook is too large for your yarn gauge. Switch to a smaller diameter tool to increase stitch density.
Studio Organization: Store your yarn in airtight acrylic bins to prevent moisture absorption. Humidity increases the weight of the fiber and can alter your tension mid-project. Use a labeling system that notes the dye lot and fiber content to avoid "shading" errors in larger assemblies.
THE FINAL REVEAL
Look at that! You have successfully transformed a linear strand of fiber into a complex; three-dimensional geometry. These five motifs are more than just scraps; they are the building blocks of a sophisticated "Maker's Portfolio." By sticking to your Daily Crochet Habits; you have trained your hands to recognize subtle changes in fiber density and tension. The finished pieces feel substantial; crisp; and professional. Whether you join them into a grand lace tablecloth or keep them as tactile "worry stones" in your pocket; you have mastered the physics of the loop. Your studio is now a place of high-energy precision and deep; rhythmic relaxation.
STUDIO QUESTIONS
How do I prevent my hands from cramping?
Maintain an ergonomic grip and take "micro-breaks" every ten minutes. Use a hook with a larger handle diameter to reduce the force required by your intrinsic hand muscles. Stretching your extensors regularly prevents long-term repetitive strain injuries.
Why does my cotton yarn feel stiff?
Cotton lacks elasticity because it is a cellulose fiber. The stiffness is actually a sign of high quality and durability. To soften the finished motif; you can lightly steam it with a professional garment steamer to relax the molecular bonds.
Can I mix different yarn brands in one motif?
Only if the "wraps per inch" (WPI) match exactly. Even if the weight category is the same; different manufacturing processes result in different densities. Use a WPI tool to verify compatibility before starting your Daily Crochet Habits.
What is the best way to hide yarn tails?
Use a sharp tapestry needle to weave the tail through the "dense" part of the stitches for at least two inches. Reverse direction for one inch to create a mechanical lock that prevents the tail from slipping out during use.
How do I know if my tension is correct?
Your fabric should be firm but flexible. If it stands up on its own like cardboard; your tension is too high. If it looks like a spiderweb and loses its shape; your tension is too low. Aim for "balanced density."