
Close your eyes and listen to the crisp, rhythmic snap of a heavy-duty rotary cutter slicing through five-ounce vegetable-tanned leather. It is more than just a sound; it is the vibration of precision traveling through your fingertips. When we talk about crafting for professional growth, we are not just gluing glitter to cardstock. We are engaging in a high-stakes dialogue with material physics. Every time you feel the resistance of a high-density fiber or the slick glide of a bone folder against a stubborn crease, you are training your brain to solve complex spatial problems. This journey is about moving from a hobbyist mindset to a master craftsman level where you understand the tensile strength of your materials as well as you know your own name. We are diving into eight specific projects designed to sharpen your technical acumen, enhance your manual dexterity, and turn your studio into a laboratory of innovation. Let us get our hands dirty and our minds sharp because the path to professional mastery is paved with sawdust, wax thread, and sheer brilliance.
THE STUDIO KIT
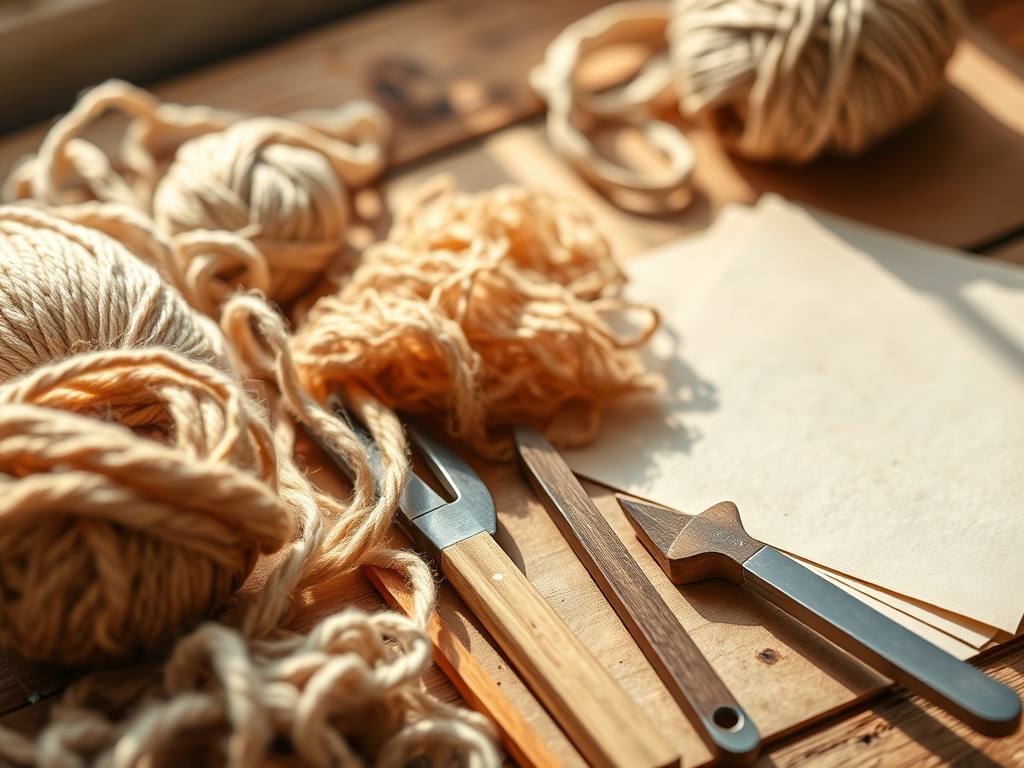
To elevate your work, you need tools that offer a high degree of mechanical advantage. Our kit starts with a set of stainless steel digital calipers for measuring thickness down to the micron. You will need a weighted maul for consistent pressure, a jeweler's saw with various TPI (teeth per inch) blades for intricate metalwork, and a high-torque rotary tool for precision sanding. We are also looking at bone folders made from genuine ox bone, which offer a density that synthetic versions cannot match for achieving a perfect dead-fold.
For materials, we are prioritizing porous substrates like unglazed ceramic and long-fiber cellulose papers. These materials react predictably to moisture and heat, allowing you to study capillary action in real-time. If you cannot source premium leather, a high-grade cork fabric serves as a sustainable substitution; it offers similar structural integrity but requires a different approach to edge finishing. If a jeweler's saw is out of reach, a high-tension hacksaw with a fine-grit blade can suffice, though you will sacrifice a degree of maneuverability in tight radii.
THE TEMPO
The Maker's Rhythm is a three-phase cycle that respects the chemical and physical limitations of your media. Phase one is the Initial Engagement, which usually lasts two to four hours. This is where you perform your layout and primary cuts. Phase two is the Active Curing or assembly period. Depending on whether you are using cyanoacrylate adhesives or traditional wood glue, this can take anywhere from six to twenty-four hours. You cannot rush molecular bonding. Phase three is the Refinement, a slow, meditative process of sanding, polishing, and burnishing that can span several days. Professional growth happens in the patience of the third phase. If you try to burnish an edge before the fibers have properly compressed and dried, you will end up with a frayed, unprofessional finish. Respect the clock, and the material will respect you.
THE CORE METHOD
1. Precision Leather Wallet Construction
Start by mapping your grain direction. Leather has a natural orientation that affects its tensile strength. Use your rotary cutter to create clean, perpendicular lines.
Mastery Tip: When punching holes with an awl, remember that the leather is a collection of collagen fibers. Using a diamond-shaped awl allows you to part the fibers rather than severing them, which maintains the structural integrity of the seam under tension.
2. The Hardwood Dovetail Joint
This is the ultimate test of spatial reasoning. Use a marking gauge to score your lines; this severs the surface fibers and prevents "tear-out" when you begin sawing.
Mastery Tip: The science here is the friction fit. A perfect dovetail relies on the hygroscopic nature of wood. As the humidity shifts, the wood expands and locks the mechanical joint together without the need for excessive fasteners.
3. Lost-Wax Casting for Jewelry
Carve your design into high-density jeweler's wax. This project teaches you about volume and displacement.
Mastery Tip: Pay attention to surface tension when you eventually pour your investment mold. If the wax is not perfectly smooth, air bubbles will cling to the surface, resulting in "fire scale" or casting defects that require hours of remedial grinding.
4. Advanced Bookbinding with Coptic Stitch
Use a bone folder to create a "memory" in the paper fibers. This project focuses on the flexural modulus of the spine.
Mastery Tip: The Coptic stitch allows for a 360-degree opening. The secret is the tension of the waxed linen thread. Too tight, and you tear the paper; too loose, and the signatures shift. It is a lesson in balanced kinetic energy.
5. Copper Repousse and Chasing
Work with a 24-gauge copper sheet. This project introduces you to work hardening, where the molecular structure of the metal becomes brittle as you hammer it.
Mastery Tip: You must periodically "anneal" the metal with a torch to rearrange the crystalline structure. This thermal process restores ductility, allowing you to continue shaping the material without cracking.
6. Wheel-Thrown Ceramic Vessels
This is a masterclass in centrifugal force and moisture content. You are fighting gravity and the plasticity of the clay.
Mastery Tip: As you pull the walls of the pot upward, you are aligning the microscopic plate-like particles of the clay. Proper alignment ensures the piece does not collapse during the "leather-hard" drying stage.
7. Hand-Planed Wood Veneering
Apply thin slices of premium wood to a stable substrate. This teaches you about differential expansion between different species of timber.
Mastery Tip: Use a vacuum press or heavy clamps to ensure uniform atmospheric pressure. This forces the adhesive into the cellular structure of the wood, creating a permanent chemical bond that resists warping.
8. Precision Soldering for Electronics
Assemble a functional circuit board using a fine-tip soldering iron. This project is all about thermal mass and conductivity.
Mastery Tip: Effective soldering relies on capillary action. When the joint reaches the correct temperature, the molten solder is pulled into the gap between the lead and the pad, creating a low-resistance electrical path.
THE TECHNICAL LEDGER
Maintenance & Longevity: To keep your tools in professional condition, wipe steel surfaces with a light coat of camellia oil to prevent oxidation. Calibrate your digital tools monthly against a known standard to ensure your measurements remain objective.
Material Variations: While "Premium" often means top-grain or virgin materials, "Sustainable" options like recycled HDPE plastic can be used for structural components. These synthetics offer high impact resistance but require specialized adhesives formulated for low-surface-energy plastics.
The Correction:
- The Mistake: Frayed edges on leather. The Fix: Sand with progressively finer grits (up to 1500) and apply a tragacanth gum compound before burnishing with a hardwood slicker.
- The Mistake: "Starved" glue joints in woodworking. The Fix: Ensure both surfaces are "wetted" with adhesive; if the wood is too porous, apply a thin sizing coat first.
- The Mistake: Solder bridges on a PCB. The Fix: Use copper desoldering braid to wick away excess material via surface tension.
Studio Organization: Store organic materials like leather and wood in a climate-controlled environment. Fluctuations in humidity cause hygroscopic expansion, which can ruin your precision-cut pieces before they are even assembled. Use vertical racks for sheet goods to prevent bowing under their own weight.
THE FINAL REVEAL
Look at that finished piece. Whether it is the seamless transition of a dovetail or the mirror-like burnish on a leather edge, you have successfully navigated the laws of physics to create something tangible. By focusing on crafting for professional growth, you have graduated from simply "making" to "engineering with soul." You can feel the weight, the balance, and the structural integrity of your work. This is not just a project; it is a testament to your technical evolution. You have mastered the tools, respected the materials, and the results are undeniably professional.
STUDIO QUESTIONS
How does grain direction affect my project?
Grain direction determines the tensile strength and flexibility of organic materials. Cutting against the grain increases resistance and risk of snapping; cutting with the grain allows for smoother finishes and structural stability under heavy loads.
What is the best way to prevent tool rust?
Prevent oxidation by maintaining low humidity in your studio and applying a thin layer of mineral oil or paste wax to metal surfaces. This creates a hydrophobic barrier that stops moisture from reacting with the steel.
Why is "burnishing" so important in leatherwork?
Burnishing compresses the loose protein fibers at the edge of the leather, creating a sealed, hardened surface. This prevents moisture ingress and "fuzzing," which ensures the longevity and professional aesthetic of the finished edge.
Can I substitute white glue for wood glue?
While both are PVAs, professional wood glue is formulated for higher shear strength and better penetration into cellulose fibers. White glue remains too flexible and lacks the heat resistance required for permanent structural joints.

