
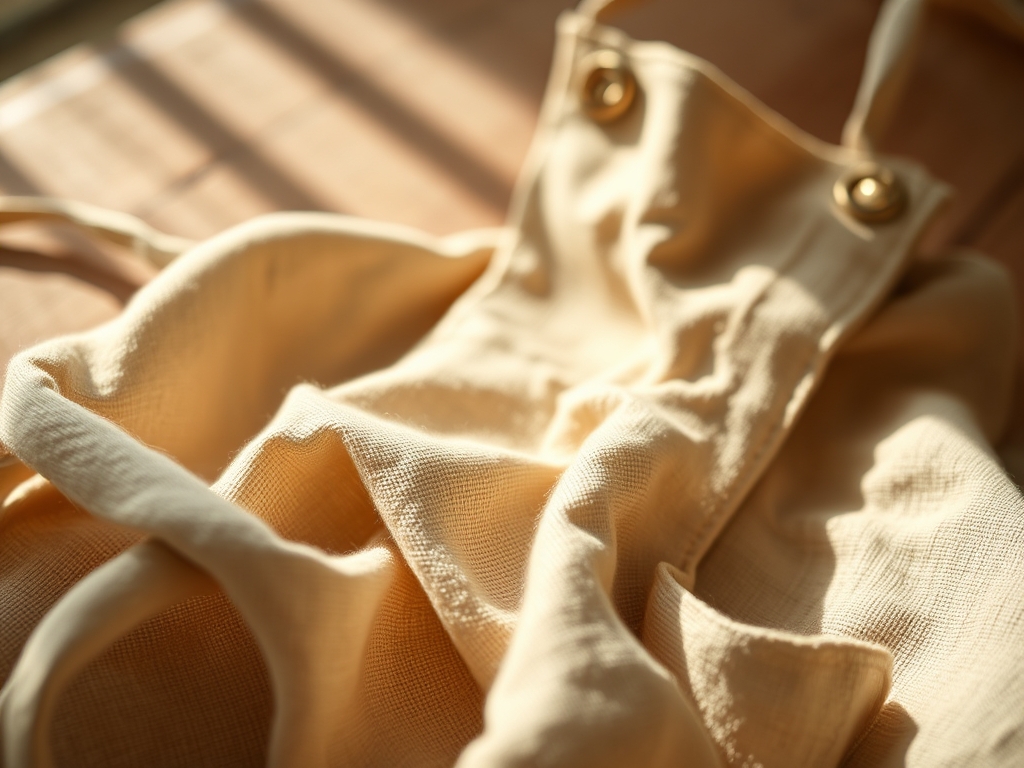
Imagine the crisp snap of a heavy stone washed weave as it hits the cutting table. It is not just fabric; it is a structural partner in your culinary chaos. When you are crafting Handmade Linen Aprons, you are working with a textile that boasts incredible tensile strength and a unique cellular structure that absorbs moisture through capillary action. Linen is derived from the flax plant, meaning its fibers are longer and more durable than cotton. This gives it that signature drape and a tactile resilience that only improves with every wash. As we dive into these six cross back designs, remember that we are engineering a garment that distributes weight across the shoulders rather than the neck. This shifts the center of gravity and prevents the fatigue often associated with traditional ties. We are looking for that perfect balance between porous breathability and rugged protection. Grab your favorite shears and let us get into the physics of the perfect apron. It is time to turn raw yardage into a masterpiece of ergonomic utility.
THE STUDIO KIT
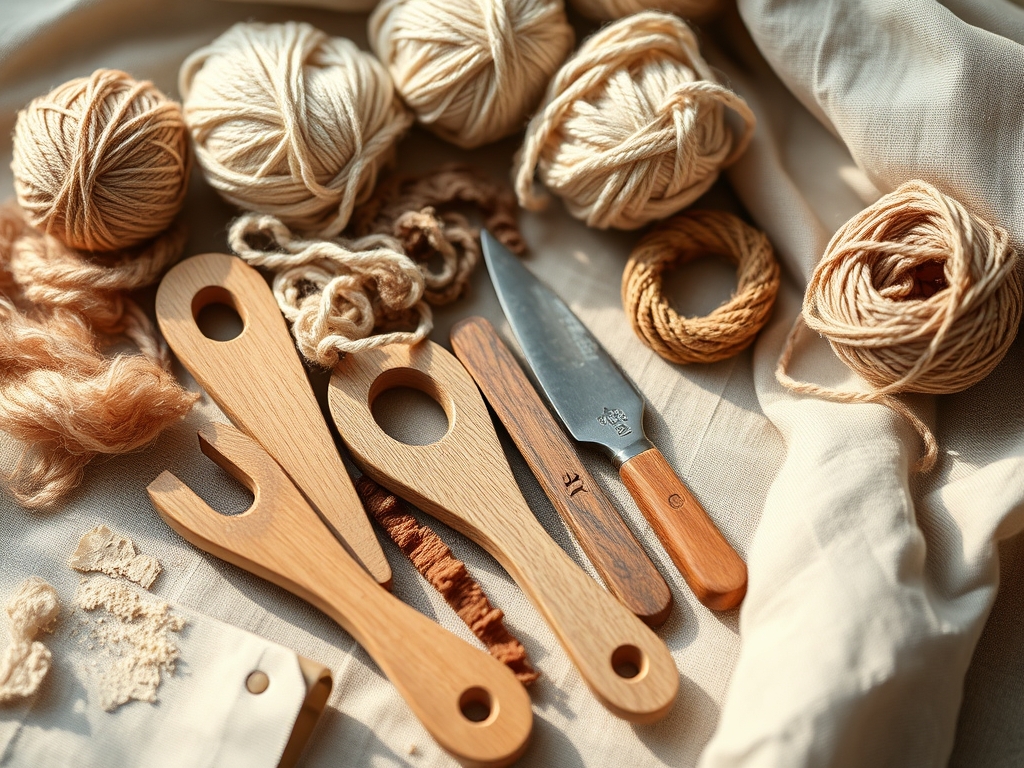
To execute these designs, your workstation needs to be calibrated for precision. You will need a high quality rotary cutter with a 45mm tungsten steel blade to ensure clean edges without fraying the loose weave of the flax. A bone folder is essential for crisping your hems before pinning; it compresses the fibers to create a permanent memory in the fabric. Use a transparent acrylic ruler to check your grainline alignment. If the grain is off by even a few degrees, the apron will twist around your torso during movement. For the hardware, consider solid brass grommets or heavy duty twill tape for the internal reinforcements.
Material Substitutions: If you cannot source high GSM (grams per square meter) linen, a hemp canvas is an excellent alternative due to its similar antimicrobial properties. Avoid synthetic blends that melt under high iron temperatures. If you want a lighter feel, a linen-rayon blend offers a softer hand-feel but sacrifices some of the structural integrity required for heavy pocket loading. Always pre-wash your materials to account for the initial fiber contraction that occurs during the first thermal cycle in the dryer.
THE TEMPO
The "Maker's Rhythm" is all about managing the energy of the studio. Expect to spend approximately four to six hours on a single high end cross back design. The first hour is dedicated to the prep phase, which includes laundering, pressing, and precision cutting. This is the slowest part of the process because accuracy here dictates the success of the drape. The next two hours are the construction phase, where the hum of the machine becomes your metronome.
The final hour is the finishing phase. This is where you burnish your seams and reinforce stress points like pocket corners. Do not rush the topstitching. A slow, steady feed rate ensures that the needle does not deflect off the thick linen fibers, maintaining a perfectly straight line. This rhythmic approach prevents "maker fatigue" and ensures that every stitch is placed with intentionality and strength.
THE CORE METHOD
1. The Japanese Minimalist Draft
Start by cutting a large rectangle that covers from the mid-chest to the knees. The cross back straps should be integrated into the side panels. This design relies on a geometric overlap at the back to provide full coverage without the need for ties.
Mastery Tip: Pay attention to the bias stretch. Because the straps curve over the shoulder, they are prone to stretching. Stay-stitch the edges immediately after cutting to lock the weave and prevent the straps from elongating over time.
2. The Reinforced Utility Harness
This design features a separate yoke piece. You will use an awl to mark the placement for leather reinforcement tabs at the base of the straps. This is perfect for the maker who carries heavy tools in their pockets.
Mastery Tip: Use a topstitching needle with a larger eye. This prevents thread friction and heat buildup, which can weaken the thread's molecular bond and lead to premature snapping under load.
3. The Reversible Dual Layer
By layering two different weights of linen, you create a reversible garment. This doubles the thermal insulation when working near a hot range. It requires a precise "bag lining" technique where the entire piece is sewn right sides together and flipped.
Mastery Tip: Grade your seam allowances. By trimming one layer shorter than the other, you reduce bulk density at the edges, allowing the apron to lay flat against the body rather than bulging.
4. The Wide Strap Ergonomic
Focus on straps that are at least three inches wide. This spreads the pressure across a larger surface area of the trapezius muscle. It is the ultimate design for long shifts in the kitchen.
Mastery Tip: Use a walking foot attachment. Linen can be slippery; the walking foot ensures that the top and bottom layers move at the same rate, preventing "puckering" caused by uneven feed tension.
5. The Split Leg Pottery Style
This cross back features a center slit from the mid-thigh down. Each leg panel wraps around the thigh and secures with a small button or remains loose. It is designed for those who sit while they work.
Mastery Tip: Reinforce the top of the split with a bar tack stitch. This concentrated area of stitching absorbs the kinetic energy of movement, preventing the fabric from tearing at the highest point of tension.
6. The Tailored Darted Bodice
For a more feminine or fitted look, incorporate small darts at the waist. This transitions the apron from a flat sheet to a 3D ergonomic shell that follows the contours of the ribs.
Mastery Tip: When pressing darts, use a tailor's ham. This allows you to steam the linen over a curved surface, setting the "memory" of the fibers into a shape that mimics the human form.
THE TECHNICAL LEDGER
Maintenance & Longevity: To keep your Handmade Linen Aprons in peak condition, avoid harsh detergents that strip the natural waxes from the flax fibers. Wash in cool water and air dry. If you must use a dryer, remove the apron while it is still slightly damp to prevent fiber brittleness.
Material Variations: For a sustainable edge, look for OEKO-TEX certified linens which ensure no harmful chemicals were used in the retting process. For a premium feel, "Heavyweight Rustic" linen (around 300 GSM) provides the best protection against sharp tools and hot splashes.
The Correction:
- Wavy Hems: This happens when the fabric is stretched during sewing. Fix: Use a starch spray to stiffen the edge before stitching.
- Drooping Pockets: Caused by lack of reinforcement. Fix: Add a small square of interfacing to the inside of the apron behind the pocket corners.
- Twisted Straps: Result of cutting off-grain. Fix: You must recut the straps ensuring the long edge is perfectly parallel to the selvage.
Studio Organization: Store your linen rolls horizontally on a rack. Storing them vertically causes the weight of the fabric to crush the bottom edges, distorting the weave density. Keep your patterns in flat files to avoid creases that can lead to measurement errors.
THE FINAL REVEAL
There is nothing quite like the feeling of sliding into a custom-fitted cross back apron. It feels like a suit of armor for the creative soul. The way the linen softens over time, becoming a second skin that records the history of your projects through every fade and wrinkle, is pure magic. You have mastered the structural physics of the drape and the technical precision of the stitch. Now, go get flour on it, splash some paint, or carve some wood. Your apron is ready for the work.
STUDIO QUESTIONS
Why is linen better than cotton for aprons?
Linen has higher tensile strength and superior moisture wicking. It is more durable, naturally antibacterial, and becomes softer with age, whereas cotton fibers can break down and pill over time with heavy kitchen use.
How do I prevent the cross back straps from sliding?
Ensure the straps cross at the thoracic vertebrae (mid-back). If they cross too high, they will slide toward the neck; too low, and they will slip off the shoulders. Proper geometric alignment is the key.
What is the best stitch length for linen?
A stitch length of 2.5mm to 3.0mm is ideal. Too short, and you risk perforating the fabric like a postage stamp; too long, and the seam loses its structural integrity and strength.
Do I need to finish the internal seams?
Yes. Linen is a loose weave material and will fray significantly. Use a serger, a French seam, or a zigzag stitch to encapsulate the raw edges and ensure the garment survives the laundry cycle.

