
Close your eyes and listen to the crisp, rhythmic snap of a rotary cutter slicing through reclaimed linen. Feel the grit of natural beeswax as it melts under your fingertips; it is tacky, warm, and rich with the scent of high summer. When we talk about crafting for sustainable living, we are not just making trinkets. We are engaging in a tactile rebellion against the disposable. We are choosing to understand the tensile strength of organic fibers and the way moisture affects the grain of salvaged timber. Every scrap in your studio represents potential energy waiting to be redirected. This is high-stakes alchemy where we turn "trash" into functional art that lasts decades. By mastering these five projects, you are training your brain to see the world as a kit of parts. We are about to dive into the physics of reuse, where every stitch is a calculated move toward a zero waste lifestyle. Grab your shears and let us get messy.
THE STUDIO KIT
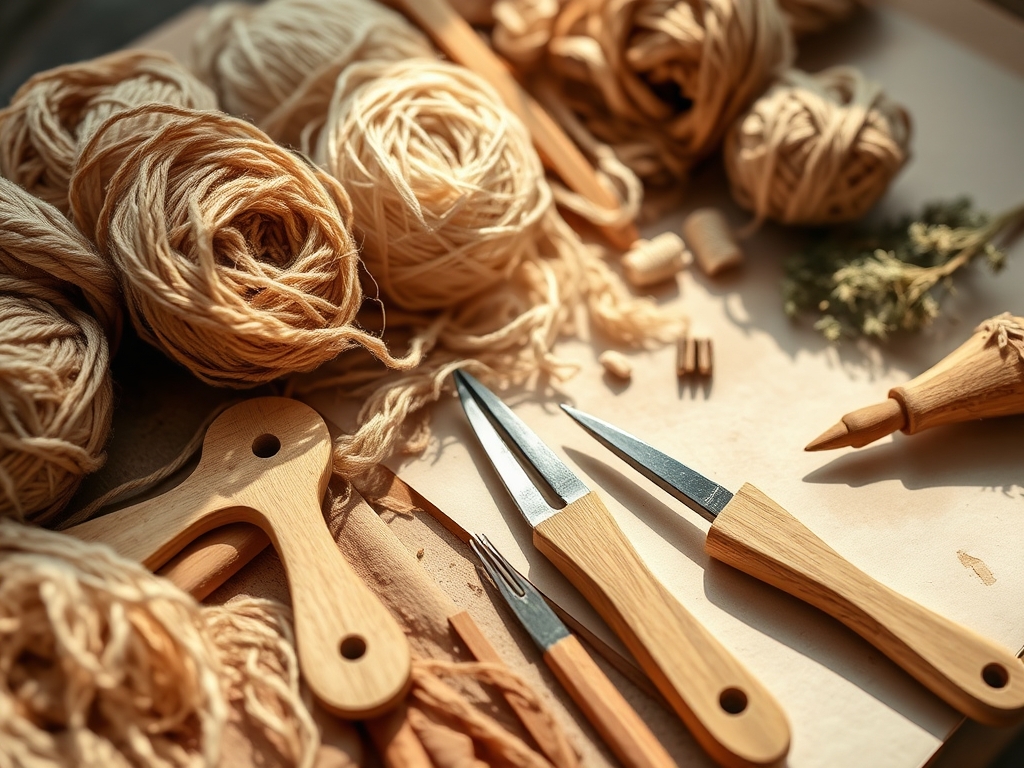
To execute these projects with professional precision, you need a kit that respects the integrity of your materials. Forget flimsy plastic rulers; we are using stainless steel calipers for measuring thickness and a heavy-duty bone folder to achieve crisp, permanent creases in recycled cardstock or heavy denim. Your primary arsenal should include a rotary cutter with a tungsten carbide blade, a stitching awl for piercing thick leather or multi-ply canvas, and beeswax for lubricating thread to prevent fraying.
For material substitutions, think about the porous nature of your scraps. If you do not have organic cotton for food wraps, any high-thread-count natural fiber like hemp or linen will suffice because they allow for optimal absorption of the wax mixture. If you lack a professional burnishing tool for finishing edges, the smooth back of a wooden spoon provides enough friction to seal fibers without damaging the surface. Always check the gauge of your wire or thread; using a 20-gauge copper wire salvaged from old electronics can replace store-bought fasteners while adding a beautiful, industrial aesthetic.
THE TEMPO
The "Maker's Rhythm" is a psychological state where the speed of your hands matches the physical requirements of the material. Crafting for sustainable living requires a varied tempo. For the preparation phase, move slowly. Measuring and cutting take up 40 percent of your time; precision here prevents material waste later. The assembly phase is the "heartbeat" of the project, taking another 40 percent. This is where you find a steady, repetitive flow, especially during tasks like hand-stitching or sanding. Finally, the finishing phase (20 percent) requires a burst of high energy to burnish, polish, or seal the piece. Expect a total time investment of two to four hours per project, depending on the complexity of the joinery and the density of your chosen textiles.
THE CORE METHOD
1. The Beeswax Food Wrap
Measure your fabric scraps into 10-inch squares using a self-healing mat. Grate a block of pure beeswax and mix it with a small amount of pine resin for tackiness. Sprinkle the mixture evenly across the fabric and melt it using a dedicated craft iron or an oven set to 200 degrees Fahrenheit.
Mastery Tip: This project relies on capillary action. The heat reduces the viscosity of the wax, allowing it to flow into the microscopic gaps between the fabric fibers. If the wax pools, use a natural bristle brush to redistribute it while liquid to ensure a uniform, breathable seal.
2. The Upcycled Denim Tool Roll
Lay out an old pair of jeans and cut a large rectangle from the leg. Fold the bottom third upward to create pockets. Use a stitching awl to create pilot holes through the thick felled seams. Secure the sides with a heavy-duty saddle stitch using waxed polyester thread.
Mastery Tip: Denim has a distinct grain direction. To maximize the tensile strength of your tool roll, ensure the warp threads (the vertical ones) run parallel to the weight of the tools. This prevents the pockets from sagging or warping over time under the pressure of heavy wrenches or chisels.
3. The Braided Rag Rug
Tear discarded cotton t-shirts into two-inch strips. Braid three strands together, maintaining consistent tension. Coil the braid into a circle and use a large tapestry needle to "sew" the edges of the coils together with a hidden whipstitch.
Mastery Tip: Manage the torsion of the fabric. As you braid, the strips will naturally twist. Periodically "comb" the strands with your fingers to release the built-up torque. This ensures the rug stays flat on the floor rather than curling into a bowl shape due to internal structural stress.
4. The Salvaged Wood Desk Organizer
Collect small offcuts of hardwood. Use a jeweler's saw for fine detail cuts and a hand plane to smooth the surfaces. Join the pieces using non-toxic wood glue and reinforced "splines" made from contrasting wood scraps for a mechanical lock.
Mastery Tip: Respect the hygroscopic nature of wood. Wood expands and contracts with humidity. When gluing your organizer, ensure the grain of all pieces runs in the same direction. This allows the entire unit to "breathe" together, preventing the joints from cracking during seasonal shifts.
5. The Compressed Paper Stationery
Pulperize your junk mail in a blender with warm water. Pour the slurry over a fine mesh screen (a deckle). Press the water out using a heavy sponge and a rolling pin, then let it dry on a flat felt surface.
Mastery Tip: This is all about hydrogen bonding. As the water evaporates, the cellulose fibers in the paper pulp form chemical bonds with one another. To increase the surface sizing and prevent ink from feathering, add a teaspoon of cornstarch to your pulp; it fills the pores and creates a smoother writing surface.
THE TECHNICAL LEDGER
To ensure the longevity of your zero waste creations, maintenance is key. Beeswax wraps should be washed in cold water only; heat will strip the wax. Denim tool rolls benefit from an occasional rub of linseed oil on the leather ties to prevent cracking. For material variations, use premium reclaimed silk for a luxury feel or recycled HDPE plastic for waterproof outdoor items.
The Correction:
- The Puckered Seam: If your fabric bunches, your tension is too high. Rip the stitch and use a seam ripper to clear the path before re-stitching with a looser hand.
- The Brittle Wrap: If your beeswax wrap cracks, you used too much resin. Re-heat the wrap between two sheets of parchment paper to draw out the excess.
- The Wobbly Wood: If your organizer rocks, the base is not "true." Use a block plane to shave the high spots until the piece sits flush on a level surface.
Store your projects in a cool, dry environment. Natural fibers are susceptible to mold if kept in high-humidity zones, while beeswax can melt if stored near radiators. Use an airtight bin for paper projects to prevent yellowing from UV exposure.
THE FINAL REVEAL
Look at that! You have successfully diverted high-quality materials from the landfill and transformed them into functional, beautiful tools for your home. There is a specific kind of electricity that comes from holding a finished piece and knowing exactly how the physics of its construction works. Your denim roll is rugged; your paper is artisanal; your wraps are perfectly tacky. You are not just a crafter; you are a steward of materials. This is the gold standard of crafting for sustainable living. Go ahead, run your hand over that burnished wood and feel the victory.
STUDIO QUESTIONS
How do I clean my handmade beeswax wraps?
Wash them in cool water with a mild, ethanol-free soap. Avoid scrubbing with abrasive sponges. Air dry them away from direct sunlight to prevent the wax from softening or oxidizing, which preserves the structural integrity of the coating.
What is the best way to cut thick denim?
Use a rotary cutter with a fresh 45mm blade on a self-healing mat. Apply consistent downward pressure to slice through the dense twill weave in a single pass. This prevents the "chewed" edges often caused by dull household scissors.
Can I use synthetic fabrics for these projects?
Natural fibers are preferred for sustainability. Synthetics like polyester lack the porosity required for beeswax wraps and the hydrogen bonding capabilities of natural paper pulp. Always check the burn test to identify fiber content before starting your project.
Why does my handmade paper feel scratchy?
The texture is likely due to large cellulose clumps. To achieve a smoother finish, blend your pulp longer to break down the fibers. You can also burnish the dry paper with a smooth stone to flatten the surface fibers for better pen contact.

