
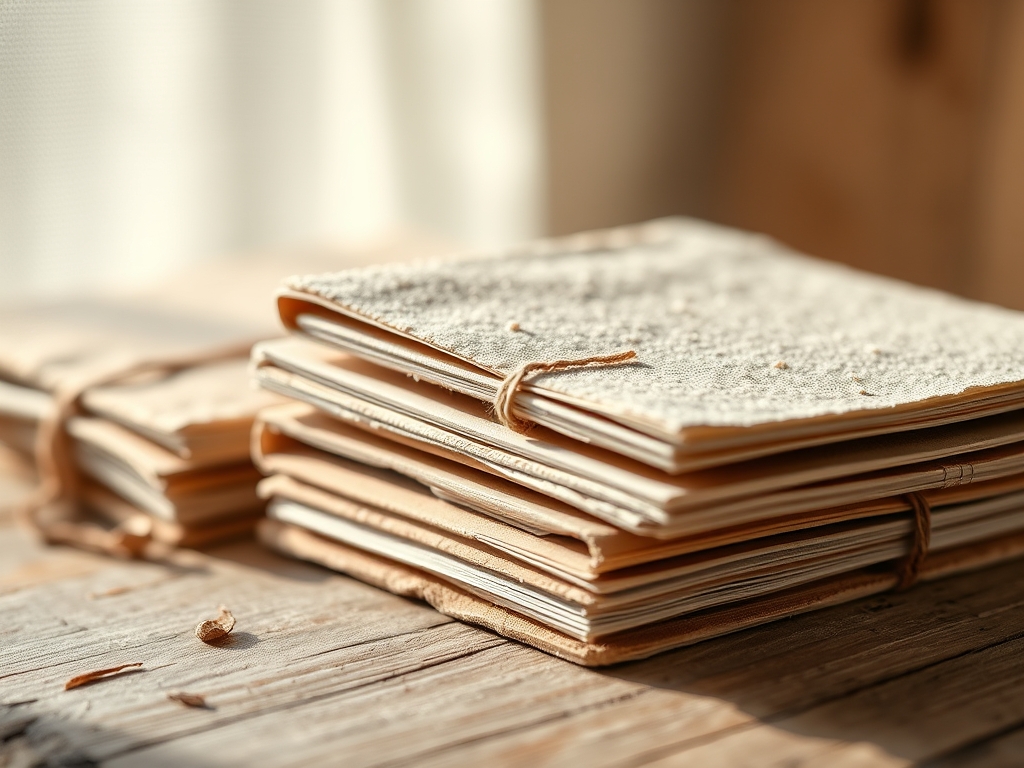
Imagine the sharp, citrus scent of freshly pressed pulp hitting the air as you clear your workbench. There is a specific, electric thrill in touching the deckled edges of Handmade Paper Notebooks; it is a tactile conversation between your fingertips and the raw, interlocking cellulose fibers. You are not just making a place for grocery lists or morning brain dumps. You are engineering a structural vessel. When you hold a stack of high-grammage, porous sheets, you are feeling the result of hydrogen bonding at a molecular level. It is heavy, honest, and slightly unpredictable. We are going to take that raw potential and lock it down with bindings that respect the tensile strength of the grain while looking absolutely editorial. Grab your coffee and clear the scrap pile. We are diving into the physics of the fold and the geometry of the stitch. This is where your stationary obsession meets high-level craftsmanship; let us make something that feels as good as it looks.
THE STUDIO KIT
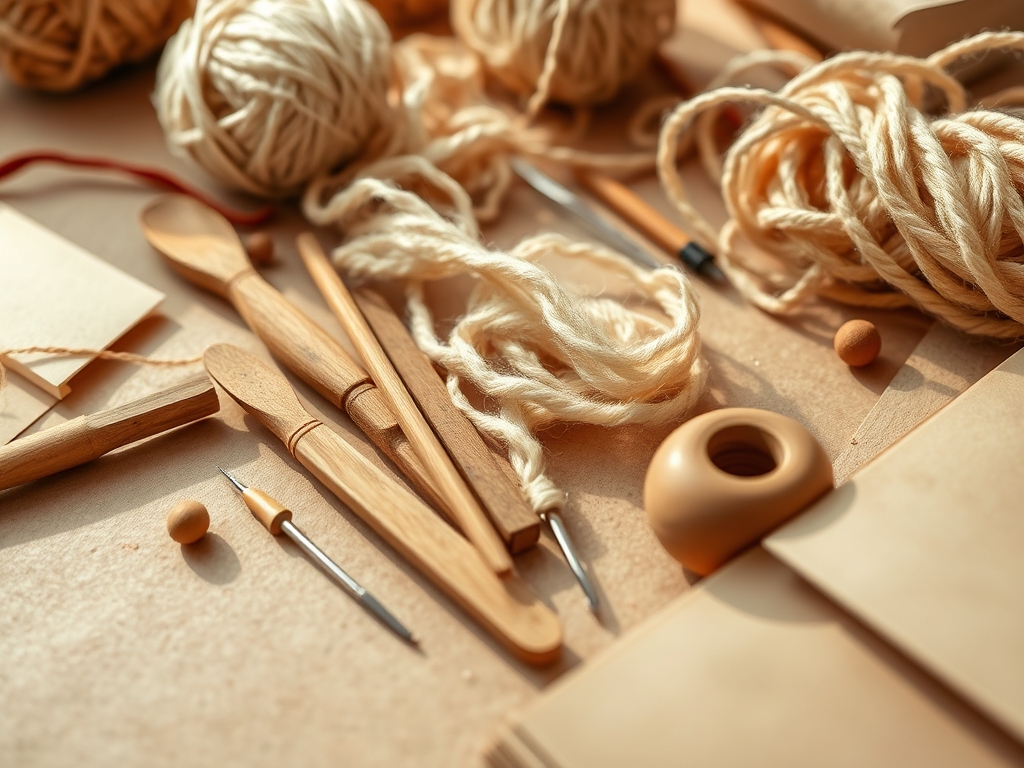
To master Handmade Paper Notebooks, you need more than just "supplies." You need a curated arsenal that respects the delicate yet stubborn nature of hand-cast sheets. First, you need a heavy-duty steel awl for piercing. Unlike mass-produced paper, handmade stock has variable density; a tapered awl allows you to displace fibers rather than tearing them. You will also need a bone folder carved from genuine cattle bone or high-density Teflon to burnish your folds without creating friction-based shine or "bruising" the paper.
For the binding itself, select a waxed linen thread. The wax acts as a lubricant, reducing the heat generated by friction as the thread pulls through the paper, which prevents the holes from elongating. You will also need a cork-backed stainless steel ruler to prevent slipping and a pair of precision calipers if you want to be truly obsessive about your hole spacing.
Material Substitutions: If you cannot find waxed linen, a high-quality dental floss (unflavored) works in a pinch because of its incredible tensile strength and pre-existing wax coating. Instead of a professional bone folder, the smooth back of a large polished spoon can serve as a makeshift burnishing tool, though it lacks the ergonomic precision of a dedicated blade.
THE TEMPO
The "Maker's Rhythm" is all about respecting the drying and setting times of your materials. If you rush the creasing phase, you risk cracking the primary fibers of your cover stock. Expect to spend about fifteen minutes on "The Prep," which involves measuring, squaring your edges with a rotary cutter, and marking your stations.
The "Binding Phase" takes roughly twenty to thirty minutes per notebook depending on the complexity of the stitch. However, the most overlooked phase is "The Set." Once a notebook is bound, it needs to sit under a heavy weight (like a cast-iron press or a stack of encyclopedias) for at least four hours. This compression forces the air out from between the pages and trains the spine to hold its new mechanical shape.
THE CORE METHOD
1. The Single-Hole Eyelet Loop
This is the ultimate minimalist approach for quick lists. You punch a single hole through the top left corner of your stack using a heavy-gauge punch. Thread a leather cord or a metal eyelet through the aperture.
Mastery Tip: This relies on cantilever physics. Because the weight is suspended from a single point, the friction between the sheets prevents them from splaying. Ensure your hole is at least 10mm from the edge to prevent the paper from shearing under the weight of the stack.
2. The Three-Hole Pamphlet Stitch
The gold standard for slim notebooks. You create three equidistant "stations" along the spine. Start from the center, go to the top, down to the bottom, and back to the center.
Mastery Tip: This stitch utilizes triangulated tension. By tying your finishing knot over the long internal thread, you create a structural bridge that distributes the opening force across the entire height of the spine, preventing the center hole from blowing out.
3. The Japanese Four-Hole (Yotsume Toji)
This is an external binding where the thread wraps around the spine. It is incredibly sturdy and perfect for thicker Handmade Paper Notebooks that do not need to lay perfectly flat.
Mastery Tip: Focus on perpendicular compression. The thread creates a "clamp" effect on the face of the paper. If you pull too tight, you will distort the paper grain; if too loose, the pages will shift. Aim for a "taut-string" resonance.
4. The Saddle Staple with a Twist
Using a long-reach stapler, you secure the centerfold. To elevate this, hide the staples with a strip of linen book tape or a decorative "washi" overlay.
Mastery Tip: Staples are prone to oxidation. If you are using acidic handmade paper, the metal will eventually rust. Always use stainless steel or copper staples to ensure the longevity of the cellulose fibers.
5. The Whipstitch Edge
Similar to a spiral notebook but using thread. You loop the thread over the outer edge of the spine repeatedly.
Mastery Tip: This method exposes the thread to high levels of abrasion. Use a thicker ply thread (at least 4-ply) to ensure that the constant friction of opening and closing the notebook does not saw through the binding material.
6. The Accordion Fold with Tab Inserts
No sewing required! Fold a long strip of paper into a zig-zag and cut small slits to tuck your list pages into.
Mastery Tip: This is a study in structural integrity through geometry. The folds act as "ribs" that support the weight of the inserts. Ensure your folds are perfectly parallel using a square to avoid a "leaning" notebook.
7. The Screw-Post Binding
Use metal Chicago screws for a professional, industrial look. This allows you to add or remove pages as your lists grow.
Mastery Tip: This binding creates a fixed-axis pivot. Because the metal post is rigid, the paper will naturally want to crease at the edge of the metal. Score a "hinge line" 5mm away from the post to prevent the paper from snapping at the stress point.
THE TECHNICAL LEDGER
Maintenance & Longevity: To keep your notebooks in peak condition, avoid rapid humidity shifts. Handmade paper is hygroscopic, meaning it absorbs moisture from the air, which can cause the pages to "cockle" or wave. Store your finished pieces in a cool, dry place, preferably flat.
Material Variations: For a sustainable edge, use recycled cotton rag paper. It has longer fibers than wood-pulp paper, offering superior burst strength. If you want a premium feel, look for "sized" paper, which has been treated with a starch or gelatin solution to reduce capillary action, preventing your ink from feathering.
The Correction:
- Mistake: The thread is knotting during stitching. Fix: Run your thread through a block of beeswax twice to flatten the stray fibers.
- Mistake: The spine is "gaping" when closed. Fix: Your holes are too far from the fold. Re-measure and ensure your stations are exactly on the crease.
- Mistake: Paper cracking at the fold. Fix: You are folding against the grain. Always identify the grain direction (the way the fibers naturally lay) and fold parallel to it.
Studio Organization: Store your paper flat in acid-free drawers. Use silica gel packets in your tool kit to prevent your steel awls and needles from developing surface rust, which can transfer to your pristine handmade sheets.
THE FINAL REVEAL
Look at that! You have just transformed a loose stack of fibers into a sophisticated, high-functioning tool. There is something deeply satisfying about the "thunk" of a well-bound notebook hitting the desk. Whether you chose the elegant Japanese stitch or the industrial screw-post, your Handmade Paper Notebooks now possess the structural backbone to survive your busiest days. These are not just for lists; they are artifacts of your creative energy. Now, go fill those pages with your wildest ideas and most mundane errands; both deserve a beautiful home.
STUDIO QUESTIONS
What is the best thread for handmade paper?
Waxed linen thread is superior due to its high tensile strength and low elasticity. The wax coating prevents the thread from fraying and protects the porous paper fibers from friction damage during the binding process.
How do I prevent my paper from tearing?
Always use a sharp awl to create pilot holes before sewing. Ensure your "margin of safety" is at least 10mm from the edge to prevent the thread from shearing through the delicate grain of the handmade stock.
Can I bind different paper weights together?
Yes, but place heavier grammage sheets on the outside to act as a structural "exoskeleton." This protects the lighter internal pages from the mechanical stress of the binding and provides a more stable hinge.
Why is my notebook not laying flat?
This is usually caused by excessive thread tension or binding too close to the spine. For a flatter lay, use a pamphlet stitch and ensure you have scored a proper hinge line using a bone folder.

