
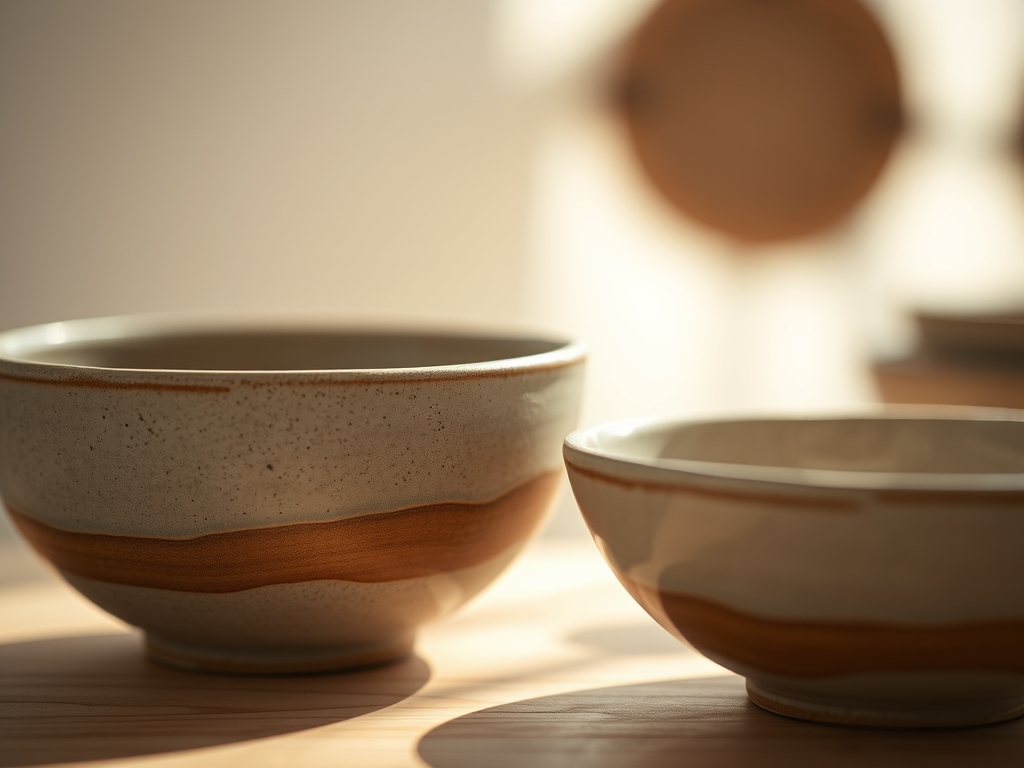
Imagine the cool, damp weight of a fresh slab of stoneware resting against your palms. It is heavy, dense, and full of potential energy. When you are crafting handmade ceramic bowls, you are not just making a vessel; you are choreographing a dance between moisture and mineral. There is a specific, visceral thrill in feeling the clay yield to your thumb, the way the plastic state of the material allows for infinite manipulation before the firing process locks those molecules into a permanent crystalline lattice. We are looking for that perfect cereal bowl: one that feels substantial in your grip, keeps your milk chilled through the thermal mass of the clay, and features a surface that begs to be touched. Every ridge and valley we carve into the surface increases the surface area, affecting how the glaze pools and breaks over the edges. We are about to turn a simple lump of earth into a tactile masterpiece that turns your morning routine into a high-design ritual.
THE STUDIO KIT
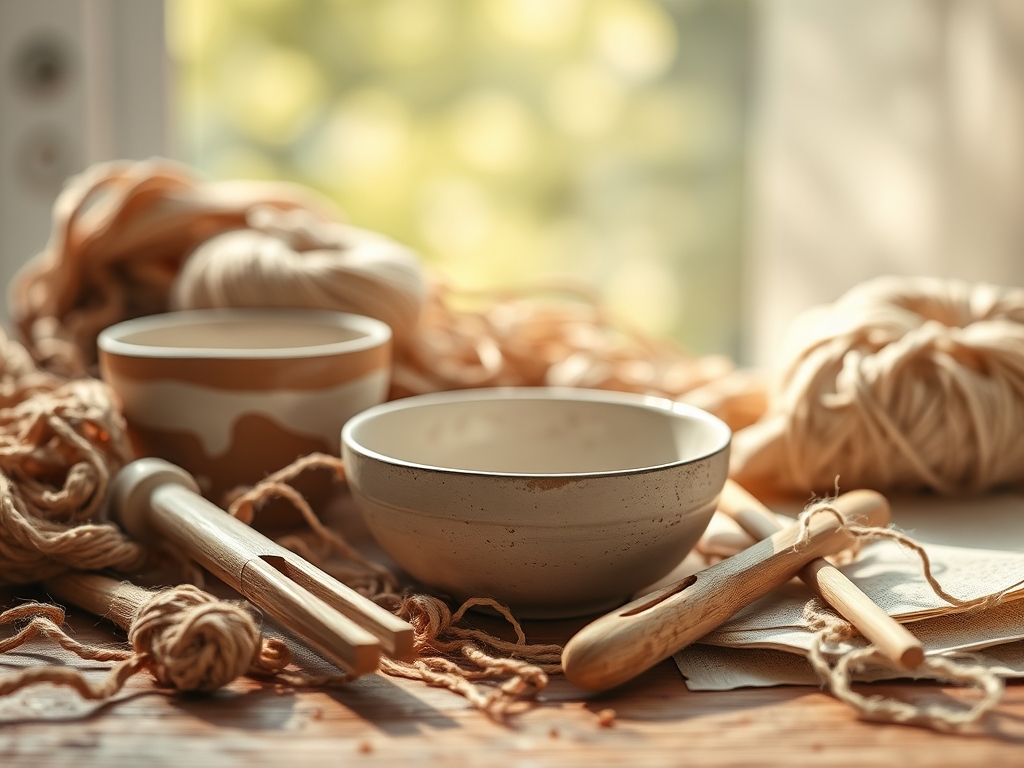
To master these textures, you need a kit that respects the tensile strength of the clay. We start with a high-fire stoneware body with a fine grog content; this provides the structural integrity needed to hold deep textures without collapsing. Your primary tool is the serrated rib, a stainless steel blade used for scoring and creating foundational linear patterns. You will also need a loop tool for subtractive carving, which utilizes a sharpened metal band to remove ribbons of clay. For fine detail, a needle tool or a specialized stylus is essential for precision work.
If you are short on professional gear, let's talk material substitutions. A heavy-duty fork can mimic a serrated rib, while a sharpened spoon can act as a rudimentary loop tool. For organic textures, look toward your kitchen; a mesh produce bag creates a stunning honeycomb pattern when pressed into the clay. Always keep a natural sea sponge and a chamois cloth nearby. These are vital for controlling the porosity of the surface and burnishing the rim to ensure an ergonomic, smooth finish where your lips meet the bowl.
THE TEMPO
The "Maker's Rhythm" is governed by the evaporation of water. You cannot rush the clay. The initial shaping phase takes about thirty minutes per bowl, but the real magic happens during the "leather-hard" stage. This is the window, usually four to six hours after forming, when the clay has lost enough moisture to be firm but still retains enough plasticity to take an impression without cracking.
Carving your eight textures will take roughly twenty minutes per piece. After the texture is applied, the bowls must undergo a slow, controlled drying process over three to five days. If the edges dry faster than the base, the resulting internal tension will cause s-cracks. Finally, the pieces endure two separate firings: the bisque fire to remove chemically bound water, and the glaze fire to achieve full vitrification, a process that takes about forty-eight total hours in the kiln.
THE CORE METHOD
1. The Vertical Flute
Using a medium-sized loop tool, drag the blade from the base of the bowl up toward the rim in a single, fluid motion. Repeat this around the entire circumference, maintaining even pressure to ensure a consistent depth.
Mastery Tip: This technique relies on shear stress. By maintaining a consistent angle of the tool, you ensure the clay curls away cleanly rather than tearing, which preserves the structural integrity of the wall.
2. The Stippled Granite
Take a stiff-bristled brush or a bundle of toothpicks and repeatedly strike the surface of the leather-hard clay. This creates thousands of tiny indentations that will trap glaze and create a variegated, stone-like appearance.
Mastery Tip: This increases the surface area of the bowl significantly. During the glaze fire, the increased surface tension in these tiny pits causes the glaze to "pool," creating depth and color complexity.
3. The Textile Press
Lay a piece of coarse burlap or heavy lace over the clay slab before you shape it into a bowl. Use a pony roller to press the fabric into the surface, then carefully peel it back to reveal the weave.
Mastery Tip: This is a lesson in displacement. You aren't removing material; you are moving it. Ensure the clay is at the "soft leather-hard" stage so the fibers don't stick to the damp particles.
4. The Sgraffito Scribble
Apply a layer of colored slip (liquid clay) to the bowl. Once the slip is matte but not dry, use a fine-point stylus to scratch chaotic, energetic lines through the slip to reveal the contrasting clay body underneath.
Mastery Tip: This technique highlights the mechanical bond between the slip and the base clay. If the slip is too dry, it will chip; if it is too wet, the lines will blur due to capillary action.
5. The Faceted Rim
Using a sharp wire cutter or a fettling knife, slice flat planes into the exterior of a thick-walled bowl. This creates a geometric, architectural look that feels incredibly modern.
Mastery Grade: Pay attention to the gauge of your walls. You must throw the bowl thicker than usual to allow for the removal of these facets without compromising the vessel's ability to hold liquid.
6. The Thumb-Pressed Dimple
Starting at the base, press your thumb firmly into the clay in a spiraling pattern toward the rim. This creates a rhythmic, organic texture that fits the natural contour of a human hand.
Mastery Tip: This utilizes the ergonomic compression of the clay. Pressing the clay actually aligns the flat, plate-like particles of the material, making the indented areas slightly denser and stronger.
7. The Chatter Mark
While the bowl is spinning on the pottery wheel, hold a flexible metal rib at a specific angle so it "bounces" against the surface. This creates a series of rhythmic, rhythmic rhythmic rhythmic rhythmic

