
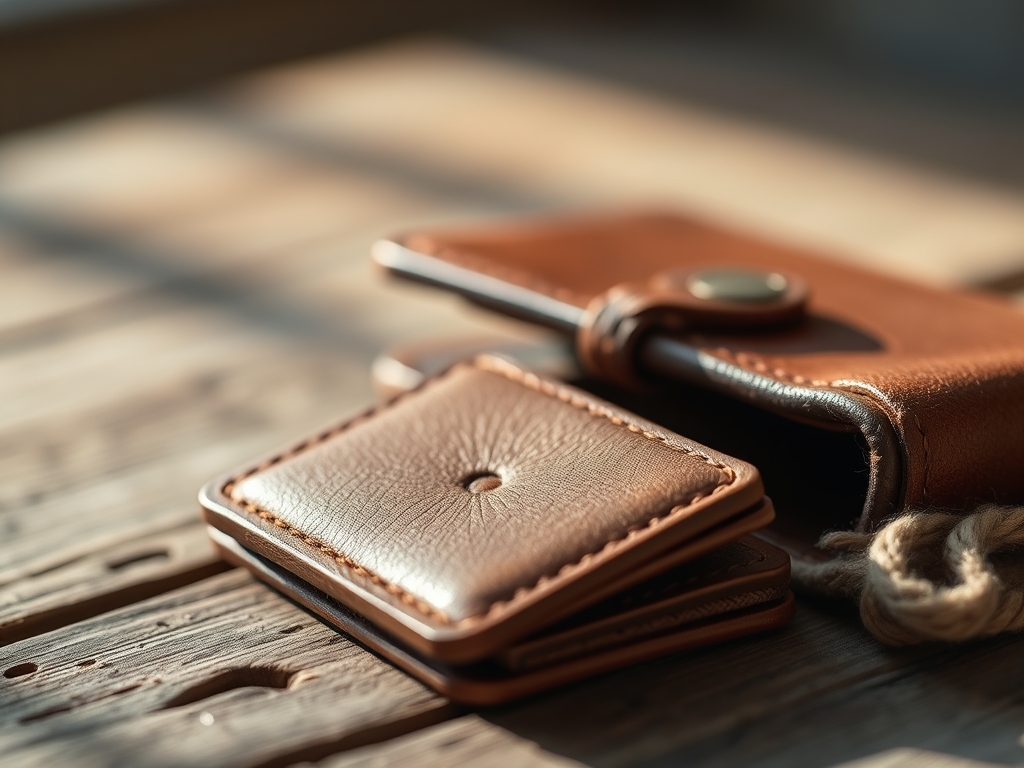
Listen to that sound. It is the rhythmic, sharp snap of a heavy hide hitting the workbench; a sound that tells you exactly how much density and oils are packed into the fiber. When you hold high quality vegetable tanned hide, you are feeling the result of months of slow tannin saturation. It feels cool, slightly waxy, and remarkably heavy for its size. This is the foundation for creating Handmade Leather Wallets that do not just hold cards but actually improve with every single touch. We are talking about a nine pocket slim design that defies the laws of bulk. Most people think more pockets mean a brick in your pocket, but we are going to use physics to cheat the stack. By managing the skiving depth and the tensile strength of our thread, we can create a profile that is thinner than a smartphone but carries your entire life. Grab your coffee and clear the table. We are about to turn a flat sheet of organic material into a masterpiece of structural engineering and tactile joy.
THE STUDIO KIT
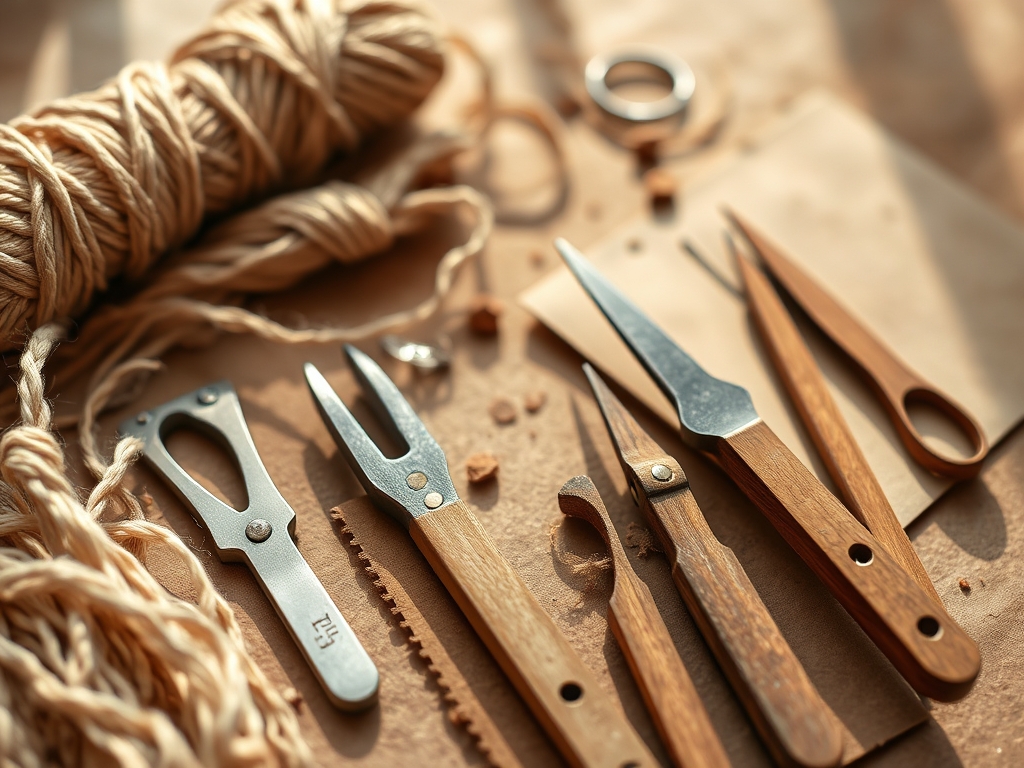
To build a professional grade wallet, your kitchen scissors simply will not cut it. You need tools that respect the grain direction of the hide. First on the list is a sharp rotary cutter or a Japanese skiving knife. These allow for zero drag cuts, which prevents the leather from stretching out of alignment during the initial sizing. You will also need digital calipers to measure the thickness of your leather in millimeters; for a nine pocket design, you want a base of 1.2mm and pockets at 0.8mm.
You also need a bone folder for creating crisp creases, a set of diamond stitching chisels for consistent hole spacing, and polyester braided thread which offers superior tensile strength compared to cotton. For the finishing touch, an edge beveler and a wooden burnisher are non negotiable. If you cannot find a specific leather, a high density synthetic microfiber can serve as a Material Substitution, though it lacks the natural capillary action required for traditional edge painting. Always ensure your workspace is flat and non porous to prevent moisture from warping the hide during the assembly phase.
THE TEMPO
Creating Handmade Leather Wallets is a marathon, not a sprint. The "Maker's Rhythm" is all about respecting the drying times and the physical resistance of the material. Expect to spend about two hours on the initial layout and cutting. This is the "Precision Phase" where one millimeter of error equals a crooked wallet. Next comes the "Refinement Phase," taking roughly three hours, where you skive the edges to reduce bulk.
The "Assembly Phase" is the longest, often clocking in at five to six hours. This includes the repetitive, meditative motion of saddle stitching. Finally, the "Polishing Phase" takes about ninety minutes. This is when you burnish the edges until they look like glass. Total time? Approximately twelve hours of focused labor. Do not rush the burnishing; the friction heat needs time to melt the natural waxes in the leather to create a permanent, waterproof seal.
THE CORE METHOD
1. The Architectural Layout
Start by mapping your pieces onto the hide. Always align the long axis of your pockets with the backbone direction of the leather. This part of the hide has the least amount of stretch, ensuring your pockets do not become loose and sloppy over time. Use your calipers to mark your stitch lines exactly 3mm from the edge.
Mastery Tip: This alignment utilizes the longitudinal fiber density of the skin. If you cut against the grain, the leather will yield to the pressure of the cards, eventually losing its structural integrity and causing cards to slip out.
2. Precision Skiving
Skiving is the process of thinning the edges of the leather where they overlap. For a nine pocket wallet, you might have four layers of leather meeting at one seam. Without skiving, that edge would be 4mm thick; with a proper tapered skive, you can bring it down to 1.5mm. Use your skiving knife to shave the flesh side of the leather at a shallow angle.
Mastery Tip: This reduces the mechanical bulk at the pivot points. By creating a gradient in the material thickness, you allow the wallet to fold more easily without putting excessive torsional stress on the outer grain.
3. The Adhesive Bond
Apply a thin layer of water based contact cement to the edges of the pockets. Wait for it to become tacky before pressing the pieces together. Use your bone folder to apply even pressure along the seam to ensure a permanent bond.
Mastery Tip: This relies on surface tension and molecular bonding. A clean, rough surface provides more surface area for the adhesive to "bite" into, creating a secondary reinforcement that supports the stitching.
4. The Diamond Punch
Place your stitching chisels perpendicular to the leather and strike with a poly mallet. You must punch through all layers in one clean motion to ensure the holes align perfectly on the front and back.
Mastery Tip: The diamond shape of the hole is functional. It allows the thread to sit at an angle, which prevents the stitches from "sawing" through the leather fibers when the wallet is flexed. This is a classic example of load distribution in soft goods engineering.
5. The Saddle Stitch
Use two needles and a single length of thread. Pass the needles through each hole from opposite sides, creating an interlocking "X" pattern inside the leather. Pull each stitch with consistent tension to ensure the seam looks uniform.
Mastery Tip: Unlike a sewing machine lockstitch, a saddle stitch will not unravel if one thread breaks. This creates a redundant structural system where each stitch is independent, significantly increasing the longevity of the piece.
6. The Glass Edge Finish
Sand the edges with progressively finer grits, from 240 up to 1000. Apply a small amount of water or burnishing gum and rub vigorously with your wooden burnisher until the edge becomes dark and shiny.
Mastery Tip: The heat generated by friction causes the collagen fibers in the leather to bind together. This process, known as burnishing, creates a hard, plastic like surface that protects the internal fibers from moisture and fraying.
THE TECHNICAL LEDGER
Maintenance & Longevity: To keep your wallet in peak condition, apply a wax based conditioner every six months. This replenishes the oils that evaporate over time, maintaining the elasticity of the fibers. Avoid overstuffing, as leather has a "memory" and will not shrink back once excessively stretched.
Material Variations: While vegetable tanned cowhide is the standard, you can experiment with Shell Cordovan for extreme durability or cork leather for a sustainable, vegan alternative. Note that cork has much lower tensile strength, so you must reinforce the seams with a thin nylon tape.
The Correction:
- Mistake: The leather bunched up during stitching. Fix: Use a groover to create a small channel for the thread to sit in, reducing surface friction.
- Mistake: The edges are fuzzy after burnishing. Fix: You likely skipped a sanding grit. Go back to 400 grit and ensure the edge is perfectly flat before moving to the gum.
- Mistake: The pockets are too tight for cards. Fix: Use a "stretching" technique by inserting two cards into the pocket and lightly misting the leather with water, then letting it dry overnight.
Studio Organization: Store your leather flat in a climate controlled environment. Exposure to high humidity can trigger mold growth in the porous fibers, while extreme heat will make the leather brittle and prone to cracking.
THE FINAL REVEAL
There it is. You just transformed a raw, organic hide into a precision engineered tool. Feel the way those nine pockets stack without adding unnecessary height. Notice how the light catches the burnished edges; it looks like polished mahogany. This wallet is a testament to your patience and your understanding of material physics. It feels substantial yet sleek, a perfect balance of form and function. As you use it, the leather will develop a patina, a unique darkened sheen that records your personal history. You did not just make a wallet; you built a legacy piece that will probably outlast the very cards it holds.
STUDIO QUESTIONS
How do I prevent the leather from stretching?
Always cut your main structural pieces parallel to the animal's spine. This area has the highest fiber density and the lowest amount of natural give, ensuring the wallet maintains its original dimensions over years of daily use.
What is the best thread for leather work?
Braided polyester thread is superior because it is UV resistant and has high tensile strength. Unlike natural fibers, it will not rot or stretch, keeping your seams tight even under the constant pressure of a full wallet.
Why are my burnished edges turning dull?
Dullness usually indicates a lack of heat during the burnishing process or insufficient sanding. You must create enough friction to fuse the collagen fibers together. Re-sand with high grit paper and burnish again with more vigorous pressure.
Can I use a regular sewing machine?
Standard home machines lack the torque and needle strength to penetrate multiple layers of heavy hide. Furthermore, a machine lockstitch is prone to unravelling; the manual saddle stitch is essential for the structural integrity of premium handmade goods.

