
Run your fingertips over a fresh bolt of long staple cotton and you will feel the microscopic ridges of the cellulose fibers. That tactile friction is the starting point of every masterpiece. Developing consistent Daily Sewing Habits is about more than just a tidy desk; it is about mastering the physics of your medium to ensure every stitch holds its structural integrity. When you treat your studio like a laboratory, the magic happens faster.
The scent of pressed linen and the sharp, metallic tang of a high carbon steel rotary cutter create an atmosphere of pure potential. We are not just making clothes; we are engineering wearable architecture. To do that effectively, you need to understand how tension, gravity, and fiber density interact with your machine. If you are rushing, you are fighting the material. If you are organized, you are dancing with it. Let us transform your chaotic creative energy into a streamlined, high output system that respects the grainline and saves your sanity.
THE STUDIO KIT
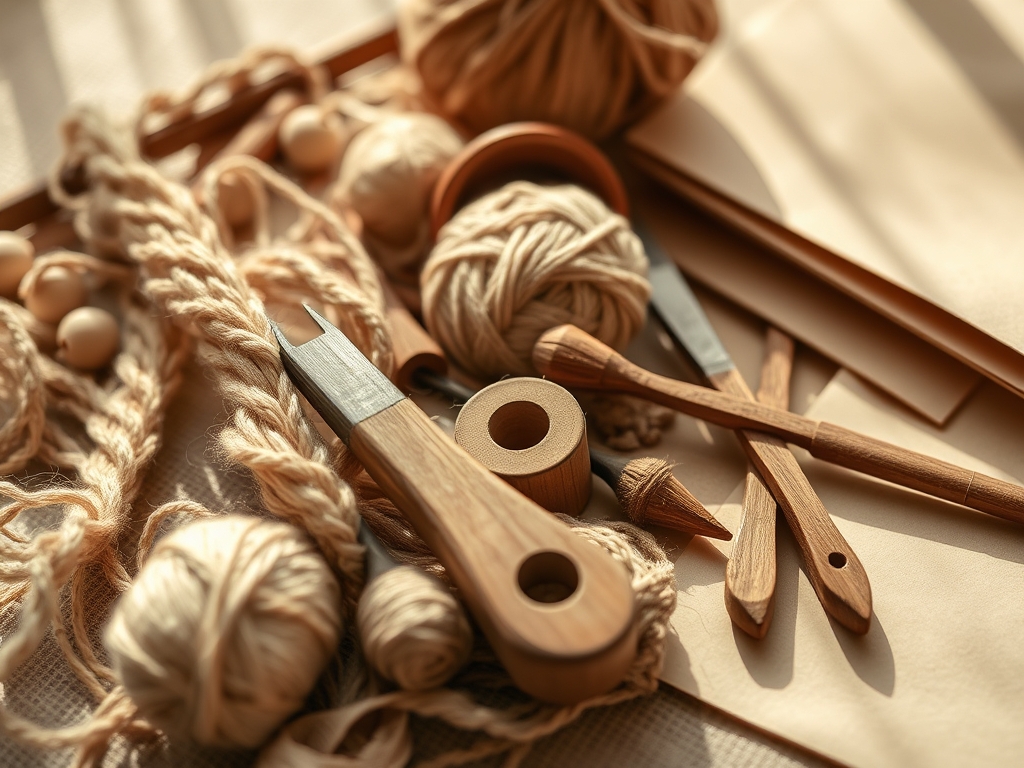
Your toolkit is your cockpit. To maintain professional standards, you must curate tools that offer high tensile strength and precision. Start with a rotary cutter equipped with a tungsten carbide blade; it slices through fabric layers without shifting the warp or weft threads. You will also need a tailor's ham, which is a densely packed sawdust cushion used to mold curved seams. The sawdust absorbs steam better than synthetic fillings, allowing for a permanent set of the fabric shape.
Essential materials include all-purpose polyester thread for its elasticity and silk pins for their ultra-fine gauge. Silk pins are approximately 0.5mm in diameter, meaning they displace fewer fibers in delicate weaves like chiffon or organza, preventing permanent "bruising" of the textile. For Material Substitutions, if you lack a traditional bone folder to crisp your hems, a heavy-duty acrylic ruler can apply the necessary PSI (pounds per square inch) to flatten a seam allowance before hitting the iron.
THE TEMPO
The "Maker's Rhythm" is a physiological state where your fine motor skills and spatial reasoning align. On average, a complex garment requires a 10-20-70 time distribution. Ten percent is dedicated to material prep (pre-washing to stabilize shrinkage), twenty percent to precision cutting, and seventy percent to the actual assembly and finishing.
Forcing a project into a single three-hour block often leads to "sewing fatigue," where your hand-eye coordination degrades and your seam allowance begins to drift. By breaking your Daily Sewing Habits into twenty-minute "sprints," you maintain peak cognitive focus. This prevents the dreaded "seam ripper hour," where you spend more time correcting errors than creating value. Respecting the tempo means knowing when the needle needs to rest and when the motor needs to hum.
THE CORE METHOD
1. The Grainline Alignment
Before you even touch your shears, you must align the fabric grain. Use a T-square to ensure the crossgrain and lengthwise grain are perfectly perpendicular. This prevents the finished garment from "torquing" or twisting around the body after the first wash.
Mastery Tip: This relies on orthotropic elasticity. Fabrics have different stretch properties in different directions; aligning the grain ensures that gravity pulls on the fibers evenly, maintaining the garment's silhouette over time.
2. Calibrated Tension Testing
Every time you change your fabric weight, you must recalibrate your machine tension. Use a scrap piece of the same ply and weave. Observe the "lock" of the stitch; it should sit exactly in the center of the fabric layers.
Mastery Tip: This is pure mechanical equilibrium. If the upper tension is too high, the bobbin thread will be pulled to the surface, creating a weak point that can snap under the lateral pressure of movement.
3. The Understitching Protocol
When sewing facings or necklines, you must understitch. This involves sewing the seam allowance to the facing, just millimeters away from the original seam line. It forces the seam to roll inward, hiding it from view.
Mastery Tip: This utilizes directional friction. By anchoring the seam allowance to one side, you create a structural bias that prevents the "rolling" effect caused by the natural thickness of the fabric layers.
4. Notching and Clipping Curves
For any concave or convex curve, you must remove "bulk" or "add space" by clipping the seam allowance. Use your thread snips to make small V-shaped cuts in the allowance, being careful not to hit the stay-stitching.
Mastery Tip: This manages volume displacement. In a curve, the outer edge has a larger circumference than the inner edge. Clipping allows the fabric to expand or contract without creating "puckering" or structural lumps.
5. Steam Setting Seams
Never cross one seam with another until the first has been "pressed open" or "pressed to the side." Use a heavy iron with a high steam burst capacity to relax the fibers into their new orientation.
Mastery Tip: This is a thermoplastic reaction. Heat and moisture temporarily break the hydrogen bonds in natural fibers, allowing them to be reshaped. Cooling them in place "locks" the new geometry.
6. Edge Finishing with an Overlocker
To prevent fraying, every raw edge must be finished. An overlocker (serger) uses multiple thread cones to wrap the edge of the fabric, creating a flexible but secure barrier against mechanical wear.
Mastery Tip: This creates a structural perimeter. By encasing the loose fiber ends in a thread matrix, you prevent the "unraveling" caused by the kinetic energy of the garment rubbing against the body.
7. Final Hardware Integration
Adding buttons or zippers requires precision marking with a tailor's awl. The awl creates a tiny hole by pushing fibers aside rather than cutting them, which preserves the integrity of the surrounding weave.
Mastery Tip: This leverages fiber displacement. Unlike a punch, an awl keeps the yarns intact, meaning the hardware is anchored by the full strength of the original textile rather than a weakened, cut hole.
THE TECHNICAL LEDGER
Maintenance & Longevity: Your machine is a high-speed precision instrument. Every eight hours of sewing, you must use a small brush to remove "lint buildup" from the bobbin race. Lint absorbs the machine's oil, causing friction that can lead to skipped stitches or motor burnout.
Material Variations:
- Sustainable: Hemp and organic linen offer high durability but require higher iron temperatures.
- Recycled: RPET (recycled polyester) has a lower melting point; use a press cloth to avoid "glazing" the surface.
- Premium: Mulberry silk requires microtex needles to prevent snagging the ultra-fine filaments.
The Correction:
- Skipped Stitches: Usually caused by a dull needle. Replace your needle every 6 to 8 hours of active use.
- Bird's Nesting: Thread tangles under the fabric. This is almost always a "threading error" in the upper tension discs, not the bobbin.
- Fabric Pucker: Your stitch length is too long for the fabric density. Shorten the gauge to distribute the tension across more points.
Studio Organization: Store your current project in a breathable cotton garment bag. Plastic bins can trap moisture and lead to "mildew colonization" or "permanent creasing" if the fabric is heavy. Keep your patterns flat in a lateral file cabinet to prevent "edge curling" which ruins your cutting accuracy.
THE FINAL REVEAL
Look at that finish! When you apply these Daily Sewing Habits, your work moves from "homemade" to "handcrafted luxury." Notice how the seams lie perfectly flat and the hem has a crisp, professional weight. By respecting the physics of your tools and the chemistry of your fibers, you have created something that will survive the test of time and the rigors of the laundry cycle. You are not just a hobbyist; you are a master of the textile arts. Now, go wear that masterpiece with the confidence of a woman who knows exactly how many PSI went into her topstitching!
STUDIO QUESTIONS
How often should I change my sewing machine needle?
Change your needle every 6 to 8 hours of active sewing or at the start of every new project. Dull needles cause burrs, skipped stitches, and can damage the delicate fibers of your fabric, compromising the garment's overall structural integrity.
Why is my thread constantly snapping during high speed sewing?
Snapping is usually caused by poor quality thread or incorrect tension. Cheap thread has uneven ply thickness, which catches in the needle eye. Ensure you are using high-quality polyester thread and that your upper tension discs are free of lint.
Can I skip pre-washing my fabric if I am in a hurry?
No. Pre-washing is essential to stabilize residual shrinkage. Most natural fibers contract when exposed to moisture and heat. Skipping this step means your garment may shrink unevenly after its first real wash, ruining the fit and the seam alignment.
What is the best way to store delicate fabrics like silk?
Store silks rolled on acid-free cardboard tubes rather than folded. Folding creates permanent "crease memory" that can weaken the fibers over time. Keeping them rolled prevents structural stress and ensures the fabric remains smooth and ready for immediate precision cutting.
How do I stop my fabric from shifting while I cut?
Use pattern weights and a sharp rotary cutter on a self-healing mat. Weights provide even downward pressure without the "lifting" effect caused by pins. This ensures the fabric stays perfectly flat, maintaining the accuracy of your intended seam allowances.

