
Imagine the sensation of raw silk sliding over a polished marble countertop. That is the exact texture we are aiming for today. When you manufacture your own Handmade Soap Bars, you are not just mixing liquids; you are orchestrating a precise exothermic chemical reaction called saponification. For those of us with sensitive skin, the commercial stuff is a nightmare of harsh detergents and synthetic surfactants that strip the lipid barrier. We are going for something entirely different. We want a bar that feels like a heavy, dense cream in your hand, possessing a high superfat percentage to ensure every wash deposits moisture rather than stealing it. Think of this as engineering a protective layer for your epidermis. We are focusing on the molecular bond between fats and lye to create a stable, crystalline lattice that remains gentle. Grab your safety goggles and your favorite apron. We are about to turn your kitchen into a high-end cosmetic laboratory where the physics of surfactants meets the art of the perfect lather.
THE STUDIO KIT
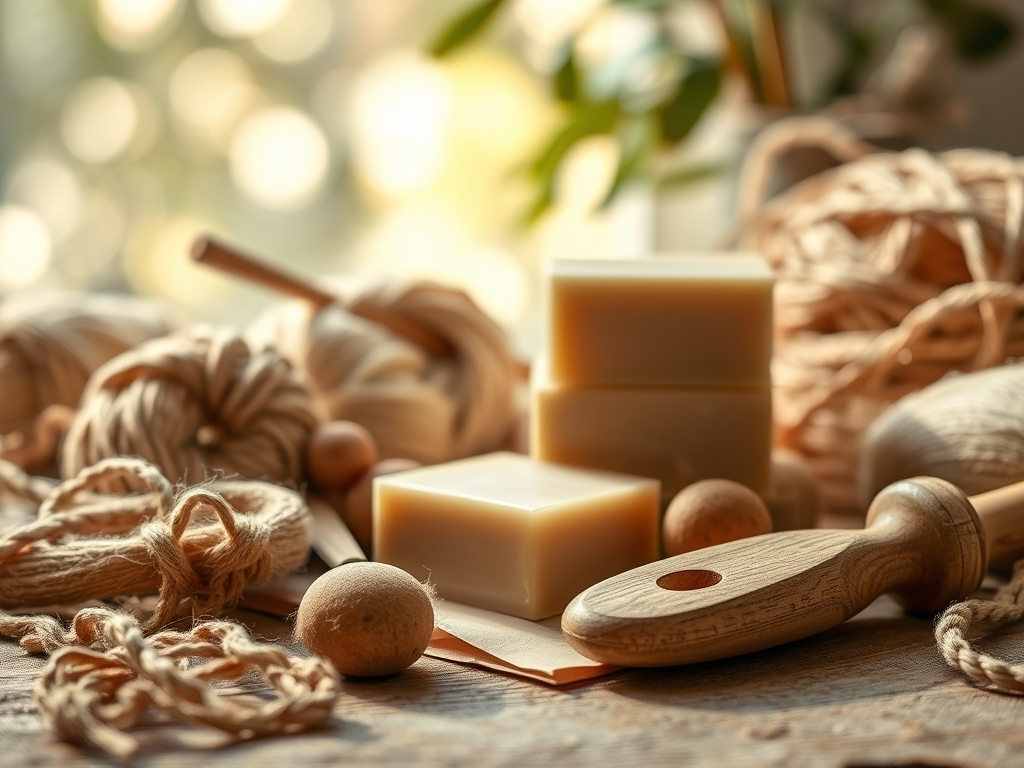
To achieve professional results, you need tools that offer precision and durability. You will need a high-quality immersion blender with a stainless steel shaft to handle the caustic nature of the lye solution. A digital scale is non-negotiable; we measure by weight, not volume, because the specific gravity of oils varies significantly. You will also want a silicone spatula for its flexibility and heat resistance, and a thermometer (infrared or probe) to monitor the thermal transition of your fats. For shaping, a silicone loaf mold is the gold standard because its non-porous surface allows for easy release without damaging the structural integrity of the bar.
Material Substitutions: If you cannot find Shea butter, Cocoa butter is a fantastic substitute, though it has a higher stearic acid content which makes for a harder, faster-setting bar. If you are avoiding coconut oil due to its high cleansing power (which can be drying), Babassu oil is a brilliant alternative. It offers similar lathering capabilities but is much gentler on the skin's moisture mantle. Always use distilled water to prevent mineral interference with the chemical bond.
THE TEMPO
The Maker's Rhythm is a three-act play. Act one is the Preparation Phase, which takes about 30 minutes. This involves the meticulous weighing of lipids and the careful dissolution of sodium hydroxide crystals. Act two is the Active Emulsification, a 20-minute window where you bring the oils and lye to "trace." This is the point where the mixture reaches the consistency of a thick pudding. Act three is the Curing Phase. This is the test of patience. Your soap must sit in a cool, dry place for four to six weeks. During this time, the water evaporates, the pH level drops to a skin-safe range, and the crystalline structure hardens. Rushing this phase results in a "mushy" bar that dissolves instantly in the shower.
THE CORE METHOD
1. The Lipid Meltdown
Begin by melting your solid fats (like Shea butter and coconut oil) in a double boiler. Once liquid, combine them with your liquid carrier oils (like olive or sweet almond oil).
Mastery Tip: Pay attention to the melting point of each fat. Overheating oils can break down the delicate fatty acids, leading to rancidity. Aim for a consistent temperature of 100 to 110 degrees Fahrenheit across all ingredients to ensure a stable emulsion.
2. The Lye Solution
Slowly add your sodium hydroxide to the distilled water. Never do the reverse, or you risk a "volcano" effect due to the rapid heat release.
Mastery Tip: This is an exothermic reaction that can reach temperatures over 200 degrees Fahrenheit. Use a stainless steel container to dissipate heat efficiently. The vapor produced is caustic; ensure your studio has high-volume airflow to prevent inhalation of the fumes.
3. Achieving Trace
Once both the oils and the lye solution are within 10 degrees of each other, pour the lye into the oils. Use your immersion blender in short bursts to reach "trace."
Mastery Tip: Trace is a measure of viscosity. When you can drizzle the mixture across the surface and it leaves a visible "track" before sinking, the emulsion is stable. This indicates that the mechanical energy has successfully suspended the lye droplets within the oil matrix.
4. Scent and Superfat
Fold in your essential oils and any extra moisturizing oils (the superfat). For sensitive skin, stick to soothing options like lavender or calendula-infused oil.
Mastery Tip: Use a caliper or a precise measuring tool if you are adding botanicals to the top. Adding extra oil at this stage ensures that there are "free" fats in the bar that have not reacted with lye, providing that signature creamy feel.
5. The Pour and Set
Pour the batter into your mold and tap it firmly on the counter to release trapped air bubbles. Cover it with a lid or cardboard to insulate the heat.
Mastery Tip: This stage triggers the Gel Phase. By insulating the mold, you encourage the soap to reach a higher internal temperature, which results in a more translucent, vibrant bar with a tighter molecular grain.
THE TECHNICAL LEDGER
Maintenance & Longevity: To keep your Handmade Soap Bars from turning into a puddle, store them on a draining soap dish. Airflow is essential to maintain the tensile strength of the bar's outer layer between uses.
Material Variations:
- Sustainable: Use locally sourced tallow or lard for an incredibly hard, creamy bar with a low carbon footprint.
- Premium: Incorporate Tussah silk fibers into the hot lye water for a luxurious, slippery feel.
- Recycled: Grate down old soap scraps and "rebatch" them by melting them with a little goat milk for a rustic, textured look.
The Correction:
- Soda Ash: A white film on top. Fix: Spray the wet soap with 99 percent isopropyl alcohol immediately after pouring to create a vapor barrier.
- Seizing: The soap turns to a solid "brick" instantly. Fix: This usually happens with floral fragrance oils. Work fast and use a whisk instead of a blender to slow the reaction.
- Oil Pockets: Liquid oil leaking from the bar. Fix: This is a failed emulsion. Re-melt the soap in a crockpot (rebatching) to force the bond.
Studio Organization: Store your curing bars on stainless steel or coated wire racks. Avoid raw aluminum, as it reacts with the soap. Label every batch with the date and the specific oil ratio used to track which recipes perform best over time.
THE FINAL REVEAL
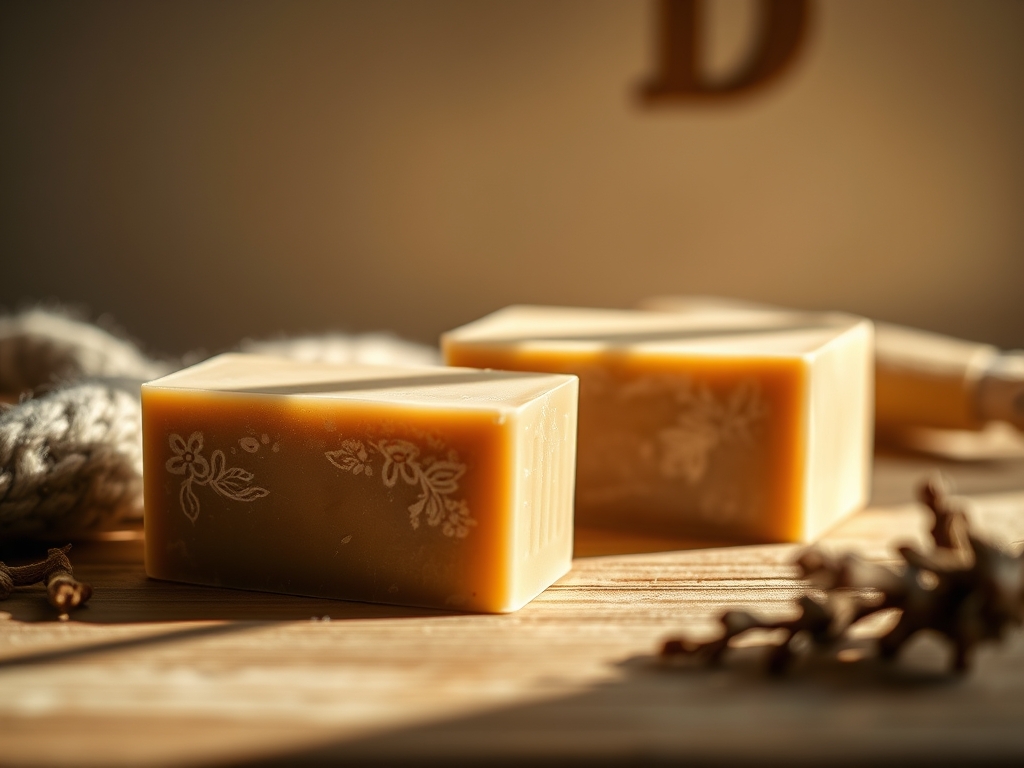
Look at that finish! When you unmold your creation, you should see a smooth, matte surface that feels substantial and dense. A well-crafted bar for sensitive skin should have a creamy, lotion-like lather rather than big, aggressive bubbles. The color should be uniform, and the edges should be crisp enough to burnish with a soft cloth for a professional sheen. You have successfully manipulated chemical bonds to create a functional piece of art. This isn't just soap; it is a custom-engineered skincare solution tailored specifically for your needs.
STUDIO QUESTIONS
Why is my handmade soap soft?
Excessive moisture or a high percentage of liquid oils often causes softness. Ensure you allow a full six-week cure time for the water to evaporate, which increases the crystalline density and creates a much harder, longer-lasting bar.
Can I use tap water for soap?
Tap water contains minerals and chlorine that can interfere with the saponification process. These impurities can cause "dreaded orange spots" or rancidity. Always use distilled water to ensure a pure chemical reaction and a stable shelf life.
What is superfatting in soap making?
Superfatting is the process of adding extra oil beyond what the lye can convert. This ensures no active lye remains in the bar and provides extra lipids to moisturize the skin, making the Handmade Soap Bars exceptionally gentle.
Why does my soap have bubbles on top?
Air bubbles are usually a result of "tapping" the immersion blender incorrectly. Always tilt your blender to release the air pocket trapped under the blade before mixing to ensure a smooth, professional viscosity without internal voids or surface pitting.

