
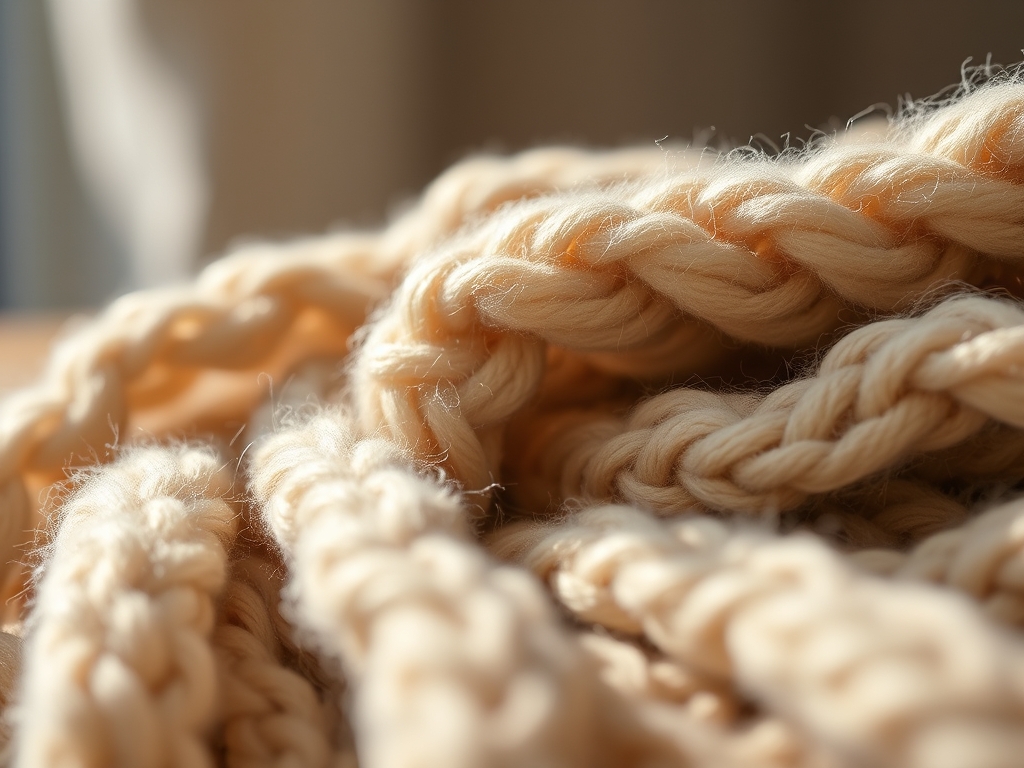
The scent of raw cedar and organic cotton batting is the ultimate sensory invitation to your workbench. When you are Crafting for New Parents, you are not just making a decorative object; you are engineering a high-performance environment for a tiny human. We are talking about the tactile feedback of a hand-sanded rattle or the specific tensile strength of a macrame mobile cord. You have to consider the molecular safety of every finish and the structural integrity of every seam. It is a beautiful marriage of physics and affection. We are moving past basic glue sticks and into the realm of heirloom-grade assembly. Whether you are manipulating the grain of a hardwood block or calculating the drape of a heavy-gauge linen, the goal is a flawless finish that survives the chaotic reality of a nursery. Grab your safety goggles and your favorite espresso; we are about to turn raw materials into functional art that will withstand years of use and thousands of tiny hands.
THE STUDIO KIT
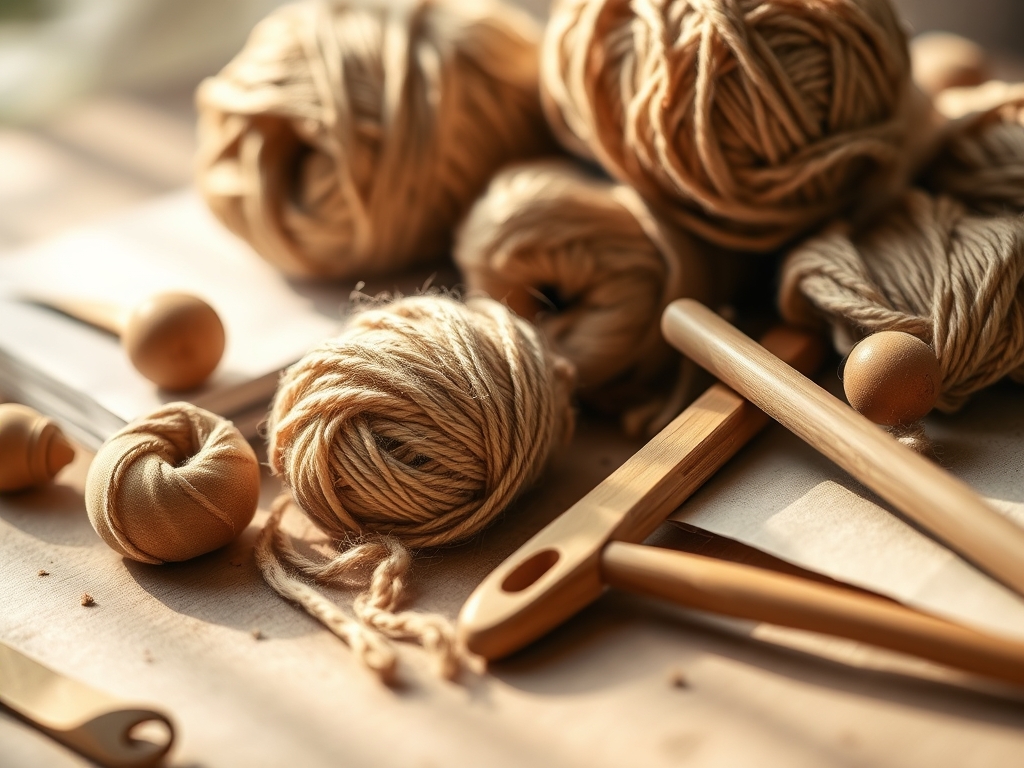
To execute these projects with professional precision, your toolkit must prioritize ergonomics and material purity. For woodworking tasks, you will need a Japanese pull saw for clean, splinter-free crosscuts and a set of calipers to ensure uniform thickness in dowels. For textile-based nursery needs, a rotary cutter with a fresh tungsten carbide blade is non-negotiable for achieving straight edges on high-thread-count fabrics. You should also keep a bone folder on hand to create crisp, permanent creases in heavy cardstock or leather accents.
Material selection is where the science truly begins. Focus on porous, untreated woods like maple or beech, which possess natural antimicrobial properties. For fabrics, prioritize long-staple cotton or linen with a high GSM (grams per square meter) to ensure durability against frequent laundering.
Material Substitutions: If you cannot source organic beeswax for sealing wood, food-grade mineral oil is a perfect alternative because it penetrates the cellular structure of the wood without rancidity. If heavy linen is unavailable, a triple-layered cotton duck provides similar tensile strength and structural rigidity for storage bins or wall organizers.
THE TEMPO
The maker's rhythm is dictated by the chemical and physical properties of your materials. You cannot rush the curing time of a non-toxic finish or the setting phase of a reinforced stitch. Generally, expect a three-phase timeline for these nursery projects. The Preparation Phase (1-2 hours) involves measuring, marking, and cutting, where precision is paramount to avoid material waste. The Assembly Phase (3-4 hours) is the core of the work, involving the joining of components through mechanical fasteners or thermal bonding. Finally, the Refining Phase (24 hours) allows for drying, off-gassing, and final stress tests. Respecting this tempo ensures that your final product is not just beautiful, but structurally sound and safe for a newborn environment.
THE CORE METHOD
1. The Sculpted Hardwood Rattle
Begin by selecting a dense, non-splintering hardwood. Use your Japanese pull saw to cut the basic form, then transition to a series of sandpaper grits ranging from 80 to 400. The goal is to achieve a surface that feels like polished stone.
Mastery Tip: The science of surface friction dictates that as you increase the grit number, you are effectively closing the wood pores. This prevents moisture from saliva from penetrating the grain, which would otherwise cause the fibers to swell and become rough.
2. High-Contrast Sensory Cards
Newborns have limited visual acuity, making high-contrast patterns essential. Use a heavy-gauge cardstock and a precision craft knife to create bold, geometric shapes. Laminate these with a matte finish to prevent glare.
Mastery Tip: Utilize the concept of visual focal length by ensuring your patterns have sharp, defined edges. A clean cut with a fresh blade prevents "feathering" of the ink or paper fibers, which keeps the image crisp for developing infant eyes.
3. The Weighted Quilted Play Mat
Layer a dense cotton batting between two sheets of breathable linen. Use a walking foot on your sewing machine to ensure all layers move through the feed dogs at the same rate, preventing bunching.
Mastery Tip: This project relies on ply stability. By quilting in a diamond grid pattern, you distribute the internal tension of the batting evenly, ensuring the mat stays flat and does not warp after multiple wash cycles.
4. Floating Cloud Mobile
Construct the frame using lightweight balsa wood or thin steel wire. Suspend felted wool shapes using a high-tensile nylon thread that is nearly invisible but incredibly strong.
Mastery Tip: Apply the principles of center of gravity and equilibrium. Each arm of the mobile must be balanced precisely at its pivot point to allow for smooth, kinetic movement triggered by the slightest air current in the room.
5. Ergonomic Nursing Stool
Build a low-profile stool using reinforced joinery like pocket holes or mortise and tenon. Ensure the top surface has a slight five-degree incline toward the user for better posture.
Mastery Tip: Consider load-bearing distribution. By angling the legs outward by ten degrees, you increase the "footprint" of the stool, significantly lowering the risk of tipping when weight is applied unevenly.
6. Organic Cotton Swaddle Wraps
Select a double-gauze fabric for its breathability. Use a serger or a tight zigzag stitch on the edges to prevent the loose weave from unraveling.
Mastery Tip: Double-gauze works through capillary action. The tiny pockets of air between the two layers of fabric trap heat while allowing moisture to evaporate, maintaining the infant's optimal body temperature.
7. Wall-Mounted Book Ledge
Fabricate a simple "J" channel ledge from pine or poplar. Use a countersink bit so your screws sit flush with the wood surface, then plug the holes for a seamless look.
Mastery Tip: Pay attention to shear strength. When mounting to drywall, always locate the studs or use high-quality toggle bolts. A ledge full of board books can exert significant downward force on the fasteners.
8. Silicone and Wood Teething Ring
Combine food-grade silicone beads with a burnished maple ring. Thread them onto a thick satin cord and use a triple-knotted hidden join for safety.
Mastery Tip: This project utilizes durometer variance. The soft silicone provides compression for sore gums, while the hard maple offers resistance. The knot must be heat-fused to prevent the synthetic fibers from slipping under tension.
9. Custom Canvas Storage Bins
Use a heavy-duty duck canvas and reinforce the top rim with a flexible plastic boning or thick wire to help the bin maintain its shape when empty.
Mastery Tip: The structural integrity of the bin comes from the "boxed corner" technique. By sewing a perpendicular seam at the base, you create a flat bottom that converts the fabric's natural flexibility into a self-supporting column.
THE TECHNICAL LEDGER
Maintenance & Longevity: To keep these items in peak condition, wood should be re-oiled every six months using a beeswax-based balm. Textiles should be washed in cold water with pH-neutral detergents to prevent fiber degradation and color bleed.
Material Variations: For a premium upgrade, swap standard cotton for GOTS-certified organic wool, which is naturally flame-retardant. For a sustainable approach, upcycle high-quality hardwood scraps from local cabinet shops to create unique, multi-toned rattles.
The Correction:
- Splintering Wood: If the grain raises after sanding, lightly mist the wood with water (popping the grain), let it dry, and sand again with 400 grit.
- Uneven Stitching: If your fabric is puckering, check your thread tension; usually, the top tension is too high for delicate knits.
- Wobbly Mobile: If the balance is off, use a small dab of hot glue or a tiny lead weight hidden inside a felt shape to recalibrate the equilibrium.
Studio Organization: Store your nursery projects in a climate-controlled environment. Wood is sensitive to hygroscopic expansion, meaning it will swell in high humidity and shrink in dry air. Keep finished textile pieces in breathable cotton bags to prevent dust accumulation without trapping moisture.
THE FINAL REVEAL
There is an incredible sense of pride in seeing a nursery filled with objects you engineered yourself. Each piece represents a specific technical challenge overcome and a commitment to quality that mass-produced items simply cannot match. From the perfectly balanced mobile to the buttery-smooth finish of a wooden toy, these projects are the physical manifestation of your skill and care. You have mastered the grain, the stitch, and the structure. Now, take a step back and admire the studio-grade sanctuary you have built for the new arrival.
STUDIO QUESTIONS
What is the safest finish for wooden nursery items?
The gold standard is a mixture of food-grade mineral oil and organic beeswax. This combination is non-toxic, easy to repair, and penetrates deep into the wood fibers to provide a moisture-resistant barrier that is safe for teething infants.
How do I ensure my handmade toys are safe?
Focus on mechanical durability. Every component must be able to withstand a "pull test" of at least 15 pounds of force. Avoid small parts that fit inside a standard film canister to eliminate choking hazards and always use reinforced stitching.
Which fabric is best for frequent nursery laundering?
High-GSM linen or tightly woven cotton duck are the most resilient options. These natural fibers actually become softer with each wash while maintaining their tensile strength, unlike synthetic blends which may pill or thin out over time.
Can I use regular craft glue for nursery projects?
It is best to avoid standard solvent-based glues. Instead, use PVA-based wood glues that are labeled as non-toxic and FDA-approved for indirect food contact. For textiles, physical fasteners like stitching are always superior to fabric adhesives for longevity and safety.

