
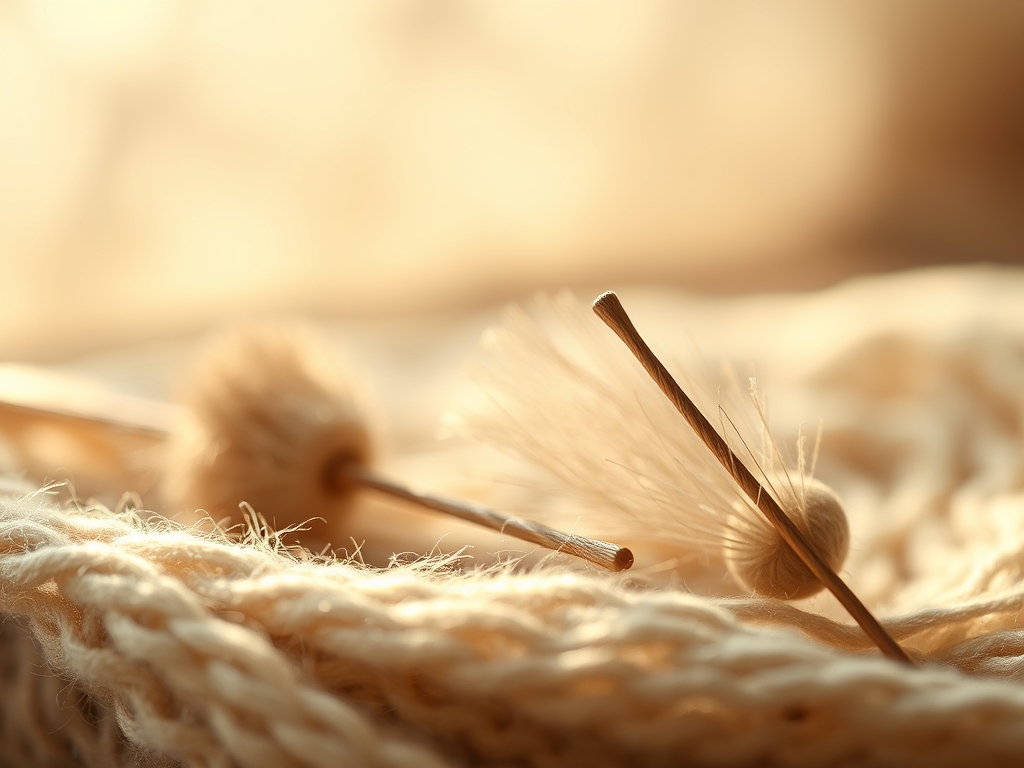
Grab your favorite hoop and feel that satisfying snap as the inner ring locks against the outer rim. There is a specific, tactile thrill in tensioning a fresh piece of linen until it rings like a drum head. When you are ready to level up your textile game, Daily Embroidery Drills are the secret sauce for building muscle memory and mastering thread physics. We are not just making pretty pictures; we are manipulating the tensile strength of cotton floss to create three dimensional architecture on a two dimensional plane. You can feel the weave of the fabric resisting and then yielding as the needle pierces the fibers. It is a dance of friction and precision. By committing to these drills, you transform from a casual stitcher into a structural engineer of the needle. We are going to explore nine specific texture stitches that will push your hand eye coordination to its absolute limit while creating a stunning sample hoop that serves as a physical encyclopedia of your growing skill set.
THE STUDIO KIT
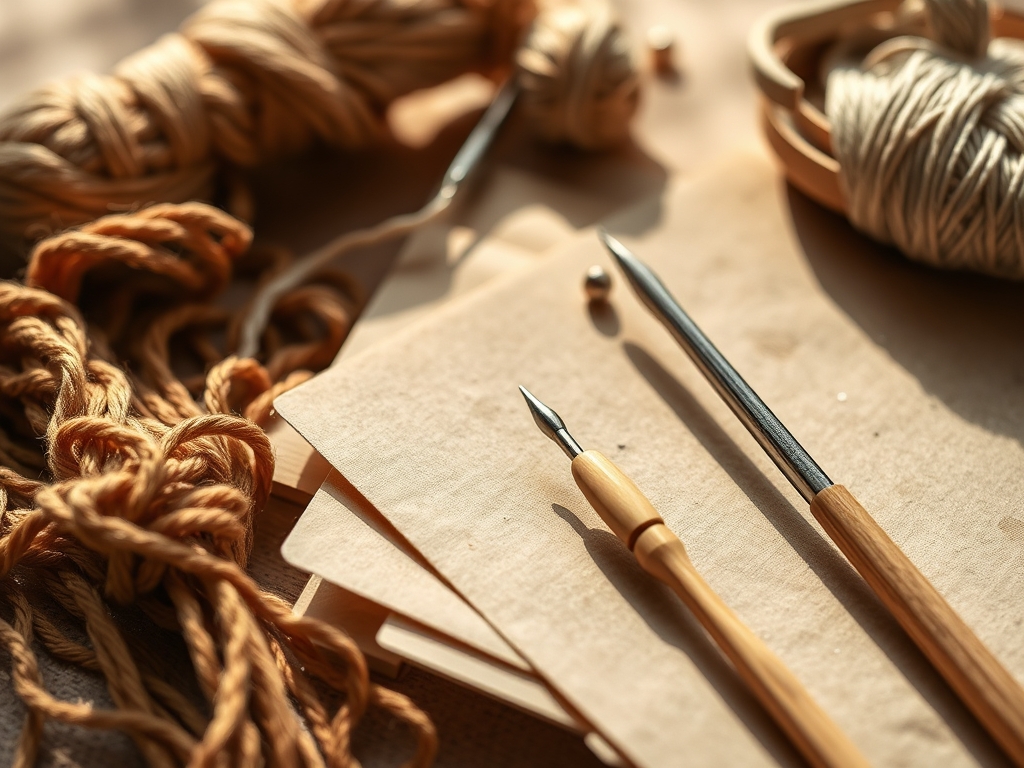
To execute these Daily Embroidery Drills with professional precision, your toolkit must be curated for high performance. Start with a high thread count linen or a heavy cotton twill. These fabrics offer the structural integrity needed to support dense, textured stitching without puckering. You will need a range of tapestry and chenille needles; the gauge of the needle must match the ply of your thread to prevent unnecessary friction that can fray the fibers.
A pair of fine tipped embroidery scissors is non negotiable for clean cuts. For marking your grid, use a heat erasable pen or a fine point chalk pencil to ensure your geometry remains flawless. If you want to get technical, keep a pair of calipers nearby to measure the consistency of your stitch lengths.
Material Substitutions: If linen is unavailable, a heavyweight muslin can work, though it lacks the crispness of flax fibers. For thread, while six strand cotton is standard, experimenting with perle cotton or even fine silk ribbon will change the surface tension and light reflectivity of your drills. If you find your hands cramping, look for an ergonomic hoop stand to offload the weight and allow for two handed stitching.
THE TEMPO
The Maker's Rhythm is all about finding the sweet spot between speed and accuracy. For each of these Daily Embroidery Drills, expect to spend about twenty minutes on the initial setup and layout. This is the "calibration phase" where you ensure your fabric is drum tight and your grid is perfectly aligned.
Once you begin stitching, each 2×2 inch sample square will take approximately forty five to sixty minutes of focused work. This is the "flow state" where the repetitive motion of the needle becomes second nature. Do not rush the process. The goal is consistency in every single "pass." If you find your rhythm breaking, take a moment to burnish the thread by running it through your fingers to remove any static or kinks. This maintenance ensures the thread lays flat and maintains its luster throughout the session.
THE CORE METHOD
1. The Padded Satin Stitch
Begin by creating a foundation of small, horizontal seed stitches within your shape. This creates a "substructure" that adds height and volume. When you lay your final vertical satin stitches over this base, the increased surface tension allows the thread to catch the light at different angles, creating a brilliant sheen.
Mastery Tip: The science here is all about displacement. By adding a base layer, you are forcing the top layer of thread to travel a longer distance, which increases the internal tension of the stitch and prevents the fabric from collapsing inward.
2. The Raised Fishbone
This stitch mimics the skeletal structure of a leaf. You will work from the top down, overlapping each stitch at the center spine. This creates a dense, braided effect that is incredibly durable.
Mastery Tip: Pay attention to the pierce point. If you place your needle too close to the previous exit hole, you risk tearing the fabric grain. Aim for a staggered alignment to distribute the load across the textile grid.
3. The French Knot Cluster
For maximum texture, pack your knots tightly together. Vary the number of wraps around the needle to create different heights and diameters. This creates a "topographical map" of thread on your hoop.
Mastery Tip: This is a lesson in friction. The security of a French knot depends on the tension held while the needle passes through the wraps. If the tension is too loose, the knot will "bloom" and lose its structural integrity.
4. The Bullion Rose
Wrap the thread around the needle multiple times before pulling it through the fabric to create a long, coiled tube. These coils can be curved into floral shapes or laid flat for architectural lines.
Mastery Tip: Use a milliner's needle for this drill. Unlike standard needles, the eye of a milliner's needle is the same width as the shaft, which reduces the resistance as you pull the needle through the tight coils.
5. The Woven Wheel
Create a star shaped base of five straight stitches, then weave your thread over and under these spokes without piercing the fabric. This creates a raised, circular disc that sits on top of the weave.
Mastery Tip: This stitch utilizes capillary action in a metaphorical sense; the thread follows the path of least resistance around the spokes. Ensure your base stitches are tight enough to provide a rigid scaffold for the weaving.
6. The Cast On Stitch
Similar to knitting, you cast loops onto the needle before pulling it through the fabric. This creates a highly dimensional, flexible "arm" of thread that can stand off the surface of the hoop.
Mastery Tip: The ply of the thread is crucial here. Using a high twist thread like perle cotton will prevent the loops from snagging on themselves as you slide them off the needle.
7. The Turkey Work (Ghiordes Knot)
This technique creates a plush, carpet like pile. You create a series of loops and then cut them to your desired length, then fluff them with a small brush or an awl.
Mastery Tip: The structural integrity of Turkey Work relies on a "locking stitch" between each loop. Without this lock, the loops will simply pull out when you attempt to trim them.
8. The Heavy Chain Stitch
Instead of a single loop, you pass the needle through two previous loops. This creates a thick, braid like cord that is perfect for outlining or filling dense areas.
Mastery Tip: This stitch increases the linear density of the thread. Because so much material is concentrated in a small area, you must ensure your fabric is properly stabilized to prevent "hoop burn" or permanent distortion.
9. The Long and Short Shading
This is the ultimate test of color blending and stitch direction. By varying the lengths of your stitches and "interlocking" them like shingles on a roof, you create a seamless gradient.
Mastery Tip: Observe the grain direction of your fabric. Stitching with the grain allows the thread to settle deeper into the weave, while stitching against the grain makes the stitches stand out with more prominence.
THE TECHNICAL LEDGER
To maintain the longevity of your Daily Embroidery Drills, you must treat your finished samples with care. Thread is susceptible to UV degradation and moisture, so store your hoops in a cool, dry place away from direct sunlight.
Material Variations:
- Sustainable: Organic hemp linen and recycled cotton floss offer a beautiful, rustic texture.
- Premium: Silk spun thread and gold plated needles provide a luxury experience with superior glide.
The Correction:
- Puckering: Usually caused by excessive tension. Fix by using a "hoop hugger" or a heavier stabilizer on the back of the fabric.
- Loopy Knots: Caused by releasing the thread tension too early. Fix by holding the "tail" of the thread until the very last millisecond of the pull.
- Fraying Thread: Caused by using a needle with an eye that is too small. Switch to a larger gauge needle to create a wider "tunnel" for the thread to pass through.
Studio Organization: Use a bone folder to crease your fabric edges before framing. Store your extra floss on acrylic bobbins organized by "denier" or weight to keep your workspace efficient.
THE FINAL REVEAL
Look at that texture! Your sample hoop is no longer just a piece of cloth; it is a high relief sculpture. The way the light hits the raised bullion roses and the velvety Turkey work creates a visual depth that flat stitching simply cannot match. You have successfully navigated the physics of fiber and the geometry of the needle. This hoop is a testament to your dedication to Daily Embroidery Drills. It is bold, it is tactile, and it is uniquely yours. Display it proudly in your studio as a reminder of the technical hurdles you have cleared.
STUDIO QUESTIONS
How do I prevent my fabric from losing tension?
Ensure your hoop is tightened with a screwdriver if it has a tension nut. For wooden hoops, wrapping the inner ring with cotton twill tape increases the "grip" and prevents the fabric from slipping during intense Daily Embroidery Drills.
What is the best way to end a thread?
Avoid bulky knots on the back. Instead, "weave in" your ends by running the needle under several existing stitches on the reverse side. This maintains a flat profile and prevents the thread from pulling through to the front.
Can I use these stitches on clothing?
Yes, but you must consider the "washability" of the stitch. High relief stitches like Turkey Work or Bullion Roses are delicate. Use a permanent stabilizer on the back of the garment to protect the structural integrity during wear and cleaning.
Why does my thread keep tangling?
This is often caused by the thread's "natural twist." Every few stitches, let your needle hang freely to allow the thread to untwist. You can also use a thread conditioner or beeswax to reduce static and friction.

