
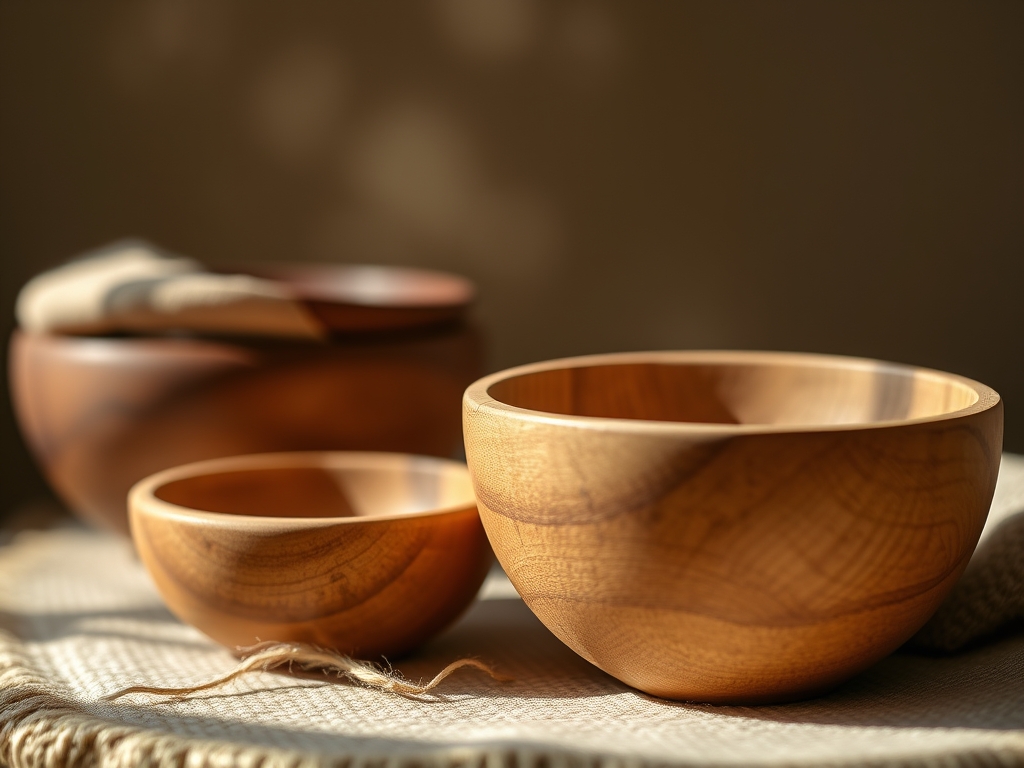
Imagine the scent of toasted vanilla and rain hitting dry earth. That is the aroma of fresh cherry wood meeting a high speed steel gouge. We are not just making kitchenware today; we are sculpting functional art. Creating Handmade Wooden Bowls is a masterclass in managing centrifugal force and cellular structural integrity. You can feel the vibration of the lathe travel through your palms as the timber transitions from a jagged, asymmetrical block into a balanced vessel. It is a tactile conversation between your hands and the grain. When you hold a finished bowl, you feel the density of the growth rings and the warmth of a surface polished to a glass like sheen. This project is about more than aesthetics; it is about understanding how wood fibers behave under tension. We are going to harness the natural elasticity of the wood to create a piece that is light enough for a morning snack but sturdy enough to last for generations. Let us get into the grit of it.
THE STUDIO KIT
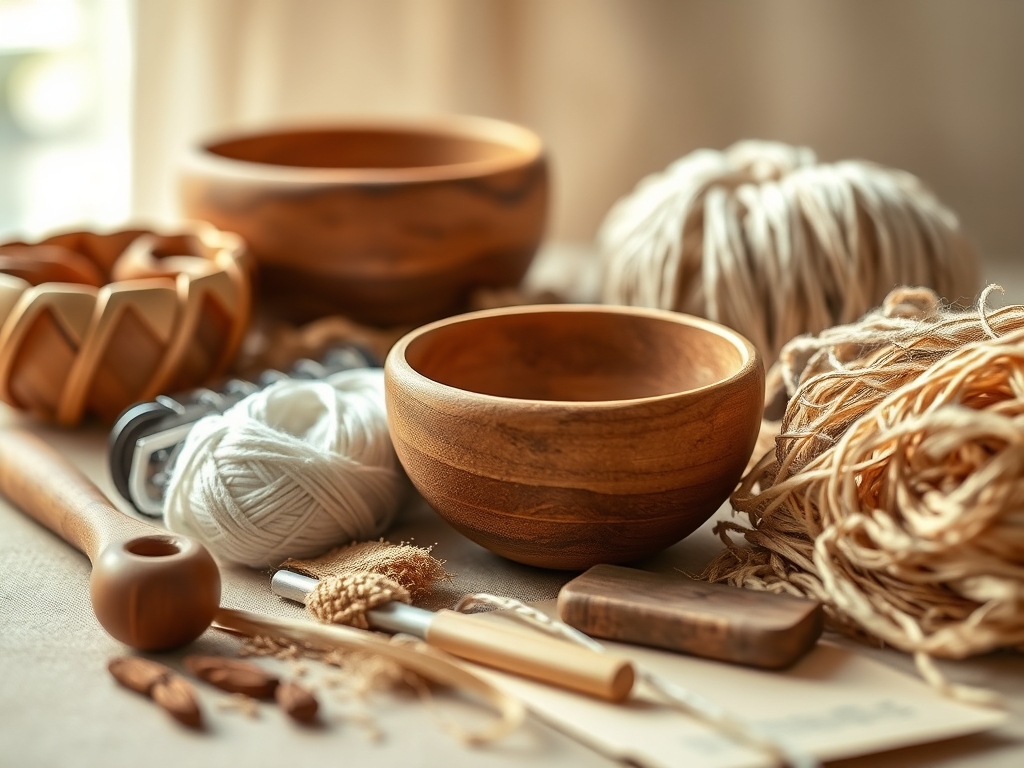
To master the art of the lathe, your toolkit needs to be as sharp as your wit. You will need a variable speed lathe capable of handling the torque required for large blanks. Your primary cutting tools are the bowl gouge with a fingernail grind for deep clearing and a round nose scraper for refining the interior curve. Accuracy is non negotiable, so keep a pair of outside calipers and a depth gauge nearby to monitor wall thickness. For the finish, you will need a progression of silicon carbide sandpaper ranging from 80 to 400 grit.
Material selection is the foundation of success. Hardwoods like maple, cherry, or walnut are preferred due to their high fiber density and stable cellular structure. If you cannot find a seasoned blank, a "Material Substitution" could be green wood; however, you must account for the hygroscopic nature of the material, as it will warp significantly during the drying process. Always have a high quality food grade mineral oil or beeswax blend ready to saturate the porous surface once the turning is complete.
THE TEMPO
The "Maker's Rhythm" is a psychological state where your movements become fluid and instinctive. This project requires approximately four to six hours of active studio time, excluding drying phases. The first hour is the "Brute Phase," where you trundle through the rough shaping. This is followed by two hours of "Refinement," where the wall thickness is dialed in. The final two hours are dedicated to "Surface Alchemy," involving sanding and burnishing. Do not rush the rhythm. Wood is a living material; if you push the tool too fast, you risk end grain tear out, which adds hours to your sanding time. Consistency in your stance and breath will lead to a more symmetrical result.
THE CORE METHOD
1. Mounting the Blank and Truing
Start by finding the center of your wood block using a center finder or a simple diagonal line method. Secure the blank to a faceplate or a four jaw chuck. The goal here is to achieve "true" rotation. As the lathe spins, use a roughing gouge to remove the corners until the block is a perfect cylinder.
Mastery Tip: This step relies on rotational inertia. By truing the wood, you eliminate the "thump" of an unbalanced load, which protects the headstock bearings of your lathe and ensures a smoother cut.
2. Shaping the Exterior Profile
With the wood spinning at a moderate speed, begin carving the outer silhouette. Use long, sweeping motions. The curve should be ergonomic, fitting comfortably in the palms of your hands. Aim for a foot that is approximately one third the diameter of the rim to ensure stability.
Mastery Tip: Pay attention to grain direction. Always cut from the small diameter to the large diameter when shaping the exterior to "support" the wood fibers and prevent splintering.
3. Creating the Tenon or Recess
To hollow out the bowl, you must flip it. This requires a tenon (a protruding lip) or a recess (a carved hole) that your chuck can grip. Use a parting tool to create a precise, 90 degree shoulder. This is the mechanical anchor for the rest of the build.
Mastery Tip: The tensile strength of the wood is tested here. If the tenon is too small, the force of the hollowing could snap the bowl off the lathe. Ensure the tenon is at least 75 percent of the jaw width.
4. Hollowing the Interior
This is where the magic happens. Start at the center and work your way toward the rim. Use a bowl gouge to remove "waste" material in thin, ribbon like shavings. Periodically stop the lathe and use your calipers to check the wall thickness. Aim for a consistent 1/4 inch thickness throughout.
Mastery Tip: Watch out for centrifugal expansion. As the walls get thinner, the wood can actually flex outward. Supporting the exterior with your hand (carefully!) or using a steady rest can mitigate vibration.
5. Shear Scraping for Smoothness
Once the shape is finalized, the surface will likely have small ridges. Use a shear scraper held at a 45 degree angle. This tool does not "cut" in the traditional sense; it "shaves" the microscopic peaks off the wood cells to create a buttery smooth finish.
Mastery Tip: This technique utilizes the geometry of the cutting edge to minimize tear out on the end grain, which is notoriously difficult to sand.
6. Progressive Abrasive Refinement
Sanding is not just about smoothness; it is about closing the pores. Start with 80 grit to remove tool marks and move through the grits. Between each grit, wipe the bowl with a tack cloth to remove dust that could scratch the wood in the next phase.
Mastery Tip: Use capillary action to your advantage. Wiping the wood with a damp cloth between grits (popping the grain) raises the crushed fibers so they can be sliced off by the next sandpaper level.
7. The Final Burnish and Seal
Apply your food safe finish while the bowl is spinning at a low speed. The friction generates heat, which allows the oil to penetrate deeper into the porous cellulose structure. Once the oil is absorbed, use a clean cotton cloth to burnish the surface to a high luster.
Mastery Tip: The finish creates a hydrophobic barrier. This is essential for a fruit bowl, as it prevents the acidic juices from reacting with the wood tannins and causing discoloration.
THE TECHNICAL LEDGER
Maintenance & Longevity: Never soak your bowl in water. The osmotic pressure will cause the wood to swell and crack. Hand wash with mild soap and reapply mineral oil every few months to maintain the moisture barrier.
Material Variations: For a sustainable option, use reclaimed orchard wood like apple or pear. For a premium, high density feel, African Blackwood offers incredible structural integrity but requires much sharper tools.
The Correction:
- Vibration: If the bowl shakes, lower the RPM immediately. This is usually caused by an off center mass.
- Tear out: If the wood looks fuzzy, your tools are dull. Re sharpen your gouge on a diamond stone.
- Bottom Cracks: If the base cracks, it is likely due to the tenon being too tight. Sand the area and fill with a mixture of sawdust and wood glue for a seamless repair.
Studio Organization: Store your unfinished blanks in a cool, dry area. If you are working with green wood, keep the shavings in a bag with the bowl to slow down the desiccation process and prevent checking.
THE FINAL REVEAL
Look at that glow! Your handmade wooden bowl is now a masterpiece of physics and patience. The way the light catches the chatoyancy of the grain is a testament to your hard work. It feels balanced, substantial, and ready to hold a mountain of fresh citrus. You have successfully turned a raw piece of nature into a refined tool for daily living. Go ahead, run your thumb along the rim; that smoothness is the result of perfect tool control.
STUDIO QUESTIONS
What is the best wood for a beginner bowl?
Cherry or Maple are ideal because they have a consistent grain density. They are soft enough to carve easily but hard enough to hold fine detail without crumbling during the hollowing phase.
How do I prevent the bowl from warping?
Use "kiln dried" lumber to ensure the moisture content is below 10 percent. If using green wood, coat the end grain in wax and let it season for several months before the final turning.
Can I use any oil to finish the bowl?
No, always use food grade oils like mineral oil or walnut oil. Avoid vegetable oils like olive or canola, as they will go rancid over time and ruin the wood.
What should I do if my bowl develops a crack?
Small cracks can be stabilized using cyanoacrylate (CA) glue. For larger structural failures, you may need to "stitch" the crack with contrasting wood "butterflies" to maintain the vessel's integrity.
How thin can I safely turn the walls?
For daily use, keep the walls between 1/4 and 3/8 of an inch. While thinner walls look elegant, they become brittle and are prone to cracking if the bowl is dropped.

