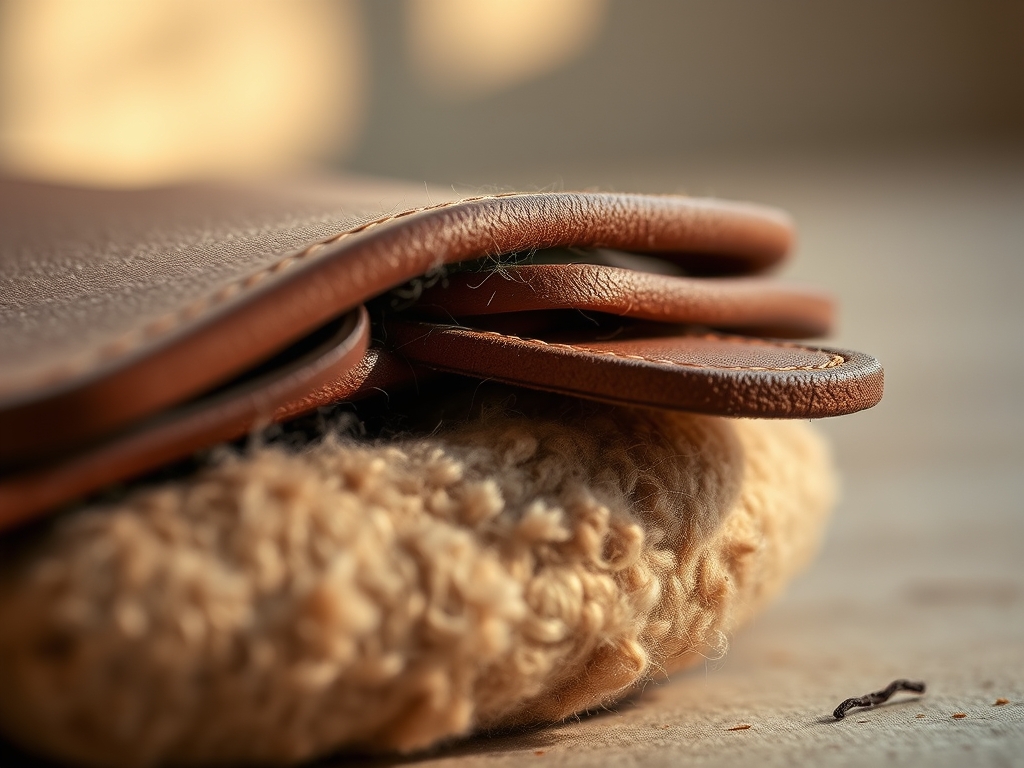
Close your eyes and listen for that specific, rhythmic slide of waxed thread pulling through a pre-punched hole. It is the sound of tension meeting texture. When you hold high-quality Handmade Leather Goods in your hands, you are not just holding a container; you are interacting with a biological matrix of collagen fibers that have been preserved to endure for decades. The smell is deep and earthy, a result of vegetable tannins reacting with the protein structure of the hide. As a maker, your first touch tells you everything. You feel the grain density and the oily pull-up of the surface. If it feels slightly waxy and resists a fingernail scratch with a self-healing glow, you have found the sweet spot. We are looking for that perfect balance between tensile strength and suppleness. This is where the physics of the craft meets the soul of the design. We are going to build things that do not just last; they evolve. Every scratch and every drop of oil from your palms will eventually create a patina that acts as a visual map of your daily life.
THE STUDIO KIT
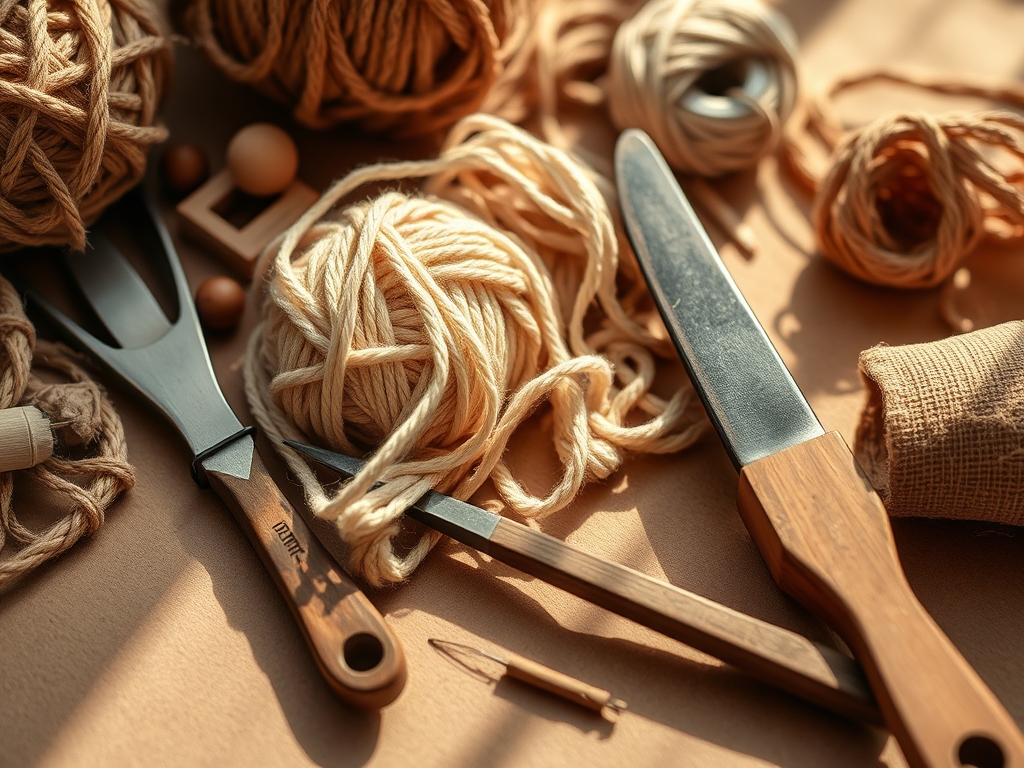
To master these timeless designs, your workbench needs to be an extension of your intent. You will start with a heavy-duty rotary cutter or a specialized round knife for clean, single-pass shears. Precision is non-negotiable, so keep your digital calipers nearby to measure the exact millimeter thickness of your hide; usually, a 3-ounce to 4-ounce weight is ideal for daily carry items. You will also need a set of diamond-tipped stitching chisels to ensure your holes are spaced with mathematical consistency. For the edges, a solid wood burnisher and a high-quality edge beveler are essential to transform raw, fuzzy edges into glass-like, compressed perimeters.
If you cannot source traditional veg-tan leather, consider Material Substitutions like cork fabric or high-density recycled fiber composites. While these lack the same fibrous interlocking of animal hide, they offer a similar structural rigidity for minimalist wallets or cardholders. Always have a bone folder on hand to crease your fold lines without rupturing the surface grain. This tool uses smooth pressure to compress the internal fibers, creating a permanent memory in the material.
THE TEMPO
The "Maker's Rhythm" is a psychological state where your heart rate syncs with the steady strike of the mallet. For a standard minimalist wallet, expect a three-hour cycle. The first hour is dedicated to the Layout and Shear, where focus is paramount because a single slip of the blade ruins the entire panel. The second hour is the Prep and Punch phase. This is the loudest part of the process, requiring a steady, vertical strike to ensure the exit holes on the underside are as clean as the entry points. The final hour is the Saddle Stitch and Finish. This is the meditative home stretch where you use two needles to create an interlocking thread pattern that is structurally superior to any machine stitch. If one thread breaks in a saddle stitch, the rest of the seam remains locked; a machine lock-stitch, however, will unravel like a zipper.
THE CORE METHOD
1. The Geometry of the Minimalist Card Slide
Start by drafting your template on heavy cardstock. Use your calipers to ensure the pockets are exactly 2mm wider than a standard credit card to account for the thickness of the leather once folded.
Mastery Tip: This accounts for the displacement of volume. When leather folds, the inner layer bunches while the outer layer stretches. By adding a 2mm tolerance, you prevent the pocket from becoming so tight that it exerts excessive lateral pressure on the stitching, which could lead to premature thread failure.
2. Beveling for Aerodynamic Edges
Once your pieces are cut, use an edge beveler to remove the 45-degree corner from the raw edge. This is not just for aesthetics; it is about ergonomics.
Mastery Tip: Beveling reduces the surface area susceptible to fraying. By rounding the edge, you are preparing the fibers for burnishing. A rounded edge distributes friction more evenly than a sharp corner, preventing the leather from "mushrooming" or spreading out over years of being pulled in and out of a pocket.
3. The Science of the Burnish
Apply a small amount of tragacanth gum or water to the beveled edge. Take your hardwood burnisher and rub briskly until you hear a "tacky" clicking sound.
Mastery Tip: This process utilizes friction-generated heat to fuse the loose protein fibers together. The heat causes the tannins and waxes within the leather to rise to the surface, creating a natural plasticization. This creates a waterproof seal that protects the internal "corium" layer from moisture and rot.
4. The Structural Saddle Stitch
Thread two needles on a single length of waxed polyester thread. Pass them through the same hole from opposite directions, creating an "X" pattern inside the leather.
Mastery Tip: This creates a mechanical lock. Because the thread is under constant tension from both sides, it fills the hole completely. This prevents "sawing," where the thread moves back and forth and eventually cuts through the leather fibers. The wax on the thread also acts as a lubricant during the sew and a sealant once the stitch is set.
5. Final Grain Conditioning
Once the assembly is complete, apply a light coat of neatsfoot oil or beeswax cream using a lint-free cloth.
Mastery Tip: This is about capillary action. The porous surface of the leather draws the oils deep into the fiber network, lubricating the collagen strands so they can slide against each other without snapping. This maintains the material's elasticity and prevents "grain cracking" at high-stress pivot points.
THE TECHNICAL LEDGER
Maintenance & Longevity: To keep your Handmade Leather Goods in peak condition, avoid over-saturation. If the leather gets wet, let it air dry away from direct heat to prevent the fibers from becoming brittle. Re-condition every six months to maintain the moisture barrier.
Material Variations:
- Premium: Full-grain, vegetable-tanned hides offer the highest fiber density.
- Sustainable: Chrome-free leathers use bark extracts instead of heavy metals.
- Recycled: Bonded leather is made from scrap shavings but has significantly lower tensile strength.
The Correction:
- Mistake: Crooked stitching lines. Fix: Use a wing divider to score a light guide path before punching.
- Mistake: Leather "bunches" during a fold. Fix: Use a skiving knife to thin the underside of the leather at the fold line, reducing the bulk.
- Mistake: Dull edges after burnishing. Fix: Sand the edge with 400-grit then 800-grit sandpaper before the final burnish to ensure the fibers are perfectly level.
Studio Organization: Store your hides flat in a cool, dark environment. UV light breaks down the chemical bonds of the tannins, leading to "sun-bleaching" and structural degradation. Never store leather in plastic bags; it needs to breathe to prevent mold growth within its pores.
THE FINAL REVEAL
There is a profound sense of "click" when you finish your first piece. The edges are glossy, the stitches are uniform, and the item feels substantial yet refined. You have taken a raw, organic material and used physics to transform it into a functional tool. This is the beauty of Handmade Leather Goods; they are alive. They will darken, they will soften, and they will become a signature of your personal aesthetic. You are not just a crafter; you are an engineer of the tactile.
STUDIO QUESTIONS
What is the best leather weight for a daily wallet?
For a standard wallet, use 3oz to 4oz (1.2mm to 1.6mm) leather. This provides enough structural integrity to hold its shape without becoming too bulky for a pocket. It balances durability with flexibility for easy card access.
Why does my leather edge look fuzzy after burnishing?
Fuzziness occurs when fibers are not properly sanded or the leather is too soft. Use a higher grit sandpaper to level the fibers before applying a burnishing agent. This ensures the heat from friction can effectively fuse the surface.
Can I use a regular sewing machine for leather?
Most domestic machines cannot handle the thickness or the density of leather. They often skip stitches or break needles. A manual saddle stitch is much stronger and ensures the item will not unravel if a single thread is damaged.
How do I prevent my leather from stretching out?
Always cut your main structural pieces parallel to the spine of the hide, where the fiber direction is tightest. Avoid using the "belly" of the leather for load-bearing parts, as this area has a looser, more elastic grain.
What is the purpose of waxing the thread?
Wax reduces friction as the thread passes through the leather, preventing fraying. It also fills the stitch hole, creating a moisture-resistant seal that protects the interior fibers from liquid damage and salt buildup from sweat or humidity.