
Imagine the sun hitting your workbench at a sharp angle while the steam from your espresso curls into the air. There is a specific, quiet magic in the friction of a bone folder against heavy cardstock or the resistance of a needle piercing through tight-grain leather. Incorporating Crafting for Morning Rituals into your early hours transforms your caffeine kick into a productive flow state. It is about the tactile sensation of raw materials meeting precision tools before the rest of the world starts shouting. We are talking about high-density fibers, the tensile strength of natural cordage, and the way light interacts with porous surfaces. This is not just a hobby; it is a mechanical meditation. When you engage your fine motor skills while your brain is still in that alpha-wave state, you are effectively calibrating your nervous system for the day ahead. Grab your favorite mug and clear a small space on the table. We are diving deep into the physics of small-scale making where every millimeter of alignment counts toward a masterpiece of morning productivity.
THE STUDIO KIT
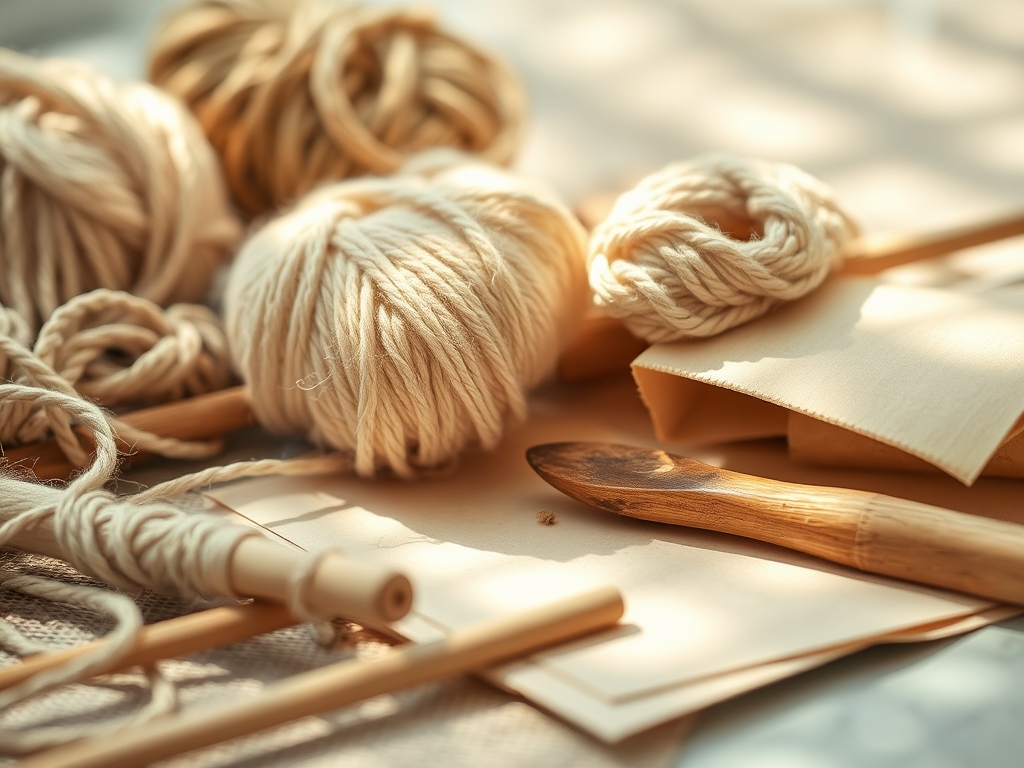
To master these eight projects, you need a kit that respects the physics of your materials. Start with a high-carbon steel rotary cutter for clean, shear-force edges that do not fray the textile weave. You will need a set of stainless steel calipers to ensure your measurements are accurate to the sub-millimeter level, especially when working with interlocking wood or paper joints. For any binding work, a polished bone folder is non-negotiable; it compresses paper fibers without tearing the surface tension. Keep a selection of awls with varying diameters to create pilot holes that prevent material splitting.
Material Substitutions: If you cannot source vegetable-tanned leather, look for cork fabric which offers similar structural integrity with a lower density. Instead of traditional beeswax, use soy-based paraffin for thread lubrication to reduce drag through high-ply fabrics. If acid-free vellum is unavailable, a heavyweight tracing paper with a high GSM (grams per square meter) will provide the necessary translucency without sacrificing the crispness of your folds.
THE TEMPO
The Maker's Rhythm is defined by the synchronization of your heart rate with the repetitive motions of the craft. Each morning session should be partitioned into three distinct phases. Phase one is the Material Prep (10 minutes), where you check the grain direction of your paper or the nap of your fabric. Phase two is the Active Construction (30 minutes), which is the meat of the ritual where you apply your technical skills. Phase three is the Curing and Cleanup (5 minutes), allowing adhesives to set or fibers to relax. This 45-minute window is the sweet spot for neurological engagement without inducing mental fatigue. By sticking to this tempo, you ensure that your projects progress steadily while your coffee stays at the optimal drinking temperature of 140 degrees Fahrenheit.
THE CORE METHOD
1. The Architectural Bookmark
Start with a strip of 300 GSM watercolor paper. This material is highly porous, making it perfect for controlled capillary action when applying ink. Use your rotary cutter and a metal safety ruler to slice a perfect rectangle. The metal edge prevents the blade from jumping, ensuring a true 90-degree corner.
Mastery Tip: Understand capillary action. When applying a wash, the water moves through the interstitial spaces of the paper fibers. To prevent warping, tape the edges down to create a mechanical tension that counters the expansion of the wet fibers.
2. The Leather Cord Wrap
Cut a small circle of 3-ounce veg-tan leather. Use a revolving punch to create two holes on opposite sides. This project relies on the tensile strength of the leather to hold your earbuds or charging cables in place without stretching out over time.
Mastery Tip: Always burnish the edges. Use a wooden slicker to create friction heat, which fuses the loose protein fibers of the leather edge into a smooth, glassy surface. This prevents moisture ingress and structural degradation.
3. The Origami Geometric Planter
Using synthetic stone paper, which is waterproof and tear-resistant, follow a standard pentagon fold pattern. The modulus of elasticity in stone paper is lower than wood-pulp paper, meaning it holds a crease with extreme precision.
Mastery Tip: Focus on the structural integrity of the folds. Every crease acts as a load-bearing beam. If your folds are not crisp, the geometric "skeleton" will collapse under the weight of the soil.
4. The Wax-Sealed Correspondence
Melt a bead of flexible sealing wax over a flame. The physics here is all about thermal conductivity. You want the wax to be viscous enough to hold the impression of your brass stamp but cool enough not to scorch the paper.
Mastery Tip: Control the surface tension. Press the stamp firmly and hold it for ten seconds. This allows the heat to dissipate into the metal stamp, which acts as a heat sink, "freezing" the wax in its high-detail state.
5. The Minimalist Wire Ring
Take a length of 18-gauge sterling silver wire. Using nylon-jaw pliers, wrap the wire around a ring mandrel. The nylon prevents "work hardening" the metal too quickly, which can make the silver brittle and prone to snapping.
Mastery Tip: Leverage work hardening to your advantage. Once the shape is set, lightly tap the wire with a plastic mallet. This compresses the molecular structure of the metal, making the ring rigid enough to maintain its diameter.
6. The Hand-Stitched Coaster
Layer two pieces of industrial wool felt. Use a blanket stitch with a six-ply embroidery floss. The high density of the wool felt provides excellent thermal insulation for your coffee mug, protecting your wooden surfaces from heat transfer.
Mastery Tip: Maintain consistent stitch tension. If you pull the thread too tight, you will pucker the felt fibers. If it is too loose, the layers will shift. Aim for a "snug" fit that allows the fibers to nestle together.
7. The Cyanotype Sun Print
Coat a small square of natural linen with cyanotype emulsion in a dim room. Linen is a bast fiber, meaning it is incredibly durable and holds light-sensitive chemicals deep within its hollow core.
Mastery Tip: Use UV-index awareness. The chemical reaction (photo-reduction) depends on the intensity of the sun. On a cloudy morning, increase your exposure time by 40 percent to ensure the "Prussian Blue" color reaches its maximum saturation.
8. The Wood-Grain Rubbing Journal
Place a sheet of lightweight mulberry paper over a textured piece of reclaimed wood. Use a graphite block to rub the surface. This captures the topographical variance of the wood grain, creating a visual map of the tree's growth cycles.
Mastery Tip: Observe the friction coefficient. Use long, sweeping strokes rather than short, choppy ones. This ensures a uniform transfer of graphite and highlights the "latewood" and "earlywood" density differences in the timber.
THE TECHNICAL LEDGER
Maintenance & Longevity: To keep your morning tools in top shape, wipe down all steel edges with a micro-fiber cloth and a drop of mineral oil. This prevents oxidation from the humidity of your coffee steam.
Material Variations:
- Sustainable: Use recycled hemp cordage for binding; it has a high lignin content for durability.
- Premium: Swap standard paper for handmade cotton rag with a deckled edge for superior tactile feedback.
The Correction:
- The Over-Saturation: If paper warps from too much ink, place it between two heavy glass plates for 24 hours to re-align the fibers.
- The Dull Blade: If your fabric frays, your blade is nicked. Replace it immediately; a dull blade requires more force, which decreases your precision.
- The Knot Failure: If your thread tangles, run it through a block of beeswax. This coats the "scales" of the fiber, reducing the friction that causes knots.
Studio Organization: Store your morning projects in acid-free archival boxes. Keep your tools in a vertical rack to protect the calibrated tips of your awls and tweezers from blunt-force damage.
THE FINAL REVEAL
There is nothing quite like the feeling of holding a finished object that did not exist when you woke up. By focusing on the mechanical properties and structural physics of your materials, you have created something that is both beautiful and technically sound. Your morning ritual is now a tangible record of your skill and focus. These eight projects are not just "crafts"; they are small-scale engineering feats that prove you are the master of your studio. Now, take one last sip of that coffee and go conquer the rest of your day with that same maker's precision.
STUDIO QUESTIONS
What is the best light for morning crafting?
Natural northern light is ideal because it provides consistent, diffused illumination without harsh shadows. This allows for accurate color grading and prevents eye strain when performing high-precision tasks like measuring with calipers or threading small-gauge needles.
How do I prevent my coffee from staining my materials?
Maintain a clear "wet zone" and "dry zone" on your workbench. Use a heavy, non-tip mug and always place it on a separate side table. If a spill occurs, blot immediately with a high-absorbency cellulose sponge to prevent fiber swelling.
Can I use regular scissors instead of a rotary cutter?
Scissors use a double-blade shearing action that can distort the material as it is lifted. A rotary cutter applies downward pressure against a self-healing mat, ensuring the material stays flat and the grain remains perfectly aligned during the cut.
Why does my thread keep snapping during stitching?
This is often due to "shear stress" caused by a needle eye that is too small for the thread ply. Ensure your needle gauge matches your thread diameter to reduce friction. Lubricating the thread with beeswax also significantly increases its tensile endurance.

