
Close your eyes and imagine the scent of cold-pressed cotton paper meeting the sharp, metallic tang of a fresh blade. There is a specific electricity in the air when you begin Crafting for Special Occasions; it is the moment where raw material transforms into a legacy. We are moving past basic hobbies and stepping into the realm of structural engineering and high-end aesthetics. Whether you are prepping for a wedding or a milestone gala, the goal is to manipulate tensile strength and fiber density to create something that feels expensive because it is scientifically sound. We are looking for that perfect snap of a heavy-weight cardstock and the fluid drape of silk ribbon that has been treated for optimal surface tension. Grab your coffee and clear your workbench. We are about to dive into the high-stakes world of artisanal precision where every millimeter matters and the physics of the fold is our best friend.
THE STUDIO KIT
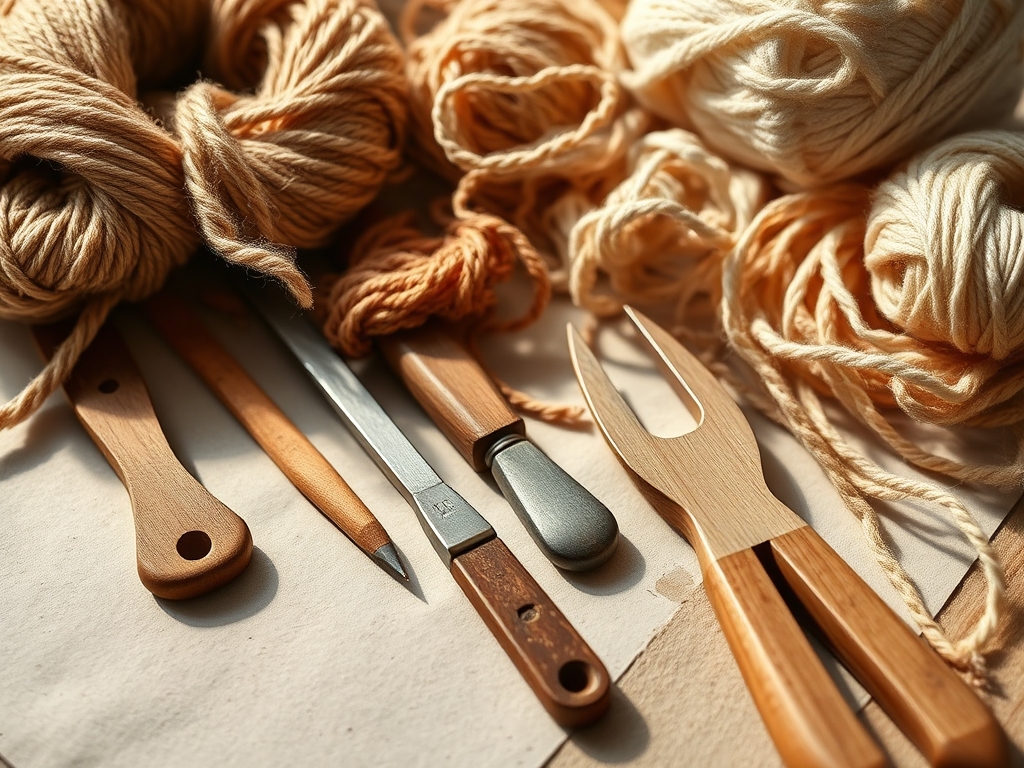
To execute these seven elegant ideas, your junk drawer staples will not suffice. You need a kit that respects the porous nature of organic materials. Start with a teflon bone folder; unlike plastic, it will not leave a shiny burnish mark on delicate 300 GSM paper. You will need a rotary cutter with a tungsten carbide blade for clean, non-frayed edges on textiles, and a set of digital calipers to ensure your measurements are consistent across fifty identical invitations. For adhesives, move away from school glue and toward neutral pH methyl cellulose, which offers a reversible bond that will not yellow over decades.
Material Substitutions: If you cannot source genuine vellum, look for a high-translucency sulfite-based tracing paper. For metallic accents, replace messy leafing flakes with a high-viscosity liquid gilding wax which provides better coverage due to its concentrated pigment-to-binder ratio. If silk ribbon is over budget, a rayon-based seam binding offers a similar luster and a superior ability to hold a knot without slipping.
THE TEMPO
The "Maker's Rhythm" is not about speed; it is about respecting the cure times and the rest phases of your materials. For a wedding suite, the tempo is divided into three distinct movements. The first is the Precision Phase (40 percent of time), involving measuring, cutting, and scoring. The second is the Assembly Phase (40 percent of time), where you manage adhesive sets and structural layering. The final 20 percent is the Curation Phase, where you perform quality control and packaging.
Remember that paper is hygroscopic; it absorbs moisture from the air. If you are working in a humid environment, your drying times for inks and glues will double. Plan for a 24-hour "settling period" for any glued components to ensure the molecular bonds have fully stabilized before you stack them. Rushing this process leads to warping, as the moisture trapped between layers forces the fibers to expand unevenly.
THE CORE METHOD
1. The Architectural Invitation Suite
We are building a multi-layered experience. Start with a heavy base ply of 120-pound cover stock. Use your bone folder to create a compression score before folding; this prevents the paper fibers from cracking on the exterior spine. Layer a translucent vellum wrap over the top, secured with a wax seal.
Mastery Tip: To prevent the wax from popping off the slick vellum surface, scuff the contact point lightly with a fine-grit sandpaper. This increases the surface area for the wax to grip, creating a mechanical bond rather than just a superficial one.
2. Botanical Resin Place Cards
Suspend dried flora in a low-viscosity epoxy resin. Use a silicone mold and pour in two stages to prevent the organic matter from floating to the surface.
Mastery Tip: Use a butane torch to pass quickly over the surface of the wet resin. The heat reduces the viscosity of the top layer, allowing trapped air bubbles to expand and burst, resulting in a glass-like clarity.
3. Hand-Bound Vow Books
Utilize a long-stitch binding technique using waxed linen thread. This allows the book to lay completely flat when opened, which is essential for a nervous hand during a ceremony.
Mastery Tip: Always align your pages so the grain direction of the paper runs parallel to the spine. If the grain is perpendicular, the pages will resist turning and will eventually "buckle" at the binding site due to internal stress.
4. Hammered Metal Table Numbers
Using 24-gauge copper sheets and a jeweler's saw, cut your numerals. Use a ball-peen hammer to create a dimpled texture that catches the light.
Mastery Tip: This process is called work hardening. As you hit the metal, you are compressing the crystalline structure, making it stiffer. If it becomes too brittle, you must "anneal" it by heating it to a dull red glow to reset the grain.
5. Silk Ribbon Floral Installations
Create oversized wall hangings using hand-dyed silk. Use a rotary cutter to ensure the edges are perfectly straight, preventing the diagonal fraying that occurs with standard scissors.
Mastery Tip: To achieve a "weighted" drape, soak the ribbon in a diluted fabric stabilizer. This increases the weight of the fibers without adding bulk, allowing gravity to pull the ribbon into perfectly vertical lines.
6. Laser-Cut Acrylic Menus
For a modern edge, use frosted acrylic. If you do not have a laser, a high-speed oscillating tool with a diamond bit can etch the surface.
Mastery Tip: When etching, use a drop of machine oil as a lubricant. This absorbs the frictional heat, preventing the acrylic from melting and re-fusing behind your tool bit, which ensures a crisp, frosted line.
7. Decoupage Gilded Oyster Shells
Clean and bleach the shells, then apply a fine tissue print using a matte medium. Finish the edges with a gold leafing pen.
Mastery Tip: Apply a capillary action test. If your adhesive is too thick, it will sit on top of the shell. Thin it slightly so it pulls into the microscopic pores of the calcium carbonate, ensuring the design never peels.
THE TECHNICAL LEDGER
Maintenance & Longevity: Finished paper goods should be stored in acid-free archival boxes. Lignin, found in cheaper papers, reacts with light and oxygen to create acid, which eventually eats the fibers. For metal elements, a light coating of microcrystalline wax will prevent oxidation and fingerprints.
Material Variations: For a sustainable approach, swap traditional paper for seed paper made from post-consumer waste. For a premium feel, upgrade to leather-hide wraps or hand-forged brass accents.
The Correction:
- Warped Paper: If your layers are curling, you used too much water-based glue. Fix this by placing the piece between two sheets of blotting paper and weighting it with a 10-pound steel plate for 12 hours.
- Bleeding Ink: This happens when the paper is too calendered (smooth). Use a light dusting of gum sandarac to give the surface "tooth" so the ink stays put.
- Frayed Fabric: If your silk is unraveling, apply a microscopic bead of cyanoacrylate (super glue) to the very tip of the corner to lock the weave.
Studio Organization: Store your materials by hygroscopic sensitivity. Keep your papers in a climate-controlled drawer and your heavy metals on lower shelves to prevent structural failure of your storage units.
THE FINAL REVEAL
There is nothing quite like the moment you step back and see the full spread of your labor. When you prioritize the structural integrity and the physics of your materials, the "handmade" look disappears and is replaced by "artisanal excellence." Your guests or clients will feel the difference in the weight of the paper and the precision of the edges. You have moved beyond simple crafts; you have engineered a sensory experience that honors the gravity of the occasion.
STUDIO QUESTIONS
How do I prevent paper from curling when using wet glue?
Apply adhesive sparingly from the center outward. Use a high-solids glue like PVA and immediately place the project under a heavy, flat weight. This forces the fibers to dry in a fixed, linear position, preventing the contraction that causes curling.
What is the best way to cut thick acrylic without a laser?
Use a scoring tool and a metal straightedge. Score the surface deeply (about 30 percent through the material), then place the score line over a table edge and apply quick, even pressure to "snap" the molecular chain cleanly.
Can I use regular spray paint for metallic accents?
Standard spray paint often lacks the metallic flake density required for a high-end finish. Use a "bright coat" enamel or a dedicated floral spray, which contains finer pigments that mimic the specular reflection of real polished metal.
How do I stop my wax seals from cracking in the mail?
Switch to flexible sealing wax which contains a higher percentage of resin and plasticizers. Traditional candle wax is too brittle; flexible wax can withstand the mechanical stress of postal sorting machines without fracturing into pieces.

