

Run your thumb along the raw edge of a heavy twelve ounce duck canvas and you will feel the grit of unrefined cotton fibers waiting for a purpose. There is a specific, grounding weight to high quality textiles that changes the way you move through a workspace. When we talk about Handmade Aprons for Makers, we are not just discussing a garment; we are engineering a wearable tool kit designed to withstand the abrasive reality of sawdust, metal shavings, or wet clay. The tensile strength of your fabric determines how much weight those pockets can carry before the weave begins to distort under gravity. You want a material that offers high resistance to punctures but remains breathable enough for an eight hour shift at the workbench. This is where the physics of fashion meets the grit of the studio. We are going to build something that feels like a second skin but acts like a shield. Grab your coffee and clear the cutting table; it is time to map out the architecture of your new favorite piece of gear.
THE STUDIO KIT
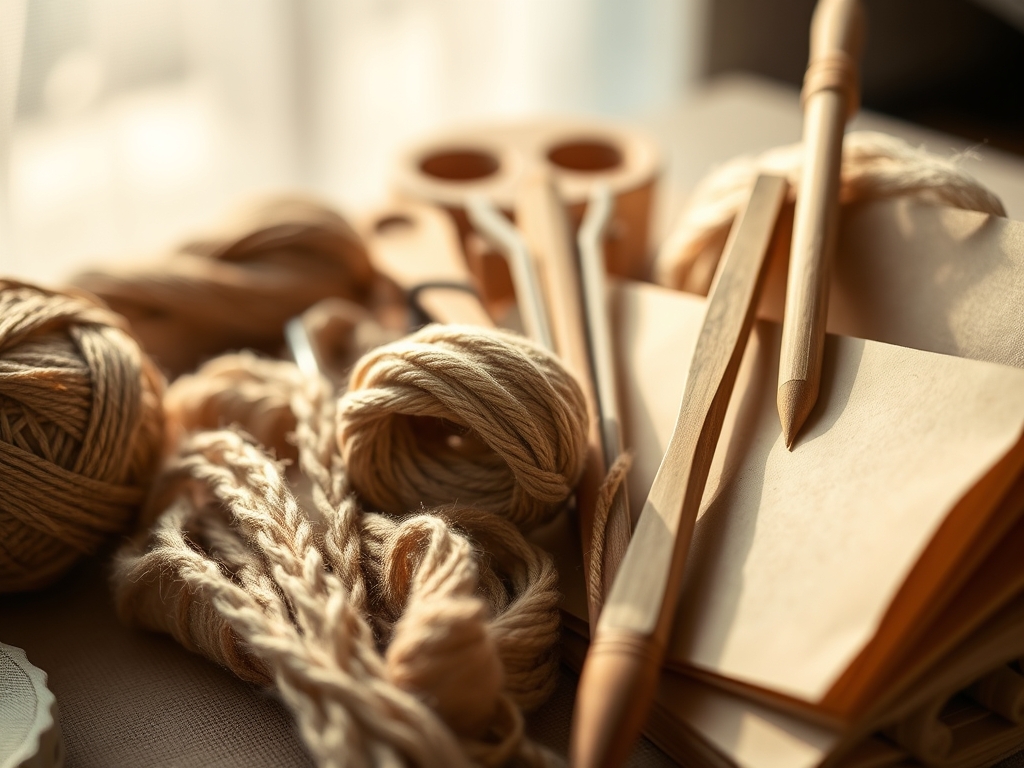
To construct a professional grade apron, you need tools that respect the fiber density of your chosen textile. Start with a sharp rotary cutter and a self healing mat; these provide a cleaner edge than shears, which can cause the fabric to shift and create micro deviations in your seam allowance. You will also need a bone folder for crisping your hems and a set of calipers to ensure your pocket widths are mathematically consistent for specific tools like your favorite marking gauge or a 6 inch metal ruler.
For materials, look for selvage denim or waxed canvas. These fabrics possess a tight weave that prevents fine particulates from migrating through the cloth to your clothes. If you cannot find heavy canvas, a Material Substitution like reinforced upholstery linen or even a heavy sailcloth will work. Just ensure the thread gauge matches the weight; use a heavy duty polyester or nylon thread to prevent the seams from snapping under the lateral stress of a loaded pocket.
THE TEMPO
The "Maker's Rhythm" is about balancing precision with momentum. You cannot rush the grain alignment. If you cut your pockets off grain, they will eventually twist and sag, a phenomenon known as "torque" in textile engineering.
- The Blueprint Phase (45 Minutes): Measuring and marking your layout. This is where you calculate the ergonomic reach of your hands.
- The Cut (30 Minutes): Precise execution using your rotary tool to ensure every edge is perfectly perpendicular.
- The Assembly (2 Hours): The rhythmic hum of the machine as you reinforce every stress point with backstitching or rivets.
- The Finish (30 Minutes): Final trimming, steaming, and perhaps a light burnish on any leather accents.
THE CORE METHOD
1. The Suspended Bellows Pocket
This design uses a pleated base to allow the pocket to expand outward rather than pulling against your chest. It is ideal for bulky items like a tape measure or a handful of wooden dowels. By creating a three dimensional volume, you maintain the structural integrity of the apron front.
Mastery Tip: Use a bone folder to set the pleats. The mechanical pressure realigns the hydrogen bonds in the cotton fibers, ensuring the pocket keeps its shape even after multiple wash cycles.
2. The Angled Tool Holster
Positioned at a 45 degree angle, this pocket utilizes gravitational centering to keep long tools like screwdrivers or paintbrushes from poking you in the ribs when you bend over. It follows the natural arc of your arm's reach.
Mastery Tip: Reinforce the bottom of the holster with a small scrap of leather. This increases the puncture resistance against sharp tool tips that would otherwise vibrate through standard weave.
3. The Hidden Magnetic Strip
Sew a high strength neodymium magnet into a small interior pouch behind a flat pocket. This creates a "invisible" docking station for metal bits, needles, or screws.
Mastery Tip: Ensure the fabric covering the magnet is thin but has a high friction coefficient to prevent metal objects from sliding off due to kinetic energy when you move quickly.
4. The Double Stitched Pencil Sleeve
A narrow vertical channel designed specifically for marking tools. By keeping the sleeve tight, you utilize surface friction to hold the pencil in place without needing a flap or clip.
Mastery Tip: Stitch the bottom of the sleeve half an inch higher than the main pocket. This prevents graphite dust from accumulating in the corners and degrading the seam thread over time.
5. The Kangaroo Cargo
A large, centered pocket with side entries. This is perfect for "dumping" non delicate items or resting your hands. The horizontal orientation distributes the weight across the pelvic girdle rather than the neck.
Mastery Tip: Use a bar tack stitch at the entry points. This concentrated zig zag pattern creates a high density thread bridge that resists the shearing force of heavy loads.
6. The Reinforced Tech Pouch
A pocket lined with a non abrasive microfiber to hold a phone or tablet. It should be positioned high on the bib to minimize the risk of impact against a workbench.
Mastery Tip: Incorporate a small "weather flap" at the top. This uses capillary action in reverse; by overlapping the opening, you prevent liquid spills from wicking into the sensitive electronics.
7. The Gusseted Utility Box
Similar to the bellows but with squared corners. This design is best for boxed items like drill bit sets. It requires precise corner clipping to lay flat.
Mastery Tip: When turning the corners, use an awl to gently pull the fabric into a crisp point. This ensures the ply of the fabric is not crushed, maintaining a professional aesthetic.
8. The Quick Release Loop
A heavy duty webbing loop attached with a copper rivet. This is for hammers or large wrenches that are too heavy for a standard fabric pocket.
Mastery Tip: Place the rivet through a "backing washer" of scrap leather. This distributes the tensile load over a larger surface area, preventing the metal from tearing through the canvas weave.
9. The Floating Bottom Hem
A pocket that is only attached at the top and sides, leaving the bottom unattached to the main apron body. This allows the pocket to "float" when you kneel, preventing tools from falling out.
Mastery Tip: This design relies on pendulum physics. By allowing the pocket to remain vertical while the apron tilts, you keep the center of gravity stable for your stored tools.
THE TECHNICAL LEDGER
Maintenance & Longevity: Never use harsh detergents on waxed materials. Spot clean with a stiff brush to remove particulates. If the hydrophobic coating begins to fail, reapply a paraffin based wax and use a heat gun to encourage deep fiber penetration.
Material Variations: For a sustainable approach, source "deadstock" canvas from industrial suppliers. Premium makers might opt for Kevlar blended denim, which offers an incredible strength to weight ratio and extreme heat resistance for welders.
The Correction:
- The Sagging Pocket: Fix by adding a "header" of twill tape along the top edge to increase hoop strength.
- The Frayed Seam: Use a fray check liquid or a flame to sear the edges of synthetic threads before re stitching.
- The Misaligned Rivet: Use a specialized rivet removal tool to pop the cap without shearing the fabric fibers; then, shift the placement by at least 5mm.
Studio Organization: Store your apron on a wide, contoured hanger rather than a hook. A hook creates a "point load" that can permanently stretch the neck strap and distort the ergonomic fit.
THE FINAL REVEAL
Once the final thread is clipped and the last rivet is set, your handmade apron should feel like a piece of industrial equipment. It has a tactile soul that commercial products lack. When you slide it on, the weight should be evenly distributed across your shoulders and hips, leaving your arms free for the high precision work ahead. You have successfully turned raw yardage into a functional masterpiece of spatial engineering.
STUDIO QUESTIONS
Why use copper rivets instead of just stitching?
Copper rivets provide a mechanical bond that resists lateral shear better than thread alone. They act as a permanent clamp, ensuring that high stress points like pocket corners never pull away under the weight of heavy metal tools.
How do I prevent my apron from feeling too stiff?
Stiffness is a result of fiber starching or heavy waxing. To soften it without losing durability, "break in" the fabric by rolling it tightly in different directions or simply wearing it during high movement tasks to break the initial fiber bonds.
What is the best thread for handmade aprons?
A bonded nylon or heavy duty polyester thread (Tex 60 or higher) is superior. Unlike cotton thread, these synthetic fibers do not rot when exposed to moisture and have a much higher tensile break point for studio use.
Can I add pockets after the apron is finished?
Yes, but you must account for the structural displacement. Use a denim needle to pierce the existing layers and ensure you backstitch extensively, as you will be sewing through multiple layers of high density material.

