
The cold snap of a metal ferrule against your palm is the ultimate wake up call for a creative brain. You feel the weight of the brush; it is a balanced lever designed to translate the kinetic energy of your shoulder into a fluid dance of pigment and binder. Committing to a Daily Painting Practice is not just about making art; it is about mastering the physics of fluid dynamics on a porous substrate. When that first bead of moisture hits the dry fibers of your paper, you are witnessing capillary action in its purest form. This is where we stop guessing and start engineering our art. We are going to treat our studio like a high precision lab where the variables are viscosity, friction, and surface tension. Grab your favorite round brush and let us get into the grit of how paint actually moves across a surface. We are building muscle memory today so that tomorrow, your hand knows exactly how much pressure is required to create a perfect taper without even thinking about it.
THE STUDIO KIT
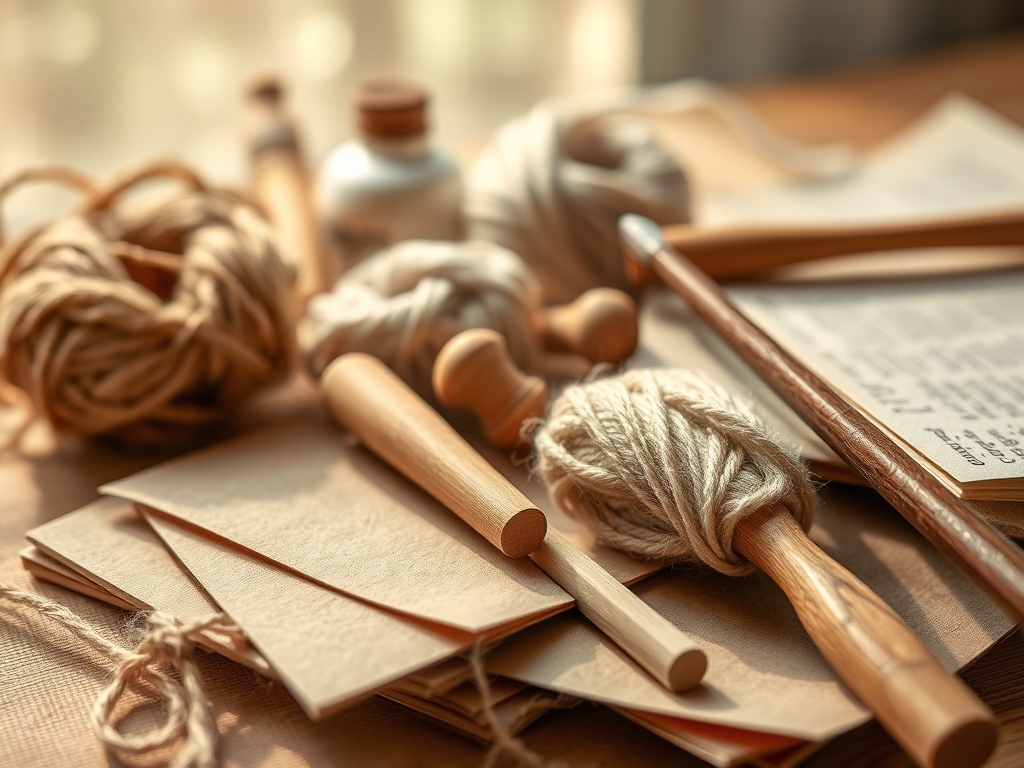
To master these drills, you need tools that respond to micro-adjustments in your grip. I recommend a synthetic sable round brush in a size 8; synthetic fibers offer higher tensile strength than natural hair, meaning they snap back to a point faster after being compressed against the page. Your paper should be at least 140lb cold press with a high cotton content. The interlocking cellulose fibers in cotton paper create a stable matrix that prevents the sheet from buckling when saturated. You will also need a heavy ceramic palette. Unlike plastic, ceramic is non-porous and high-density, preventing your pigments from "beading up" so you can accurately judge the viscosity of your wash.
Material Substitutions: If you lack professional watercolor paper, a heavy weight cardstock can work for dry brush drills, though it lacks the absorbency for wet-on-wet flow. Instead of a ceramic palette, a glass plate provides the same flat, non-reactive surface for mixing. If you do not have a size 8 round, a flat brush can be used to practice edge control and parallel alignment.
THE TEMPO
The "Maker's Rhythm" is a 20-minute cycle designed to bypass your inner critic and engage your motor cortex. Spend the first 5 minutes on thermal regulation; literally warming up your wrist and elbow joints with large, sweeping air-strokes. The next 10 minutes are for the high-intensity drills where we focus on repetitive precision. The final 5 minutes are for the "cool down," where you apply the day's specific stroke to a free-form sketch. This structured tempo ensures that you are building neural pathways for consistency rather than just doodling aimlessly.
THE CORE METHOD
1. The Tapered Pressure Curve
Hold your brush at a 90-degree angle to the paper. Start with the lightest possible touch, using only the tip of the brush. Slowly increase the downward force, splaying the bristles to their maximum width gauge, then gradually lift back up to a needle-thin point. This drill teaches you to control the compression of the brush head.
Mastery Tip: This relies on the elasticity of the brush fibers. If the brush does not return to a point, you have exceeded the mechanical limit of the bristles or your paint-to-water ratio is too low to lubricate the fibers.
2. The Controlled C-Curve
Swing your entire forearm from the elbow to create a series of interlocking "C" shapes. The goal is to maintain a consistent line weight throughout the entire arc. This requires a constant internal calibration of your hand's height relative to the paper as the angle of the brush changes.
Mastery Tip: Use the pivot point of your pinky finger anchored on the page to act as a stabilizer. This creates a mechanical tripod, reducing micro-tremors in the stroke.
3. The Variegated Wash Strip
Load your brush with a high concentration of pigment and pull a horizontal stroke. Immediately dip the tip of your brush in clean water and pull a second stroke that overlaps the first. Observe how the pigment migrates into the clearer area.
Mastery Tip: This demonstrates Brownian motion and diffusion. The pigment particles move from an area of high concentration to low concentration through the water medium until equilibrium is reached.
4. The Staccato Pointalism
Create a grid of perfectly uniform dots. Each dot must have the same diameter and pigment density. This drill forces you to regulate the "load" of your brush; if the brush is too wet, the dot will bloom; if it is too dry, it will leave a jagged, scumbled texture.
Mastery Tip: Surface tension holds the droplet on the tip of your brush. The moment the liquid touches the paper, the hydrophilic nature of the fibers pulls the water out of the brush.
5. The Parallel Hatching
Draw a series of vertical lines as close together as possible without them touching. This requires intense focus on spatial awareness and steady hand-eye coordination. It is the ultimate test of your Daily Painting Practice.
Mastery Tip: To prevent bleeding, ensure the previous stroke has reached the evaporation point where the sheen disappears from the paper surface before placing the next line.
6. The Loaded Filbert Sweep
Using a flat or filbert brush, practice "twisting" the brush as you pull it across the page. This transition from the wide "flat" side to the thin "edge" side creates a dynamic, three-dimensional ribbon effect.
Mastery Tip: This involves torsional force. You are rotating the ferrule between your thumb and forefinger while maintaining a linear path, which tests the structural integrity of the brush's "snap."
THE TECHNICAL LEDGER
Maintenance & Longevity: Always wash your brushes in lukewarm water with a pH-neutral soap. Never leave them soaking tip-down, as this permanently deforms the bristle alignment and can rot the wooden handle. Store them horizontally until fully dry to prevent water from seeping into the ferrule and dissolving the adhesive.
Material Variations: For a more sustainable approach, use bamboo-based paper, which has a higher tensile strength than standard wood pulp. For a premium experience, look for brushes with a "quill" binding, which allows for a larger water reservoir and better capillary flow.
The Correction:
- The Bloom: If your paint spreads uncontrollably, your paper is too saturated. Fix: Use a dry "thirsty" brush to wick away the excess moisture.
- The Hard Edge: If your wash dries with a dark ring, you had too much pigment at the perimeter. Fix: Soften the edge with a damp, clean brush before it reaches total desiccation.
- The Scratch: If the brush feels "toothy" or rough, you are using too much pressure. Fix: Increase the water-to-paint ratio to improve lubricity.
Studio Organization: Store your practice sheets in a flat-file or an acid-free portfolio. Exposure to UV light will cause photo-degradation of the pigments, while high humidity can trigger fungal growth on the organic sizing of the paper.
THE FINAL REVEAL
Look at that page! You have just completed a high-octane session of Daily Painting Practice that would make a mechanical engineer proud. Those lines are crisp; those gradients are smooth; and your hand feels like a finely tuned instrument. By focusing on the physics of the stroke rather than the "beauty" of the image, you have unlocked a level of control that most artists take years to find. You are not just painting; you are mastering the interface between liquid and solid. Keep this momentum going and watch how your "real" paintings suddenly have the structural integrity of a masterpiece.
STUDIO QUESTIONS
Why does my paint look chalky when it dries?
This usually indicates a high pigment-to-binder ratio. If you use too much water, the gum arabic binder becomes too diluted to hold the pigment particles flat against the paper, resulting in a matte, scattered light reflection.
How do I stop my paper from warping?
Warping occurs when the cellulose fibers expand at different rates. To prevent this, "stretch" your paper by soaking it and taping it to a board, or use a higher basis weight paper like 300lb.
What is the best way to mix a custom color?
Always start with the lighter pigment and slowly introduce the darker, high-tinting strength color. This allows for finer control over the chromatic saturation without wasting large amounts of paint to correct an over-darkened mix.
Does the water temperature matter for painting?
Yes; cold water slows down the evaporation rate, giving you a longer "open time" to blend. Warm water can break down the sizing in the paper more quickly, leading to unpredictable absorption and potential fiber damage.

