
Imagine the sharp, metallic snap of a needle piercing through double-layered denim; it is a sound of structural transformation. When you engage in crafting for sustainable style, you are not just fixing a hole; you are re-engineering a textile's lifespan by manipulating its mechanical properties. Feel the grain of the warp and weft under your fingertips. That tactile resistance is the result of high tensile strength fibers fighting against friction. We are moving beyond the disposable era and entering a studio space where every stitch is a calculated act of physics. Whether you are handling the dense, non-porous surface of vegetable-tanned leather or the delicate, breathable weave of a silk-linen blend, you are the master of this material's destiny. We are going to dive deep into the molecular level of your wardrobe. Grab your thimble and your sharpest snips because we are about to turn "worn out" into "structurally superior." This is about more than aesthetics; it is about the grit and the glory of high-performance garment restoration.
THE STUDIO KIT
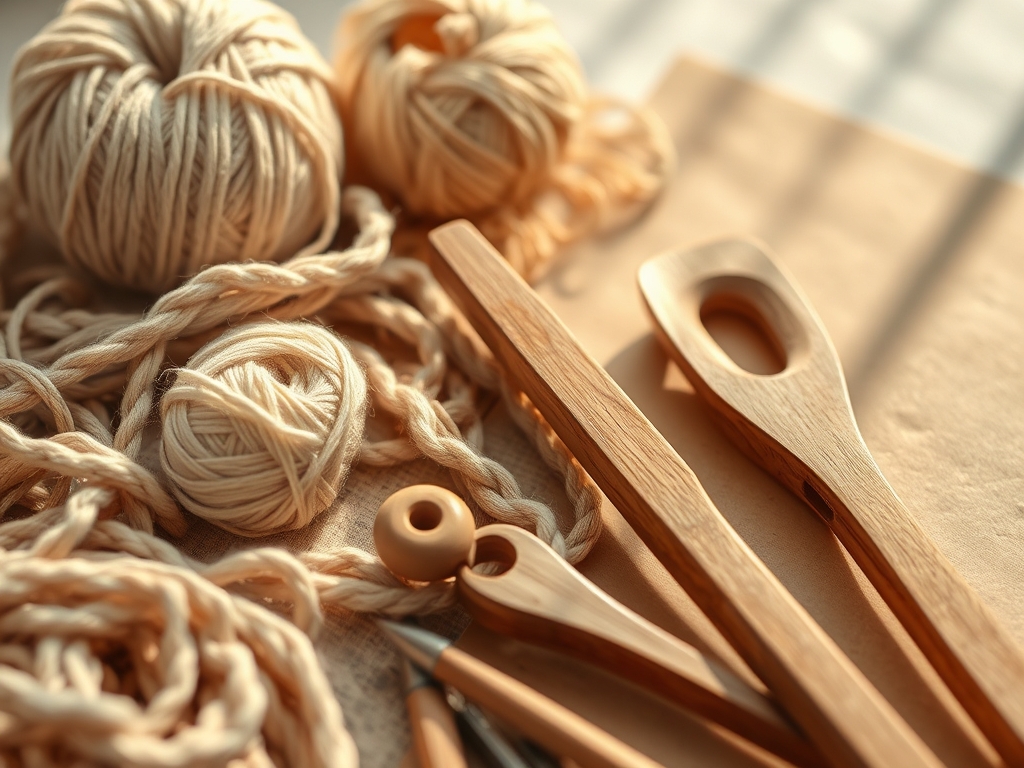
To master the art of the mend, your toolkit must be a blend of precision instruments and high-quality raw materials. First, you need a set of tapered awls for creating pilot holes in heavy fabrics without severing the structural fibers. A rotary cutter with a tungsten carbide blade is essential for achieving clean, fray-free edges on your patches. For measurements, skip the flimsy plastic rulers and opt for stainless steel calipers to ensure your patch thickness matches the original garment's gauge.
Your thread selection is a matter of physics. Look for mercerized cotton for its increased luster and high tensile strength, or a bonded nylon if you are working on outerwear that requires water resistance and elasticity. If you lack a specific tool, consider these material substitutions: a heavy-duty upholstery needle can stand in for a leather glover's needle, and a smooth bone folder can be used to burnish seams if you do not have a tailor's ham. The goal is to manage the surface tension of the fabric so the repair does not cause secondary puckering.
THE TEMPO
The "Maker's Rhythm" is a psychological state where your fine motor skills synchronize with the material's resistance. For a standard structural mend, expect a three-phase timeline. The Assessment Phase takes approximately fifteen minutes; this involves inspecting the grain direction and identifying stress points. The Preparation Phase lasts thirty minutes, where you will cut patches and stabilize edges to prevent further unraveling.
Finally, the Execution Phase can range from one to three hours depending on the complexity of the stitch. Do not rush the needle. If you move too fast, you risk creating uneven tension that will eventually cause the fabric to tear at the stitch line. High-density mending is a slow burn. By respecting the tempo, you allow the fibers to settle into their new configuration, ensuring the repair becomes a permanent part of the garment's structural integrity rather than a temporary bandage.
THE CORE METHOD
1. The Structural Bridge
Before you even think about aesthetics, you must bridge the gap. Use a stabilizer fabric on the underside of the tear. This creates a foundation that prevents the primary fabric from stretching out of shape during the sewing process. Align the grain of the patch perfectly with the grain of the garment to ensure they move in unison.
Mastery Tip: This technique utilizes directional stability. By aligning the grain lines, you ensure that the patch and the garment have the same modulus of elasticity. If the grains are mismatched, the garment will warp as it reacts to humidity and movement.
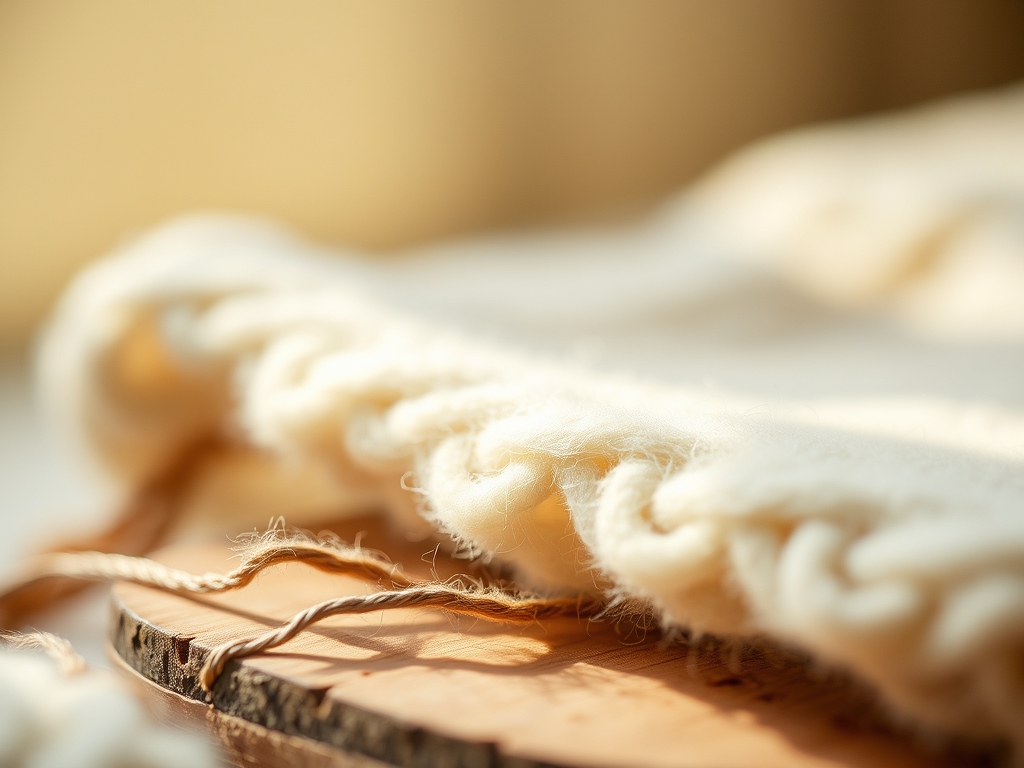
2. The Sashiko Reinforcement
Sashiko is not just pretty geometric patterns; it is a form of functional quilting. By running parallel lines of stitches through the patch and the host fabric, you distribute the mechanical load across a wider surface area. Use a long darning needle to load multiple stitches onto the shaft before pulling the thread through.
Mastery Tip: This relies on load distribution. Instead of the stress being concentrated on a single hole, the sashiko grid spreads the force across hundreds of tiny anchor points, significantly increasing the fabric's puncture resistance.
3. The Friction Burnish
When repairing leather or heavy canvas, the edges of your patches can become a point of failure due to friction. Use a burnishing tool or a smooth wooden dowel to rub the edges of the patch until they become glossy and compressed. This seals the fibers and prevents them from catching on external surfaces.
Mastery Tip: This process uses heat friction to realign the protein fibers in leather or the cellulose fibers in heavy cotton. It creates a smooth, aerodynamic profile that reduces the "drag" on the patch during daily wear.
4. The Tension-Balanced Darn
Darning is essentially weaving on a micro-scale. You must create a "warp" of vertical threads and a "weft" of horizontal threads. Use a darning mushroom to maintain a constant curvature, which mimics the shape of the body part the garment covers, such as a heel or an elbow.
Mastery Tip: Maintaining proper tensile balance is key. If the warp threads are tighter than the weft, the darn will be stiff and brittle. A balanced weave allows for the natural expansion and contraction of the knit fibers.
5. The Invisible Ladder Stitch
For closing split seams on delicate linings, the ladder stitch is your secret weapon. By burying the knots and the thread inside the seam allowance, you protect the thread from abrasive wear. Use a fine gauge silk thread for its high strength-to-weight ratio and its ability to disappear into the weave.
Mastery Tip: This stitch minimizes exposed surface area. By keeping the thread internal, you prevent it from being snagged or degraded by UV light, which can break down the molecular bonds of the polymer.
6. The Overcast Edge Lock
Raw edges are the enemy of longevity. Use an overcast stitch or a blanket stitch to lock the fibers at the edge of a hole. This prevents the "laddering" effect seen in knit fabrics where a single broken loop can cause a catastrophic failure of the entire garment section.
Mastery Tip: This technique addresses edge fraying physics. By looping the thread over the edge, you create a mechanical barrier that prevents the yarn from untwisting and losing its structural cohesion.
7. The Backstitch Anchor
When a seam is under high stress, such as in the crotch or armpit, a simple running stitch will fail. Use a backstitch, where each stitch overlaps the previous one. This creates a continuous chain of reinforcement that can withstand significant kinetic energy.
Mastery Tip: The backstitch creates a mechanical interlock. Unlike a running stitch, which can be pulled out if one end is cut, the backstitch locks itself in place, ensuring that a single thread break does not lead to total seam failure.
THE TECHNICAL LEDGER
To maintain your mended masterpieces, avoid high-heat drying, which can cause the repair threads to shrink at a different rate than the host fabric. Store your garments on contoured cedar hangers to maintain shoulder shape and repel pests.
Material Variations:
- Sustainable: Use organic hemp thread for its natural antimicrobial properties and extreme durability.
- Recycled: Repurpose old silk ties as luxurious, high-density patches for suit linings.
- Premium: Invest in Japanese Selvedge denim scraps for patching high-wear areas; the tight weave offers superior abrasion resistance.
The Correction:
- Puckering: If the fabric bunches, your tension is too high. Snip the thread and restart using a hoop to maintain flat surface tension.
- Thread Snapping: You are likely using a needle with a sharp eye that is cutting the thread. Switch to a polished eye needle.
- Patch Shifting: If the patch moves during sewing, your basting was insufficient. Use water-soluble adhesive tape to lock it in place before stitching.
THE FINAL REVEAL
Step back and look at that garment. It is no longer just a piece of clothing; it is a testament to your technical skill. The mended areas have a distinct, rugged beauty that tells a story of resilience. The fabric feels denser and more reliable in your hands. You have successfully manipulated the physical properties of the materials to create something that is actually stronger than it was when it left the factory. This is the pinnacle of crafting for sustainable style. You are wearing your values, stitched together with precision and a little bit of maker's magic.
STUDIO QUESTIONS
How do I choose the right needle gauge?
Select a needle gauge that matches the weight of your fabric. A fine needle (size 9-11) is for silks, while a heavy needle (size 16-18) is required for denim to prevent bending and ensure clean penetration through the weave.
Why does my thread keep tangling?
Thread tangling is often caused by static electricity or the "memory" of the thread spool. Run your thread through a puck of beeswax to lubricate the strand and reduce friction as it passes through the fabric layers.
Can I mend stretchy fabrics like spandex?
Yes, but you must use a ballpoint needle and a stretch stitch like a zigzag. The ballpoint tip pushes the knit loops aside rather than piercing them, which prevents the synthetic fibers from snapping and creating new holes.
How do I hide a patch completely?
To achieve an invisible mend, harvest threads from the interior seam allowance of the same garment. Use these threads to recreate the weave pattern over the hole. This ensures a perfect match in color, fiber content, and light reflection.

