Imagine the scent of cold press cotton and the clink of ceramic wells. Your brush bristles possess a specific tensile strength that dictates every stroke. By integrating Daily Watercolor Rituals into your morning flow, you transform from a casual painter into a master of fluid dynamics. It is about the friction between the sable hair and the porous paper surface.
The magic happens when you stop fighting the physics of water and start dancing with it. You are not just painting; you are managing a delicate balance of surface tension and pigment suspension. Every drop of water acts as a vehicle, carrying microscopic particles of earth and mineral across a landscape of cellulose fibers. This is the ultimate playground for someone who loves the intersection of art and science. We are going to dive deep into the molecular behavior of your palette, ensuring that your growth is not just creative, but technically profound. Grab your favorite mug and let us get into the grit of the grain.
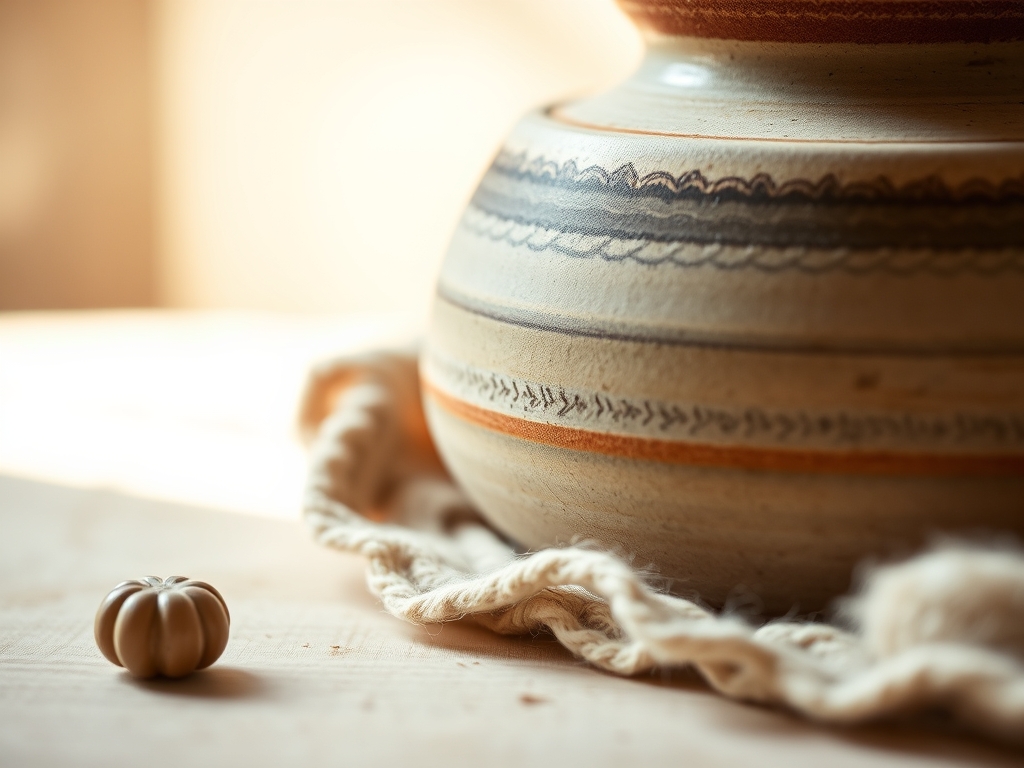
THE STUDIO KIT

To master these rituals, you need tools that respect the laws of physics. Start with a 140lb (300 gsm) cold press paper. The ply and weight are crucial; anything lighter will buckle under the hydrostatic pressure of a heavy wash. Your brushes should include a size 8 round and a 1/2 inch flat. Look for brushes with excellent "snap," which refers to the elasticity of the fibers returning to their original shape after a stroke.
Your palette should be non-porous. Ceramic is king because it prevents the paint from "beading" up, allowing you to see the true viscosity of your mix. You will also need a bone folder to crisp your edges if you are working in a bound journal and a caliper if you want to be obsessive about your color wheel proportions.
Material Substitutions: If you lack professional cotton paper, use a heavy cardstock primed with an absorbent ground. No professional palette? A white enamel butcher tray or a simple ceramic dinner plate offers the same smooth surface energy for perfect mixing.
THE TEMPO
The "Maker's Rhythm" is divided into three distinct phases. First is the Hydration Phase (5 minutes), where you wake up your pans with a fine mist. This lowers the activation energy required to lift the pigment. Next is the Active Flow (15 to 20 minutes), where you engage with the nine exercises. This is your high-intensity interval training for your creative brain. Finally, the Evaporation Phase (30 minutes) is where you step away. You must allow the water to exit the paper fibers at its own pace to prevent "cauliflowers" or unwanted backruns. Respecting this tempo ensures the structural integrity of your paper remains intact.
THE CORE METHOD
1. The Primary Pulse
Begin by mixing your three primaries. Focus on the pigment load; you want a consistency similar to whole milk. This exercise teaches you the saturation limits of your specific brand of paint.
Mastery Tip: Observe the capillary action as the paint moves into the damp fibers. If the paint spreads too fast, your paper is over-saturated, breaking the hydrogen bonds that hold the pigment in place.
2. The Binary Bridge
Create secondary colors by overlapping two wet glazes. This is a lesson in transparency. You are layering light filters, not just mixing mud.
Mastery Tip: Use a burnish technique on the dry paper first to smooth the fibers, which helps the secondary glaze sit evenly without sinking into the "valleys" of the paper grain.
3. The Tertiary Tilt
Mix a primary with its neighboring secondary. This requires a high degree of ergonomic control with your brush to keep the ratios precise.
Mastery Tip: The viscosity of the two paints must be identical. If one is more watery, it will push the thicker pigment away, a phenomenon known as the Marangoni effect.
4. Complementary Neutrals
Mix opposites on the color wheel to create "chromatic grays." This is the ultimate test of your color theory application.
Mastery Tip: These mixes often settle differently based on the specific gravity of the pigments. Heavier minerals like Cadmium will sink, while Phthalos will float.
5. The Value Ladder
Take a single hue and dilute it across five steps. This measures the opacity and tinting strength of your pigment.
Mastery Tip: Use a pipette to add water in exact increments. This scientific approach ensures your value steps are mathematically even.
6. The Glaze Grid
Paint vertical stripes of different colors, let them dry, then paint horizontal stripes over them. This highlights the refractive index of layered pigments.
Mastery Tip: Ensure the first layer is "bone dry." Even a hint of moisture will re-wet the bottom layer, ruining the laminar flow of the top stroke.
7. Granulation Discovery
Mix colors known for high granulation, like Ultramarine and Burnt Sienna. Watch the particles settle into the paper's texture.
Mastery Tip: This is a result of sedimentation rates. Heavier pigment particles drop into the paper's "tooth," creating a tactile, variegated effect.
8. The Wet-on-Wet Bloom
Drop a concentrated pigment into a clear water wash. This is pure fluid dynamics in action.
Mastery Tip: The "bloom" is controlled by the surface tension of the water. Adding a drop of ox gall will break that tension, causing the paint to explode outward.
9. Limited Palette Harmony
Choose only three random colors and see how many variations you can create. This builds chromatic intuition.
Mastery Tip: Check the lightfastness rating on your tubes. Using pigments with similar ratings ensures your daily rituals do not fade at different rates over time.
THE TECHNICAL LEDGER
Maintenance & Longevity: Clean your brushes with a pH-neutral soap to preserve the cuticle of the natural hair. Never leave them soaking tip-down, as this ruins the alignment of the bristles and can crack the wooden handle's lacquer.
Material Variations: For a sustainable twist, use handmade hemp paper. It has a higher tensile strength than wood pulp. For a premium experience, try honey-based watercolors; the honey acts as a natural humectant, keeping the paint malleable for longer.
The Correction:
- Backruns: If a "bloom" forms where you do not want it, use a damp synthetic brush to "wick" away the excess water before it dries.
- Muddy Mixes: This usually happens when you mix more than three pigments. Stick to single-pigment tubes to maintain color clarity.
- Hard Edges: If a wash dries with a harsh line, use a stiff scrubber brush to gently agitate the dried pigment and soften the transition.
Studio Organization: Store your completed exercises in an acid-free archival box. Keep them flat to prevent the pigment migration that can occur in humid environments. Label each sheet with the date and the specific pigment codes (e.g., PB29, PY150) for future reference.
THE FINAL REVEAL
Look at that spread! You have just completed a high-octane workout for your creative muscles. By turning these exercises into Daily Watercolor Rituals, you have effectively mapped the chemical behavior of your palette. Your sheets should glow with a clean, professional finish, showing off the beautiful interplay of light and suspension. You are no longer just guessing; you are an architect of color.
STUDIO QUESTIONS
Why does my watercolor paper buckle?
Buckling occurs when the cellulose fibers expand as they absorb water. This uneven expansion rate creates waves. To prevent this, stretch your paper or use a higher gauge weight like 300lb cotton.
What is the difference between staining and non-staining?
Staining pigments have a smaller particle size that lodges deep within the paper's fiber network. Non-staining pigments sit on the surface and can be easily lifted or "erased" with a damp brush.
How do I stop my colors from looking chalky?
Chalkiness is often caused by using too much filler in student-grade paints or over-mixing with white. Stick to professional-grade pigments with high transparency ratings to ensure a vibrant, crystalline finish.
Can I use a hair dryer to speed up drying?
Yes, but be careful. High heat can cause the binder (gum arabic) to become brittle. Use a low, cool setting and keep the dryer moving to ensure a uniform evaporation rate.
Why do my colors look dull when dry?
This is the "dry-back" effect. Watercolors lose about 20 percent of their chroma as the water evaporates. To compensate, mix your colors slightly more saturated than you want the final result to appear.