The sun is barely peeking through the blinds; your coffee is still steaming; and your hands are already reaching for that familiar, textured weight. There is a specific magic in the tactile resistance of high quality wool as it slides over polished needles. Establishing a Daily Knitting Rhythm is not just about the finished garment; it is about the structural integrity of your morning. When you commit to these six peaceful rows, you are engaging in a complex mechanical dance of tension and torque. Your fingers act as precision instruments, regulating the flow of fiber to ensure every stitch is a mirror image of the last. This consistency creates a fabric with superior dimensional stability. By the time you reach the end of your sixth row, your nervous system has synced with the rhythmic click of the needles. You are not just making a scarf; you are engineering a moment of absolute clarity before the chaos of the day begins.
THE STUDIO KIT
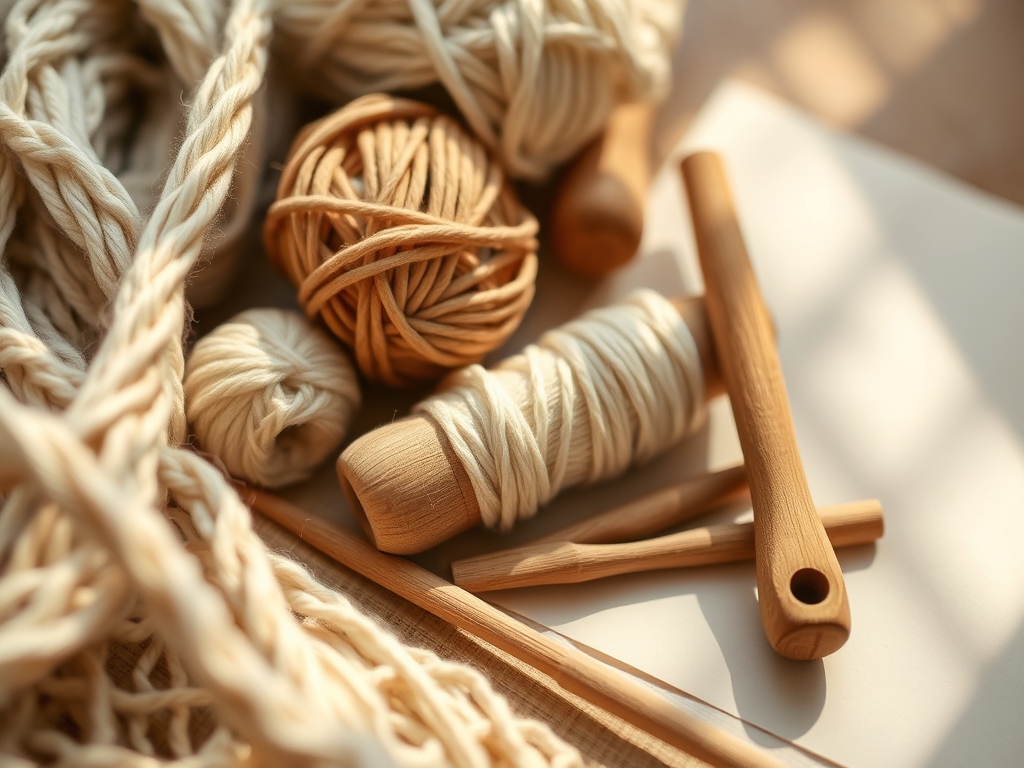
To master your Daily Knitting Rhythm, you need tools that respect the physics of the fiber. I always reach for circular needles with a flexible cable to minimize the weight on my wrists. The needle tips should be crafted from surgical grade stainless steel or densified laminated wood to provide the right amount of friction. If your needles are too slick, you lose control of your gauge; if they are too grabby, you destroy the tensile strength of the yarn by overstretching it. Use a digital caliper to check your needle diameter if the markings have worn off. Accuracy is everything when you are aiming for professional results.
For the material, look for a worsted weight wool with a high twist count. A tightly plied yarn resists pilling and maintains its structural shape over years of wear. If you are looking for Material Substitutions, consider a blend of 70 percent merino and 30 percent silk for increased luster and drape. Avoid low quality acrylics that lack "memory"; you want a fiber that bounces back when compressed. Always keep a small brass awl or a crochet hook nearby to pick up dropped stitches without distorting the surrounding fabric.
THE TEMPO
The beauty of the six row cycle is its mathematical efficiency. In a professional studio setting, we look at "The Maker's Rhythm" as a balance between speed and precision. For an intermediate knitter, each row should take approximately four to six minutes. This includes the time spent checking your stitch definition and adjusting your seated posture. Total time investment? About thirty minutes.
Phase one is the "Calibration" during row one, where you assess the moisture content of the yarn and how it reacts to the room's humidity. Phasees two through five are the "Flow State," where your muscle memory takes over the mechanical execution. The final phase, row six, is the "Structural Audit," where you count your stitches and verify that your edges are perfectly vertical. This tempo prevents "maker fatigue" and ensures that your project does not develop the irregular tension often seen in rushed work.
THE CORE METHOD
1. The Foundation Anchor
The first row of your morning session sets the surface tension for the entire day. Insert your needle at a consistent 45 degree angle to ensure the loop size remains uniform. This prevents the "rowing out" effect where one row appears looser than the rest.
Mastery Tip: This is all about capillary action and fiber friction. If you hold the yarn too tightly, you compress the air pockets within the wool, stripping the finished fabric of its insulating properties. Keep a light but firm grip to maintain the yarn's natural loft.
2. The Lateral Shift
As you move into row two, focus on the transition between the edge stitch and the body. This is where most structural failures occur. Slip the first stitch purlwise to create a "selvage edge" that looks like a braided chain.
Mastery Tip: Creating a selvage edge increases the lateral stability of the piece. It prevents the edges from curling inward, a common issue caused by the unbalanced torque of the knit stitch versus the purl stitch.
3. The Midpoint Alignment
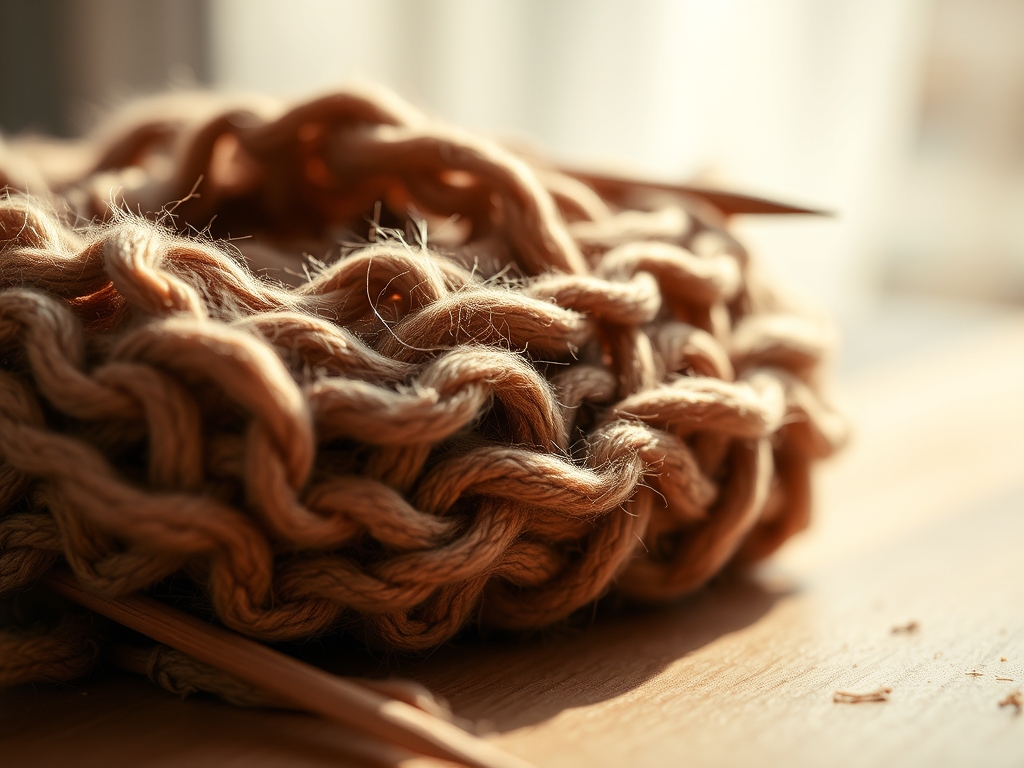
By row three, you are in the heart of the rhythm. Observe the alignment in the step-by-step photos below. Each stitch should sit squarely on top of the one below it. If you notice a slant, you are likely pulling the yarn at an asymmetrical angle.
Mastery Tip: The geometric precision of your stitches is dictated by the "path of least resistance." Ensure your working yarn is feeding directly from the center of the ball to avoid unnecessary drag that can skew your stitch architecture.
4. The Tension Equalization
Row four is the time to check your "float" if you are working with multiple colors, or your stitch density if you are working a solid block. Use your thumb to spread the stitches along the needle to ensure they have enough room to breathe.
Mastery Tip: Wool is a porous material that expands and contracts. If your tension is too high, the fibers cannot move, leading to a stiff fabric that will eventually snap under stress. Aim for "elastic equilibrium."
5. The Decorative Integrity
Row five is where we focus on the visual "pop." Whether you are doing a simple stockinette or a complex cable, the way you wrap the yarn around the needle determines the light refraction off the fiber.
Mastery Tip: Wrapping the yarn consistently in the same direction ensures the ply twist remains intact. If you accidentally untwist the yarn while knitting, you create a weak point in the garment that is prone to abrasion.
6. The Final Lock
The sixth row is your safety net. As you complete this row, you are essentially locking in the progress of the morning. This row must be worked with the most focus to ensure no stitches are "split" by the needle tip.
Mastery Tip: A split stitch compromises the structural integrity of the knit. It creates a loose thread that can snag and unravel. By maintaining a sharp visual focus on the needle point, you ensure every fiber is captured within the loop.
THE TECHNICAL LEDGER
Maintenance & Longevity: To keep your project in top condition, never leave it on the needles for more than 24 hours without support. The weight of the hanging fabric can stretch the stitches on the needle, leading to a permanent "growth" in the gauge. Use a point protector to secure your work.
Material Variations:
- Sustainable: Organic hemp and cotton blends offer high durability but lack the elasticity of wool.
- Recycled: Recycled cashmere provides incredible softness but has shorter fiber lengths, meaning it requires a tighter gauge to prevent shedding.
- Premium: Qiviut or Vicuna fibers offer the highest thermal retention but are extremely delicate and require specialized bone folders for smoothing seams.
The Correction:
- The Dropped Stitch: Use your brass awl to hook the loose loop and pull it through the horizontal "ladders" of the rows above.
- The Tension Spike: If a row is too tight, use the tips of your needles to manually redistribute the excess yarn to neighboring stitches.
- The Split Fiber: Do not ignore it. Backtrack to the mistake and re-knit the stitch to ensure the ply is unified.
Studio Organization: Store your active project in a cedar lined box or a breathable cotton bag. Avoid plastic bins, which can trap moisture and lead to "fiber rot" or mildew. Keep your needles in a dedicated roll to prevent the tips from getting burred or scratched.
THE FINAL REVEAL
Once those six rows are complete, take a moment to hold the fabric up to the light. You will see a perfectly organized grid of interlocking loops, a testament to your technical skill and your commitment to the Daily Knitting Rhythm. The fabric should feel supple, bouncy, and substantial. There is a profound sense of accomplishment in knowing that you have engineered something beautiful using nothing but two sticks and a string. Your morning is now anchored in productivity; your coffee is likely cold; but your creative soul is fully fed.
STUDIO QUESTIONS
How do I fix a mistake three rows back?
You must "tinkle" or un-knit the stitches one by one until you reach the error. This preserves the yarn memory better than ripping the needles out entirely. It ensures the fiber does not become over-processed or frizzy from friction.
What is the best way to join a new ball of yarn?
Use a "Russian Join" or a "Spit Splicing" technique for protein fibers. This creates a seamless transition without bulky knots. Maintaining a continuous tensile strength throughout the project is essential for a professional, high-end finish.
Why does my hand cramp after only six rows?
This is usually caused by an ergonomic misalignment. Ensure your elbows are tucked in and your shoulders are relaxed. If you grip the needles too tightly, you are fighting the physics of the tool rather than letting it work for you.
Can I use any needle for this rhythm?
Technically yes; however, the coefficient of friction varies between bamboo, plastic, and metal. For a consistent rhythm, stick to one material for the entire project. Switching mid-way will cause a visible change in your stitch tension and overall gauge.