
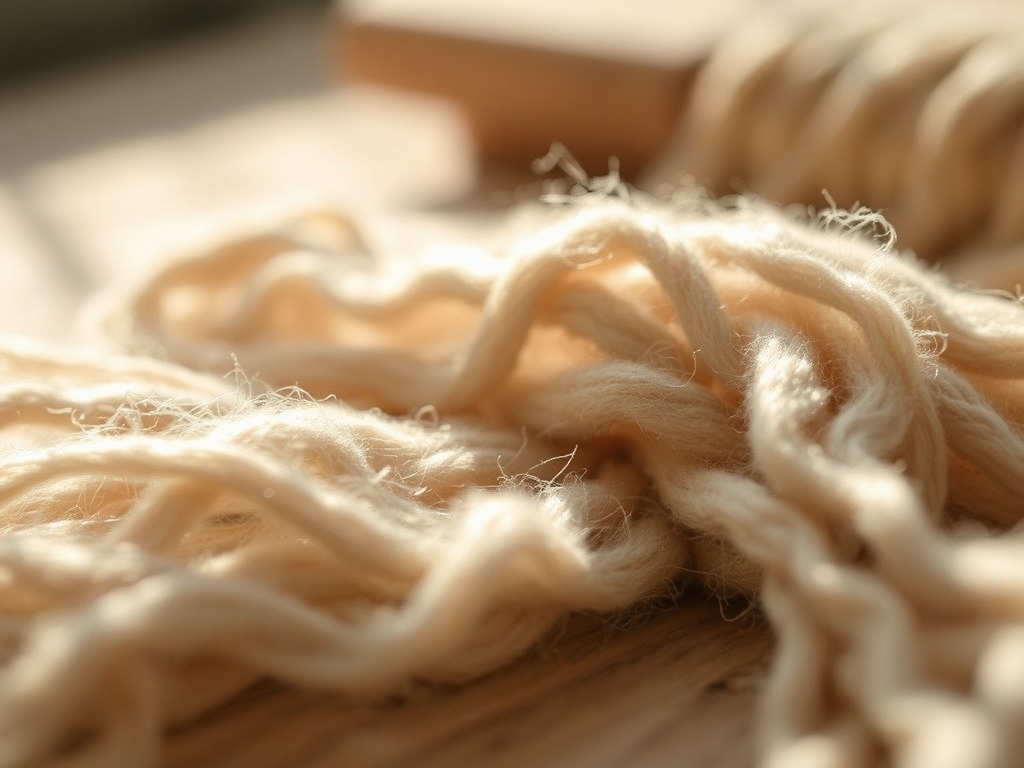
Imagine the sharp, rhythmic snap of a wooden shuttle passing through a taut shed; it is a sound that resonates deep in your marrow. Your fingers brush against the raw, organic texture of unspun wool and the sleek, cold strength of mercerized cotton. This is the sensory gateway to your daily weaving rituals. Weaving on a small loom is not just about making a coaster or a wall hanging; it is a high-speed physics experiment in tension and structural integrity. Every thread you pull carries a specific tensile strength, measured by its ability to resist breaking under stress while maintaining a delicate, aesthetic drape. When you sit down at your loom, you are engaging in a tactile dialogue with geometry. The way a fiber compresses under the pressure of the beater bar determines the final density of the cloth. We are diving into six specific fiber studies designed to sharpen your technical intuition and transform your creative practice into a disciplined, meditative flow. Grab your favorite mug; we are about to turn string into structural art.
THE STUDIO KIT
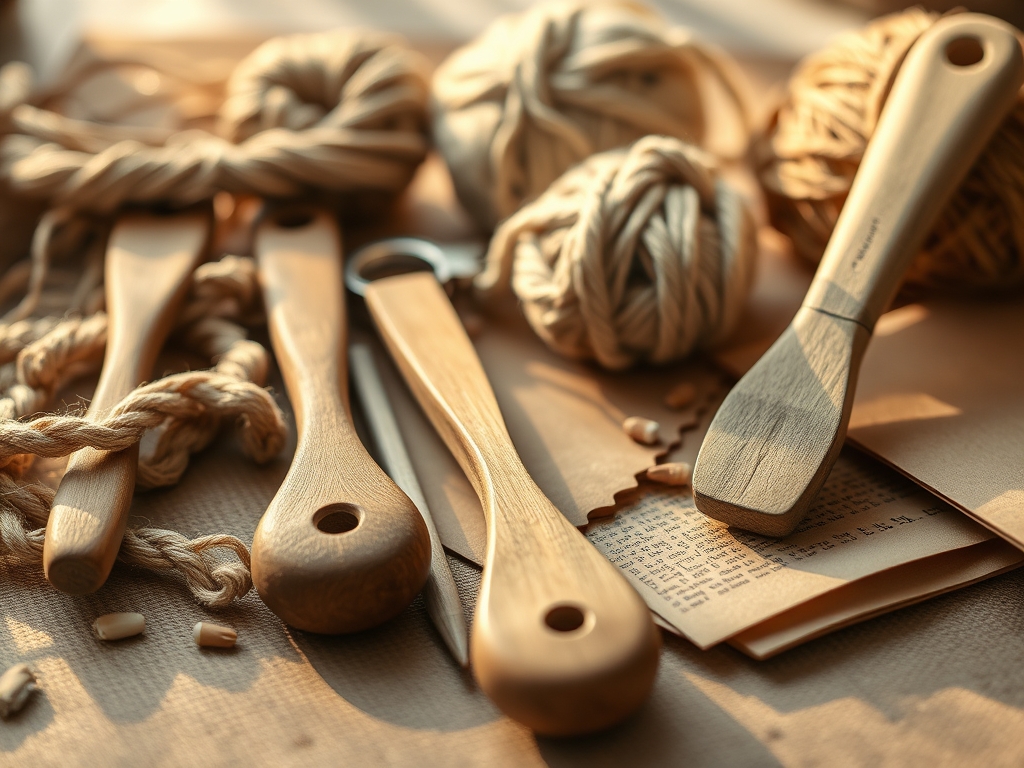
To master these daily weaving rituals, you need a kit that balances ergonomic comfort with precision engineering. Your primary tool is a small frame loom or a rigid heddle loom, ideally crafted from kiln-dried hardwood to prevent warping. You will also need a high-carbon steel tapestry needle for fine detail work and a shed stick to create a clear path for your yarn. For measuring the consistency of your weave, keep a pair of digital calipers nearby; they allow you to check the thickness of your selvedges with sub-millimeter accuracy. A bone folder is an underrated studio essential for burnishing the edges of your finished pieces to ensure the fibers lock together permanently.
Material selection is where the science gets spicy. For your warp, use a high-ply cotton twine with zero elasticity. This ensures that your loom does not "spring back" and distort your pattern once the tension is released. For the weft, experiment with worsted wool, recycled silk strips, and linen cord. If you lack specific materials, use "Material Substitutions": heavy-duty polyester thread can replace cotton warp in a pinch, and unraveled old sweaters provide excellent pre-crimped wool that adds unique volume to your texture studies.
THE TEMPO
The maker's rhythm is a biological frequency. It starts with the "Calibration Phase," which takes roughly fifteen minutes. This is when you warp your loom and check the evenness of the tension across the entire width. If one side is tighter than the other, your finished piece will "smile" or curve upward. The "Execution Phase" for a small study typically requires forty-five to sixty minutes of focused throwing and beating. Finally, the "Finishing Phase" takes twenty minutes; this involves tucking in loose ends and steam-blocking the fiber to set the molecular memory of the threads. Total time: ninety minutes of pure, high-density creation.
THE CORE METHOD
1. Calibrating the Warp Tension
Start by securing your warp thread to the bottom peg with a surgeon's knot. Wind the thread up and over the top notches, maintaining a consistent five pounds of pull for every pass. The goal is to achieve a uniform resonance; when you pluck the strings, they should all sing the same note.
Mastery Tip: This process relies on Hooke's Law, which states that the force needed to extend or compress a spring is proportional to that distance. By keeping tension uniform, you prevent the loom frame from experiencing asymmetrical torque, which would otherwise lead to a diagonal skew in your fabric.
2. Establishing the Header
Before you start your pattern, weave in three rows of thick scrap yarn or a thin wooden slat. This creates a solid foundation for your weft to push against. Use your beater bar or a sturdy fork to compress these rows until they are perfectly horizontal.
Mastery Tip: The header acts as a stabilizer for lateral displacement. It ensures that the first row of your actual project has a flat surface to rest on, preventing the bottom edge from fraying or bunching due to uneven pressure distribution.
3. The Weft Pass and the Bubble
Slide your shuttle through the shed, but do not pull the yarn tight. Instead, create a "bubble" or an arc with the yarn before beating it down. This extra slack is essential for the yarn to travel over and under the warp threads without pulling the sides of your weaving inward.
Mastery Tip: This technique accounts for crimp contraction. As the weft thread weaves around the warp, it follows a longer path than a straight line. If you do not provide that extra length, the resultant horizontal tension will cause "drawing-in," ruining your selvedges.
4. Creating Texture with Rya Knots
To add three-dimensional depth, incorporate Rya knots using pre-cut lengths of wool. Fold the strand in half, loop it over two warp threads, and pull the ends through the center. This creates a "shag" effect that increases the thermal mass of the textile.
Mastery Tip: Rya knots utilize friction-based anchoring. The structural integrity of the knot depends on the surface area of the fiber. Coarser wools with high scales on the fiber shaft will lock more securely than smooth, synthetic fibers.
5. Color Blending via Weft-Faced Weaving
Pack your weft rows so tightly that the warp is completely hidden. By alternating two different colored threads in a single row, you can create a "pointillism" effect. Use an awl to nudge individual threads into place for perfect color transitions.
Mastery Tip: This method exploits optical mixing. When two colors are placed in close proximity, the human eye perceives a third color. The density of the beat determines the "resolution" of this visual blend.
6. The Final Burnish and Release
Once the weaving is complete, use a bone folder to rub the edges of the cloth while it is still under tension. This flattens the fibers and encourages them to interlock. Carefully cut the warp threads, leaving at least four inches for fringe or finishing.
Mastery Tip: Burnishing creates mechanical adhesion. By applying pressure, you are forcing the microscopic scales of the wool fibers to mesh together, which significantly increases the longevity and durability of the daily weaving rituals you perform.
THE TECHNICAL LEDGER
Maintenance & Longevity: Keep your wooden tools oiled with a food-grade mineral oil to prevent splintering. Store your loom in a climate-controlled environment; extreme humidity can cause the wood to expand, which alters the gauge of your notches.
Material Variations:
- Sustainable: Use organic hemp cord for a rugged, high-tensile warp.
- Premium: Incorporate mulberry silk for a high-luster weft that reflects light.
- Recycled: Strip down old linen bedsheets to create "shabby-chic" weft with incredible absorbency.
The Correction:
- Hourglassing: If your sides are pulling in, you are not "bubbling" your weft enough. Fix: Use a tapestry needle to manually loosen the outer three warp threads.
- Loopy Selvedges: If your edges have loops, your tension is too loose. Fix: Pull the weft thread until it just touches the outer warp before beating.
- Uneven Rows: If your rows are slanted, your beater is hitting at an angle. Fix: Use a ruler to check the height of each side every five rows.
Studio Organization: Store your current projects on a flat shelf. Never lean a warped loom against a wall for long periods, as the constant tension can cause the frame to develop a permanent "bow" or "twist."
THE FINAL REVEAL
Look at that masterpiece! You have successfully navigated the complex physics of fiber to create something tangible and beautiful. Your daily weaving rituals have resulted in a textile that boasts perfect structural symmetry and a rich, tactile narrative. The way the light catches the different fiber densities creates a visual rhythm that is both calming and energizing. You did not just make a weave; you mastered the tension of your environment. Hang this piece where you can touch it often; remind yourself that you are a scientist of the loom.
STUDIO QUESTIONS
Why is my warp snapping mid-weave?
Your tension likely exceeds the breaking tenacity of the fiber. This happens if the loom is over-warped or if the yarn has hidden "slubs" or weak points. Always test a sample strand for elasticity before committing to a full warp.
How do I clean a finished fiber study?
Avoid agitation. Submerge the piece in lukewarm water with a pH-neutral detergent. This process, called fulling, allows the fibers to relax and bloom. Lay flat on a towel to air dry to prevent gravity from stretching the weave.
What is the best way to hide loose ends?
Use a needle threader to pull the tails back into the "tunnel" created by the weft rows. This uses the natural friction of the surrounding threads to lock the ends in place without the need for bulky, unsightly knots.
Can I weave with non-traditional materials like wire?
Yes, but be mindful of ductility. Copper or silver wire will hold its shape but has zero "give." You must weave with extreme precision, as you cannot "beat" wire into place the same way you do with flexible wool.

