
The scent of freshly shorn cedar shavings and the cool, heavy drag of a steel blade against seasoned grain are the ultimate sensory triggers for any serious maker. When we talk about Crafting for Family Traditions, we are not just gluing glitter to cardboard; we are engaging in a high-stakes engineering project intended to survive for a century. Think about the tactile resistance of a high-quality linen thread or the specific thermal conductivity of a brass inlay as it warms against your palm. These materials carry weight, both literal and metaphorical. To build an heirloom, you must respect the physics of the medium. Whether you are dealing with the cellular structure of hardwoods or the molecular bond of a cold-cure resin, your goal is to defeat entropy. We are creating artifacts that will be touched by hands not yet born, which means every joint must be precise and every finish must be chemically stable. Grab your safety glasses and clear the workbench, because we are about to turn raw matter into a legacy.
THE STUDIO KIT
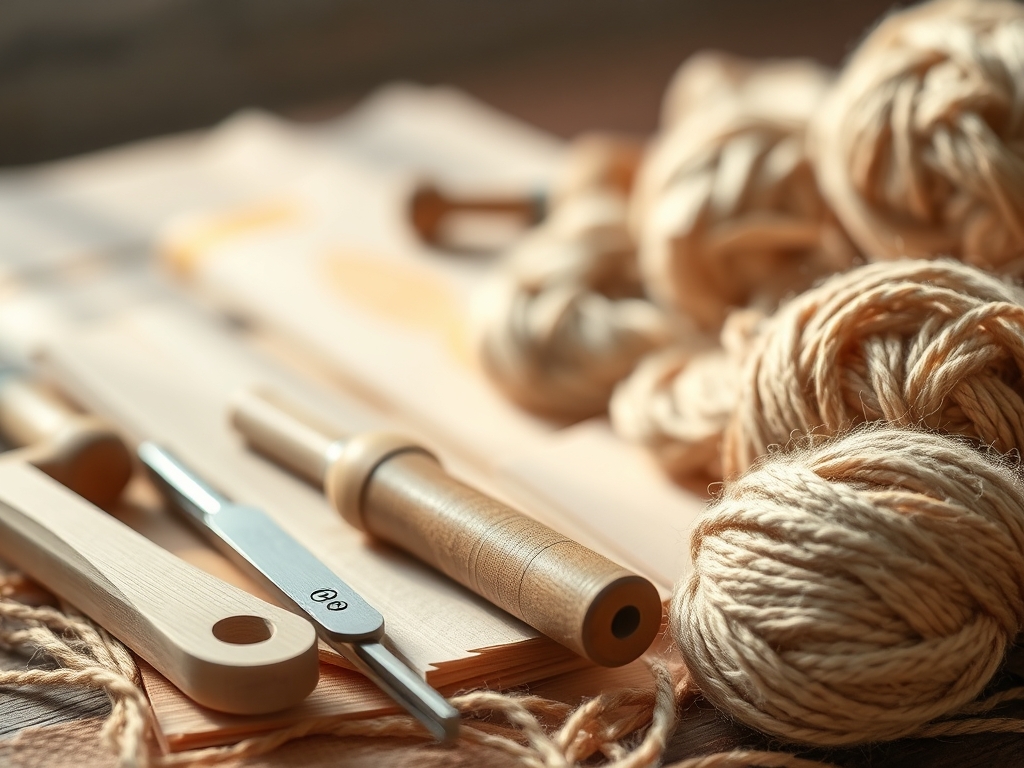
To execute these heirloom pieces, your toolkit must transition from hobbyist to professional grade. You will need a high-carbon steel marking knife for layout precision that a pencil simply cannot provide. For textile-based traditions, a rotary cutter with a 45mm tungsten carbide blade ensures clean edges without fraying the weave. If you are working with wood or leather, a bone folder is essential for creating crisp, permanent creases by compressing the internal fibers of the material. You should also have a set of digital calipers to measure thickness down to the millimeter; consistency is the hallmark of professional Crafting for Family Traditions.
Material Substitutions: If you cannot source solid white oak for your base, high-density birch plywood is a structurally superior alternative due to its cross-grain lamination, which resists warping. If premium vegetable-tanned leather is outside the budget, heavy-duty waxed canvas offers similar tensile strength and a beautiful patina over time. For adhesives, move away from basic school glue and utilize cyanoacrylate with an activator for instant structural bonds, or a two-part epoxy for gap-filling properties in mixed-media projects.
THE TEMPO
The Maker's Rhythm is a three-phase cycle: the Preparation, the Flow, and the Curing. The Preparation phase takes approximately four hours; this is where you calibrate your tools and map your grain directions. The Flow is the active assembly, which typically spans twelve to fifteen hours over a weekend. This is where you enter a state of deep focus, ensuring that every mechanical fastener is flush and every seam is aligned. Finally, the Curing phase is the most overlooked. Depending on your finishes, a piece may need seventy-two hours to reach full chemical stability. Rushing this stage leads to "off-gassing" or tacky surfaces that attract dust. Respect the clock, and the material will respect you.
THE CORE METHOD
1. The Dovetail Memory Chest
Start by selecting a timber with a tight grain pattern, like cherry or maple. Use your marking knife to scribe the joinery. Dovetail joints are the gold standard for heirlooms because their trapezoidal shape creates a mechanical lock that resists being pulled apart.
Mastery Tip: Understand shear stress. By maximizing the surface area of the wood-to-wood contact within the joint, you allow the wood glue to create a bond that is actually stronger than the surrounding cellulose fibers.
2. The Hand-Bound Holiday Ledger
Gather acid-free paper with a high cotton content for longevity. Fold your pages into "signatures" and use a tapered awl to punch holes through the spine. Use a kettle stitch to bind the signatures together using waxed linen thread.
Mastery Tip: This relies on tension distribution. If your thread is too tight, it will tear the paper; too loose, and the spine will wobble. Waxing the thread reduces friction, preventing the fibers from fraying during the sewing process.
3. The Etched Brass Ornament Set
Using a jeweler's saw with a 2/0 blade, cut shapes from 20-gauge brass sheets. Use a chemical etchant or a high-speed rotary tool to engrave family names or dates.
Mastery Tip: Leverage surface oxidation. After etching, apply a liver of sulfur solution to create a dark patina in the recessed areas, then burnish the high points with a polishing cloth to create a high-contrast, three-dimensional effect.
4. The Quilted Heritage Map
Select 100% cotton fabrics with a high thread count to ensure the "hand" of the fabric remains soft but durable. Use a walking foot on your sewing machine to prevent the layers from shifting.
Mastery Tip: This is about friction coefficients. The walking foot moves the top and bottom layers of fabric at the exact same rate, preventing the "puckering" that occurs when the feed dogs move the bottom layer faster than the top.
5. The Turned Hardwood Candle Holders
Mount a spindle of walnut or mahogany onto a lathe. Use a roughing gouge to take the square stock down to a cylinder, then a skew chisel for the final smooth profile.
Mastery Tip: Centrifugal force is your enemy here. Ensure your stock is perfectly centered to prevent vibration harmonics, which can cause "chatter marks" on the surface of the wood.
6. The Cast Resin Botanical Press
Encapsulate dried holiday flora in a UV-stable epoxy resin. Use a vacuum chamber if available to remove all micro-bubbles before the resin begins its exothermic reaction.
Mastery Tip: This involves thermosetting polymers. The chemical reaction generates heat; if the pour is too thick, the heat can build up and cause the resin to crack or yellow. Work in thin, graduated layers.
7. The Leather-Wrapped Recipe Box
Cut 4-ounce vegetable-tanned leather to fit a wooden core. Use a stitching pony to hold the piece while you execute a saddle stitch using two needles.
Mastery Tip: The saddle stitch is superior because it uses two independent threads. If one thread breaks, the mechanical tension of the second thread keeps the seam from unraveling, unlike a machine lockstitch.
8. The Ceramic Advent Platter
Hand-build a large platter using stoneware clay. Use the "score and slip" method to attach decorative elements.
Mastery Tip: Pay attention to vitrification. During the firing process, the silica in the clay melts into glass. To prevent warping, ensure the thickness of the base is consistent with the walls to allow for even thermal expansion.
9. The Woven Willow Gathering Basket
Harvest willow whips in the late autumn when the sap is low. Use a "pairing weave" to create a sturdy base, then transition to a "waling weave" for the sides.
Mastery Tip: This is a study in turgor pressure and flexibility. Soaking the willow allows the cell walls to become pliable without snapping. As the wood dries, it shrinks slightly, tightening the entire structure into a rigid lattice.
THE TECHNICAL LEDGER
Maintenance & Longevity: To keep these items in peak condition, avoid direct sunlight which causes UV degradation of pigments and lignins. Use a high-quality microcrystalline wax (like Renaissance Wax) on wood and metal to provide a moisture-resistant barrier that does not remain tacky.
Material Variations: For a sustainable approach, use reclaimed "sinker cypress" for woodworking or "deadstock" fabrics for quilting. These materials have already stabilized over decades, making them less prone to movement.
The Correction:
- The Gap: If a wood joint has a visible gap, mix fine sanding dust with wood glue to create a matching structural filler.
- The Bubble: If resin has a surface bubble after pouring, pass a butane torch quickly over the surface to pop it using thermal expansion.
- The Tear: If paper tears during binding, use a tiny strip of archival mulberry tissue and wheat starch paste to create a transparent, permanent mend.
Studio Organization: Store your completed projects in acid-free archival boxes. For textiles, use unbuffered tissue paper to prevent creasing. Keep your studio at a consistent 50% relative humidity to prevent the expansion and contraction of organic materials.
THE FINAL REVEAL
Look at that! You have moved past the "craft store" aisle and into the realm of true fabrication. Your finished piece should feel substantial; it should have a specific gravity that commands respect when it is picked up. Whether it is the perfect "thunk" of a well-fitted box lid or the shimmering depth of a polished brass surface, you have successfully translated your family's history into a physical form. This is the heart of Crafting for Family Traditions: using your hands to anchor your heart to the timeline of the future.
STUDIO QUESTIONS
How do I prevent wood from warping over time?
Always use seasoned lumber with a moisture content between 6% and 8%. Ensure you finish all sides of the piece equally to allow for even moisture exchange with the environment, which stabilizes the internal cellular structure against atmospheric changes.
What is the best adhesive for mixed media heirlooms?
Two-part epoxy is the most reliable choice. It creates a structural bond through a chemical reaction rather than evaporation. This ensures it does not shrink over time, maintaining the integrity of the bond between dissimilar materials like metal and wood.
Can I use vintage fabric for family quilts?
Yes, but you must test the tensile strength first. Gently tug the fabric; if it threads or tears easily, it is too "shattered" for a functional quilt. In that case, use it as an applique on a stronger backing fabric.
How do I clean tarnished metal heirlooms safely?
Avoid harsh chemical dips that strip the metal. Instead, use a mild abrasive like calcium carbonate mixed with distilled water to create a paste. This mechanically removes oxidation without damaging the underlying molecular structure of the brass or silver.

