
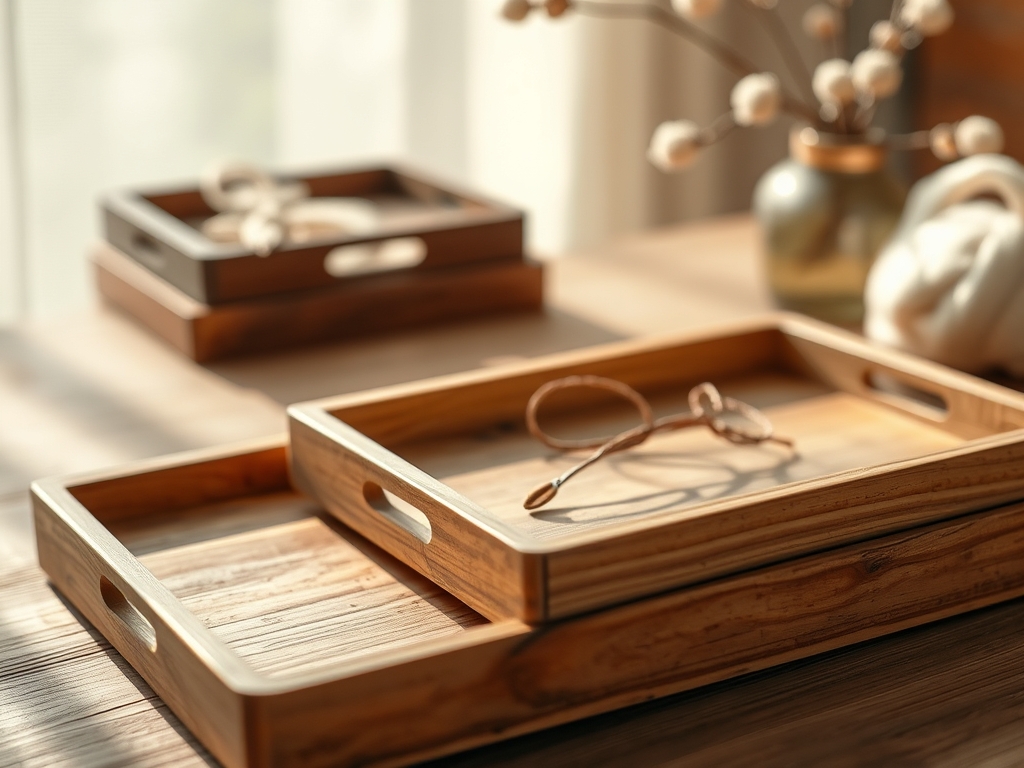
Imagine the scent of freshly planed black walnut hitting your senses like a shot of espresso. There is something deeply visceral about the weight of a raw timber slab before it transforms into art. When you are crafting Handmade Wooden Trays, you are not just making a surface for coffee; you are engineering a structural masterpiece designed to withstand the thermal expansion of a steaming mug and the gravitational pull of a heavy breakfast. Feel that grain under your fingertips. It is textured and honest. We are looking for a specific density here; something that feels substantial but maintains a refined, ergonomic grace. You want a wood that offers high tensile strength so the handles do not shear off under the weight of a cast iron teapot. This project is about the marriage of physics and aesthetics. We are going to take raw, porous organic material and turn it into a high performance household staple that looks like it belongs in a high end boutique. Grab your safety glasses; we are about to make some sawdust magic.
THE STUDIO KIT
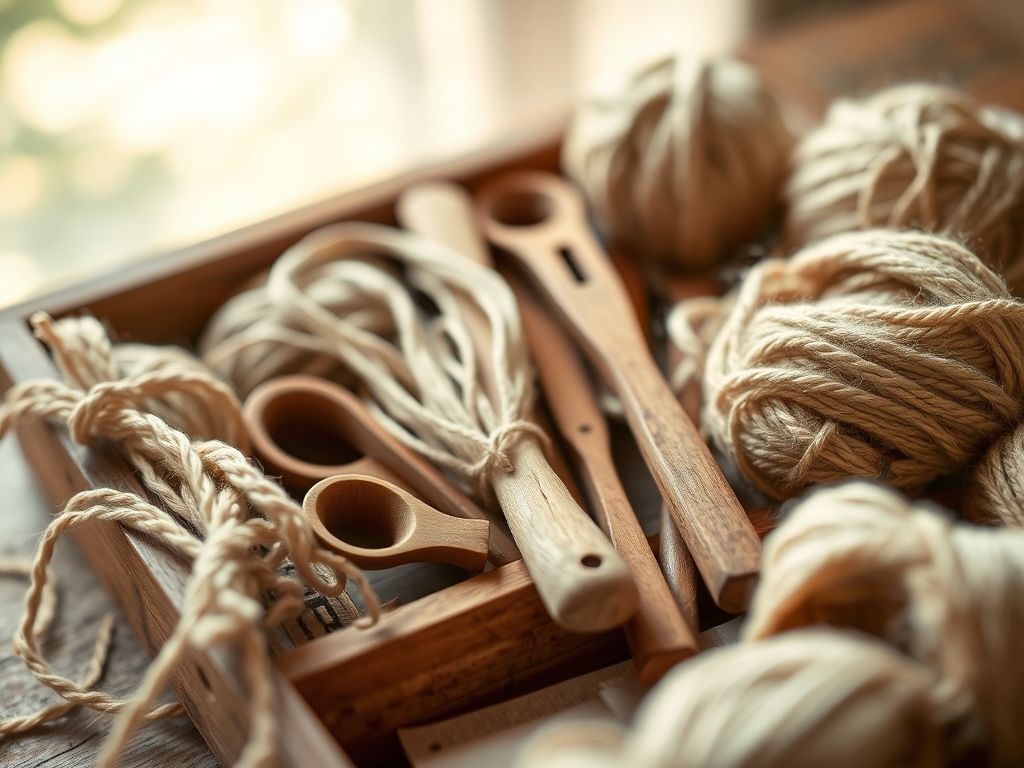
To build a tray that survives a lifetime of Sunday mornings, your toolkit needs to be precise. We start with digital calipers to ensure our joinery is accurate to the millimeter. You will need a high quality random orbital sander with a progression of grits from 80 to 220 to manage the surface friction. For the joinery, a Japanese pull saw is essential for those razor thin kerfs that create tight, seamless bonds. We also use a marking awl instead of a pencil because a physical indentation in the wood fibers provides a mechanical guide for your blade.
The materials list starts with premium hardwoods like White Oak or Hard Maple. These species have a high Janka hardness rating, meaning they resist the dings and dents of daily use. You will also need food safe polyurethane or a butcher block oil to seal the pores against moisture.
Material Substitutions: If you cannot source solid hardwood, high grade Baltic Birch plywood is a fantastic alternative due to its cross laminated layers which offer superior dimensional stability. For a rustic look, reclaimed barn wood works, but you must check it with a moisture meter to ensure it is below 10 percent saturation to prevent warping after the build.
THE TEMPO
The "Maker's Rhythm" is all about respecting the drying times and the physical properties of the wood. You cannot rush a masterpiece.
Phase 1: The Milling (2 Hours). This is where you square your stock. It is loud, dusty, and requires intense focus on the grain direction to avoid tear out.
Phase 2: The Joinery (3 Hours). This is the meditative heart of the project. Cutting dovetails or miter joints requires a slow, steady pulse.
Phase 3: The Assembly (1 Hour + Overnight). Gluing is a race against the clock before the adhesive begins to skin over. Once clamped, the tray must sit for 24 hours to allow the cross linking polymers in the glue to fully cure.
Phase 4: The Finishing (2 Hours over 3 days). Sanding and applying thin, multiple coats of oil. This is where the chatoyance of the wood finally pops.
THE CORE METHOD
1. Grain Selection and Mapping
Before you make a single cut, look at the end grain of your boards. To prevent the tray from "cupping" or bowing over time, you must alternate the direction of the growth rings. If one board curves up, the next must curve down. This creates a neutral mechanical equilibrium.
Mastery Tip: This technique utilizes the science of hygroscopy. Wood expands and contracts as it absorbs humidity; by alternating grain, the opposing forces cancel each other out, keeping your tray perfectly flat.
2. Precision Miter Cutting
Set your miter saw to a perfect 45 degree angle. Use a scrap piece first to verify the alignment with your calipers. The goal is a joint with zero light filtration. A tight fit increases the surface area for the glue to bond.
Mastery Tip: This is about capillary action. When the wood fibers are cut at an angle, the "end grain" is exposed, which acts like a bunch of tiny straws. Sizing the end grain with a 50/50 glue and water mix before the final assembly prevents the joint from sucking the glue dry and failing.
3. Routing the Base Groove
Your tray floor should not be glued into the sides. Instead, use a router to cut a 1/4 inch groove along the interior bottom of the rails. The base "floats" inside this channel.
Mastery Tip: This allows for lateral expansion. If you glue a solid wood base into a frame, the expansion of the wood will literally crack the frame apart. Floating the panel ensures structural integrity regardless of the season.
4. Ergonomic Handle Integration
Using a drill press and a Forstner bit, create two clean holes, then connect them using a jigsaw or an oscillating tool. Smooth the interior with a spindle sander until it fits the natural curve of a human hand.
Mastery Tip: Focus on the center of gravity. Positioning the handles slightly above the vertical midpoint of the side rails prevents the tray from tipping forward when carried, utilizing basic lever physics to stabilize the load.
5. The Final Burnish
After your final 220 grit sanding, wipe the wood with a damp cloth to "raise the grain." Once dry, sand away the tiny whiskers that popped up. Apply your food safe finish in thin, even strokes.
Mastery Tip: Use a bone folder or a smooth piece of hardwood to burnish the edges. This compresses the cellulose fibers, making the wood denser and more resistant to water penetration through sheer physical compaction.
THE TECHNICAL LEDGER
Maintenance & Longevity: Never submerge your tray in water. Wipe it with a damp microfiber cloth and re-apply a beeswax wood conditioner every six months to maintain the hydrophobic barrier.
Material Variations:
- Sustainable: Bamboo or cork inserts for a modern, eco friendly vibe.
- Recycled: Pallet wood (heat treated only) for a rugged, industrial aesthetic.
- Premium: Exotic Wenge or Zebrawood for high contrast visual impact.
The Correction:
- Gaps in Miters: Mix fine sawdust from your project with wood glue to create a matching "filler" paste.
- Warped Base: If the bottom panel bows, use a steam iron to add moisture to the concave side to pull it back to center.
- Glue Stains: If finish won't take, you have "glue ghosting." Use a cabinet scraper to remove the invisible dried film.
Studio Organization: Store your lumber horizontally on a rack with "stickers" (small wood strips) between layers. This allows airflow on all sides, preventing the wood from developing a "set" or curve due to uneven moisture loss.
THE FINAL REVEAL
Look at that! You have just engineered a piece of functional furniture that is as tough as it is gorgeous. The way the light hits the grain and the buttery smooth feel of the handles is pure maker's bliss. Whether it is holding a stack of pancakes or acting as a chic centerpiece, your Handmade Wooden Trays are a testament to your precision and style. You didn't just follow a craft; you mastered the physics of the forest. Now, go pour that coffee and enjoy the fruits of your labor!
STUDIO QUESTIONS
What is the best wood for a breakfast tray?
Hardwoods like Maple, Walnut, or Cherry are ideal. They possess high Janka hardness, ensuring the surface resists scratches from cutlery and heat damage from plates. Avoid softwoods like Pine, which dent easily and have high resin content that can weep.
How do I stop my wooden tray from warping?
Ensure you use a "floating" base design. By allowing the bottom panel to sit in a groove without glue, it can expand and contract with humidity changes without putting stress on the frame, preventing cracks and structural bowing.
Is wood glue stronger than nails for trays?
Yes. Modern PVA wood glue creates a chemical bond that is often stronger than the wood fibers themselves. While nails provide initial "clamp" pressure, the surface area of a well fitted glue joint offers superior long term tensile strength.
How do I make the wood waterproof?
Apply a food safe, film forming finish like polyurethane or multiple coats of drying oils like Tung oil. These penetrate the porous cellular structure and harden, creating a durable, hydrophobic shield that prevents water spots and staining.

