

Close your eyes and listen to the crisp snap of raw canvas or the heavy, resonant thud of a solid oak block hitting your workbench. There is a specific, electric thrill in stripping away the clutter to focus on the raw physics of a single, perfect object. Crafting for minimalist living is about more than just white space; it is about the intentionality of every fiber and the structural integrity of your home. When you hold a piece of vegetable-tanned leather, you are feeling the dense protein fibers that give it incredible tensile strength. We are not just making decor; we are engineering a lifestyle where every item earns its place through utility and aesthetic precision. This journey requires a sharp eye for geometry and a deep respect for the molecular properties of your mediums. We are going to build eight essential pieces that balance form and function, using tools that feel like extensions of your own hands. Get ready to sweat the details because in minimalism, there is nowhere for a mistake to hide.
THE STUDIO KIT
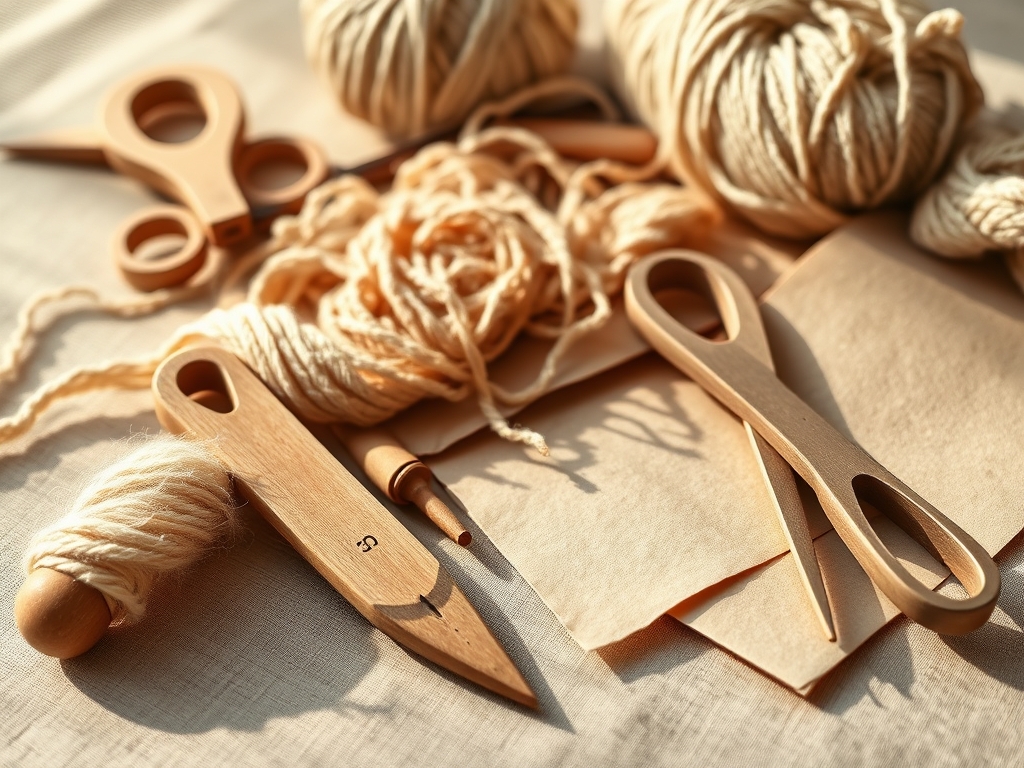
To master the art of the minimal, your toolkit must be lean but high-performance. You will need a stainless steel cork-backed ruler to prevent slippage during high-pressure cuts and a rotary cutter with a tungsten carbide blade for shearing through textiles without fraying the edges. For wood and leather work, an adjustable stitch groover and a set of diamond-tipped awls are non-negotiable for creating clean, recessed paths for your thread. We also utilize a bone folder to achieve those razor-sharp creases in heavy-gauge paper or fabric, relying on the tool's ability to compress cellulose fibers without tearing the surface.
Material Substitutions: If you cannot source premium Grade-A birch plywood, look for high-density fiberboard (HDF) which offers similar compression resistance. Instead of expensive linen cord, you can utilize waxed polyester thread; it provides superior moisture resistance and a higher breaking point, ensuring your minimalist hanging planters or wall art won't succumb to gravity over time.
THE TEMPO
The "Maker's Rhythm" is a psychological state where your heart rate syncs with the repetitive motions of your craft. For these eight projects, expect a Phase 1: Preparation (30 minutes) involving calibration and material marking. Phase 2: Execution (2 to 4 hours) is the deep-work zone where you engage in cutting, joining, and assembly. Finally, Phase 3: Curing and Finishing (12 to 24 hours) allows adhesives to undergo polymerization or oils to penetrate the porous grain of the wood. Respecting the tempo prevents "rushed-edge syndrome," where the final 10 percent of the work ruins the initial 90 percent of the effort.
THE CORE METHOD
1. The Floating Geometric Shelf
Start by measuring your timber with digital calipers to ensure a uniform thickness. Use a miter saw to cut 45-degree angles, creating a seamless "waterfall" edge.
Mastery Tip: When gluing the joints, remember capillary action. If your joints are too tight, the glue cannot penetrate the wood fibers; if too loose, the bond fails. Aim for a gap of 0.005 inches for maximum structural bond.
2. The Heavy-Gauge Linen Wall Banner
Cut your linen along the warp and weft to ensure it hangs straight without diagonal skewing. Use a rotary cutter for a precision edge that resists unraveling.
Mastery Tip: To prevent the fabric from sagging, apply a light mist of distilled water and iron on high heat. This triggers fiber relaxation, allowing the threads to settle into their permanent, gravity-defying positions.
3. The Burnished Leather Catch-all
Wet the leather slightly to make the tannins more pliable. Fold the corners and secure them with solid brass Chicago screws for an industrial, clean aesthetic.
Mastery Tip: Use a wooden slicker to burnish the edges. The heat generated by friction fuses the protein fibers together, creating a smooth, plastic-like edge that prevents moisture ingress and fraying.
4. The Cast Concrete Incense Plinth
Mix your concrete to a heavy cream consistency. Pour into a silicone mold, tapping the sides vigorously to release trapped oxygen.
Mastery Tip: Understanding surface tension is key here. By vibrating the mold, you force air bubbles to the surface, ensuring the finished plinth has a glass-smooth finish rather than a pitted, "honeycombed" texture.
5. The Hardwood Tablet Stand
Select a piece of walnut or oak with a straight grain. Use a jeweler's saw for intricate notches that allow the pieces to interlock without hardware.
Mastery Tip: Pay attention to grain direction. Always cut with the grain to avoid "tear-out," which happens when the blade catches and lifts the wood fibers rather than slicing through them.
6. The Minimalist Macrame Plant Hanger
Use a 4mm single-strand cotton cord for a sleek look. Execute a series of square knots, maintaining even tension throughout the process.
Mastery Tip: This project relies on friction physics. If your knots are inconsistent in tension, the load-bearing capacity of the hanger shifts, potentially causing the cord to snap under the weight of the ceramic pot.
7. The Frosted Glass Vessel
Apply a chemical etching cream to a recycled glass cylinder. Ensure the surface is de-greased with isopropyl alcohol before application.
Mastery Tip: The etching process is a controlled chemical reaction that creates microscopic pits in the glass surface. Leave the cream on for exactly the recommended time to avoid "over-etching," which can weaken the glass's structural integrity.
8. The Cork and Felt Desk Mat
Laminate a layer of high-density felt to a thin cork backing using a specialized contact cement. Use a heavy roller to ensure total surface contact.
Mastery Tip: This is an exercise in lamination strength. By applying pressure from the center outward, you eliminate air pockets that would otherwise expand and contract with temperature changes, causing the layers to delaminate.
THE TECHNICAL LEDGER
Maintenance & Longevity: Minimalist pieces thrive on cleanliness. Treat wood with a food-safe mineral oil every six months to prevent desiccation. For leather, a pH-balanced conditioner keeps the fibers supple and prevents cracking under UV exposure.
Material Variations: For a premium upgrade, swap standard plywood for marine-grade teak or replace cotton cord with paracord 550 for an ultra-modern, high-tensile strength aesthetic.
The Correction:
- The Ragged Edge: If your fabric edges look chewed, your rotary blade is dull. Replace it immediately; a dull blade requires more force, which distorts the fabric.
- The Weak Joint: If a wood bond fails, you likely "starved" the joint by over-clamping. Apply glue to both surfaces and use firm, but not crushing, pressure.
- The Cloudy Finish: If your concrete is dusty, it dried too fast. Cover future pours with plastic to slow the hydration process, resulting in a harder, denser cure.
Studio Organization: Store your materials in a climate-controlled environment. Wood should be stacked flat with "stickers" (small spacers) between layers to allow airflow and prevent warping due to moisture gradients.
THE FINAL REVEAL
There is nothing quite like the moment you clear your workbench and set your finished piece in its designated spot. It looks effortless, doesn't it? But you know the truth: that "simple" shelf is a masterclass in geometry and friction. That linen banner is a testament to your understanding of textile physics. Crafting for minimalist living isn't about having less; it is about having better. You have taken raw, chaotic materials and forced them into a state of perfect, functional order. Your home now breathes with the quiet confidence of objects that were built to last a lifetime.
STUDIO QUESTIONS
Why is grain direction important in woodworking?
Grain direction determines the wood's strength and how it reacts to cutting tools. Cutting against the grain causes "tear-out," ruining the surface finish. Aligning your cuts with the grain ensures structural integrity and a smooth, professional aesthetic.
How do I prevent my leather edges from fraying?
Fraying is prevented through burnishing. By applying a finishing agent like gum tragacanth and rubbing the edge rapidly with a wooden slicker, friction heat fuses the leather fibers into a solid, smooth, and moisture-resistant barrier.
Can I use regular school glue for these projects?
No; school glue lacks the polymerization strength required for structural crafts. Always use task-specific adhesives like PVA wood glue, contact cement, or cyanoacrylate, which create molecular bonds capable of withstanding the mechanical stresses of daily use.
What is the best way to cut thick linen without it shifting?
Use a self-healing cutting mat and a weighted stainless steel ruler. A rotary cutter is superior to scissors because it applies downward pressure, locking the fabric fibers against the mat while slicing, which prevents the material from bunching or shifting.

