
Grab your favorite ergonomic hook and feel the weight of that yarn cake in your palm. There is something intoxicating about the tactile resistance of high quality wool against a polished metal shaft. When you commit to a Daily Crochet Practice, you are not just making blankets; you are training your muscle memory and mastering the tensile strength of various fibers. The way a twisted ply interacts with the hook throat determines the drape of your final fabric. If you want to move from hobbyist to master maker, you need to understand the physics of the loop. We are diving deep into the structural integrity of the stitch today. Every single yarn over is a lesson in tension control. Feel the friction. Hear the slight squeak of the hook. This is where the magic happens. We are going to transform simple string into architectural masterpieces through the sheer power of repetition and mechanical precision.
THE STUDIO KIT
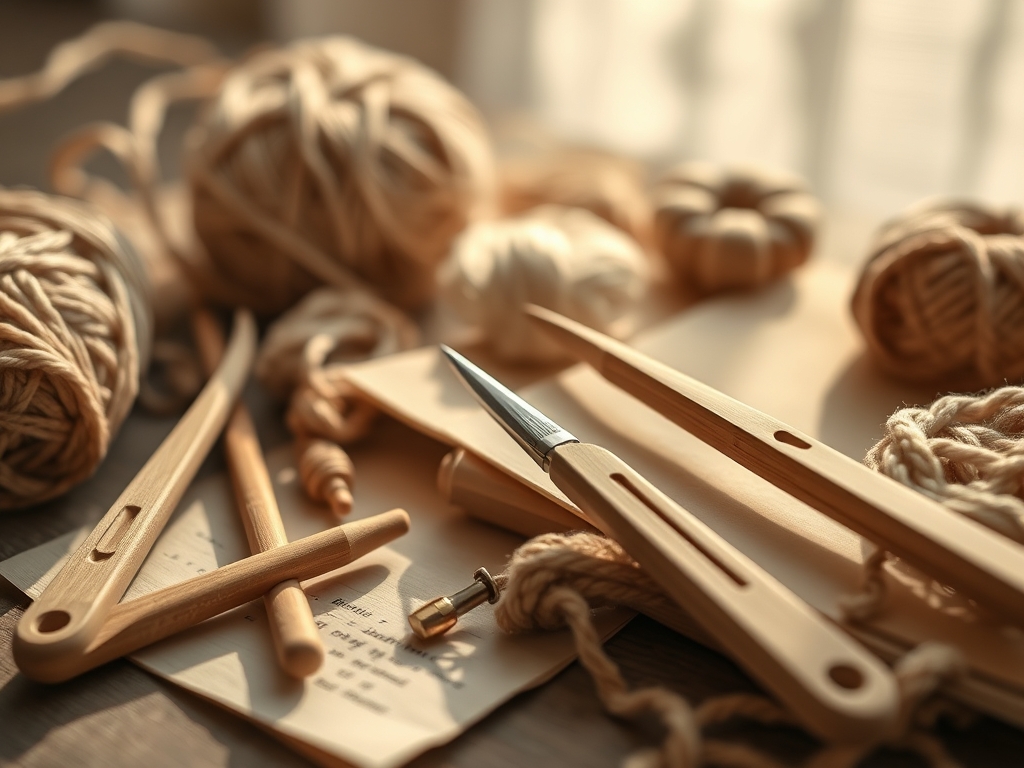
To elevate your craft, you need more than just a grocery store hook. Professional makers often use calipers to measure the exact diameter of their yarn to ensure the gauge remains consistent across different dye lots. Your primary tool should be an ergonomic hook with a tapered throat to reduce wrist fatigue. The material of the hook matters immensely; aluminum provides a slick surface for high friction fibers like cotton, while wooden hooks offer the necessary "grip" for slippery silks or synthetics.
You will also need a sharp pair of fine tipped embroidery scissors and a set of blunt end tapestry needles. For those obsessed with precision, a rotary cutter and a self healing mat are essential for squaring off finished swatches.
Material Substitutions: If you cannot find organic merino, look for bamboo blends. Bamboo has incredible capillary action, meaning it wicks moisture away, but it lacks the natural elasticity of animal proteins. If you swap wool for plant fibers, you must increase your tension to prevent the "growing" effect where the garment stretches under its own gravitational weight.
THE TEMPO
The Maker's Rhythm is a physiological state where your heart rate synchronizes with the movement of your hands. For a standard practice session, allocate sixty minutes. The first ten minutes are the "Warm Up" phase, where you establish your gauge and calibrate your hand tension. The middle forty minutes are the "Flow" phase; this is where you execute the complex repetitions of the chosen stitch pattern. The final ten minutes are the "Audit" phase. During this time, use a ruler to check your stitch count and inspect the fabric for any dropped loops or split plies. Mastery is born from this consistent temporal investment.
THE CORE METHOD
1. The Foundation Chain Calibration
The foundation chain is the skeletal structure of your project. If it is too tight, your work will curl like a bow; if it is too loose, the edge will flare. Use a hook one size larger than your main hook to maintain a flexible base. This ensures the structural integrity of the first row.
Mastery Tip: Observe the torque of the yarn as you pull it through. If the loop twists excessively, you are applying too much lateral force, which weakens the fiber's internal structure.
2. The Granite Stitch Density
Also known as the moss stitch, this pattern utilizes a sequence of single crochets and chains. It creates a dense, woven texture that mimics the durability of a loom woven rug. It is the perfect exercise for practicing consistent spacing.
Mastery Tip: This stitch relies on surface tension. By working into the chain spaces rather than the stitch heads, you create a staggered alignment that distributes weight evenly across the fabric.
3. The Alpine Stitch Architecture
This is a highly textured, 3D stitch that uses front post double crochets to create raised ridges. It requires an understanding of vertical reach. You are essentially building a scaffold on top of a flat base of single crochets.
Mastery Tip: The front post stitches create a dual layer of fabric. This increases the thermal insulation of the piece by trapping air pockets between the ridges, a principle known as "loft."
4. The Star Stitch Geometry
The star stitch is a lesson in multi loop management. You will be holding five or six loops on your hook at once before closing them. It tests your ability to maintain uniform loop size across a horizontal plane.
Mastery Tip: To prevent the "star" from puckering, ensure each loop is pulled to the same height as the working hook. This maintains a consistent denier across the row.
5. The Wafer Stitch Ribbing
By working exclusively in the back loops, you create a telescopic ribbing effect. This is essential for cuffs and necklines because it provides maximum elasticity without losing the original shape.
Mastery Tip: Working in the back loop shifts the center of gravity of the stitch. This allows the fabric to expand and contract like a spring, utilizing the natural memory of the yarn fibers.
6. The Basketweave Load Bearing
This pattern uses alternating front and back post stitches to create a thick, structural grid. It is the most "architectural" of the daily stitches, providing immense compression resistance.
Mastery Tip: Because post stitches wrap around the "trunk" of the previous row, they consume more yarn. This increases the mass of the fabric, making it ideal for heavy duty items like laptop sleeves.
7. The Jasmine Stitch Complexity
This is the final boss of daily practice. It uses "puff" stitches in a hexagonal formation. It requires immense control over yarn flow and hook angle to ensure every petal of the jasmine flower is symmetrical.
Mastery Tip: Success here depends on the "slip" of your hook. If the hook is too porous, it will snag the multiple plies of the puff. Use a polished steel hook for the smoothest execution.
THE TECHNICAL LEDGER
Maintenance & Longevity: To ensure your swatches last, never "wring" them after washing. This snaps the delicate protein bonds in the fiber. Instead, roll the piece in a towel and apply pressure to extract moisture.
Material Variations: For a sustainable approach, try "Plarn" (plastic yarn made from bags) or recycled sari silk. Premium makers might opt for Qiviut or Vicuna, though these require specialized burnishing techniques to lay the halo of the fiber flat.
The Correction:
- The Hourglass Effect: If your edges are shrinking, you are missing the final stitch of the row. Use a stitch marker on the first and last stitch of every row to fix this.
- The Split Ply: If your hook catches only half the yarn, it creates a weak point. Slow down and check the "twist" of your yarn; some yarns are "S-twist" and others are "Z-twist."
- Inconsistent Gauge: If your tension changes mid project, it is likely due to your grip. Switch to an ergonomic hook to keep your hand position static.
Studio Organization: Store your yarn in airtight bins with cedar blocks to prevent moth degradation. Use a bone folder to crease your pattern notes and keep them in a moisture proof binder.
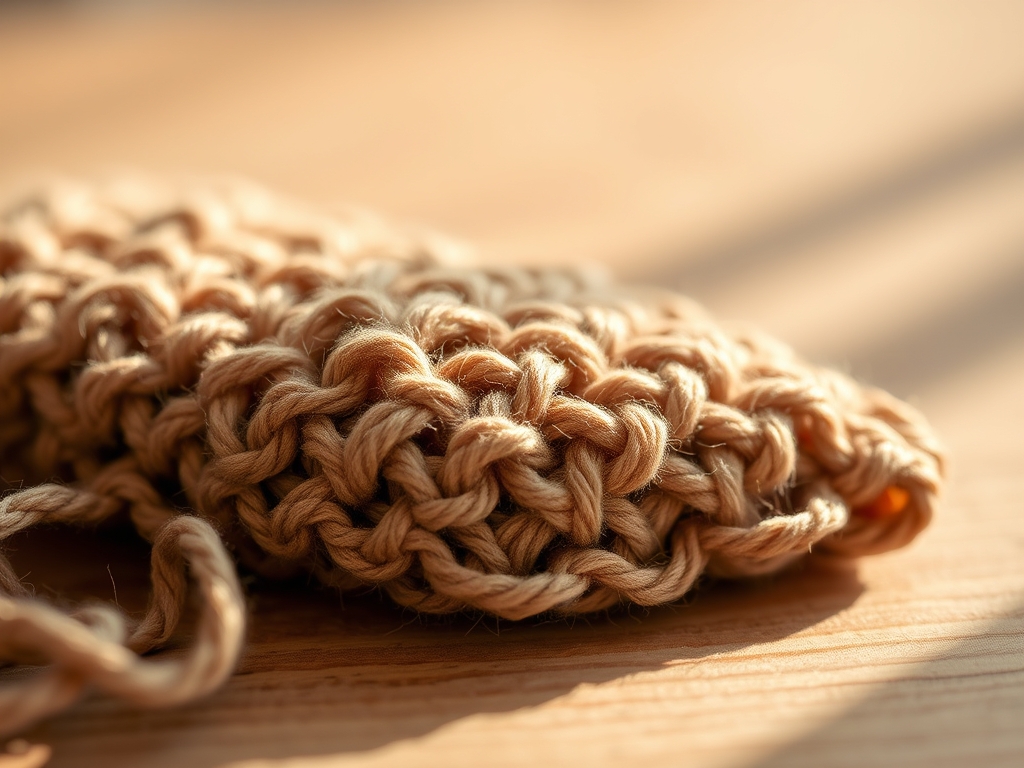
THE FINAL REVEAL
Look at that texture! After a week of Daily Crochet Practice, your swatches should show a clear progression in uniformity. The stitches are crisp, the edges are perpendicular, and the drape is exactly what you intended. You have successfully navigated the physics of fiber manipulation. Your hands now move with the confidence of a seasoned engineer. This is not just a craft; it is a technical discipline that blends mathematics with tactile artistry. Go ahead, run your fingers over those ridges and feel the triumph of a perfectly executed tension.
STUDIO QUESTIONS
How do I stop my edges from curling?
Curling is usually a result of a tight foundation chain or high tension in the initial rows. Use a hook one size larger for the starting chain to provide the necessary flexibility for the fabric to lay flat.
What is the best yarn for beginners?
A light colored, smooth plied cotton or wool blend in a worsted weight is ideal. Avoid "novelty" or fuzzy yarns, as they obscure stitch definition and make it difficult to analyze your technical progress or identify mistakes.
Why does my stitch count keep changing?
You are likely either skipping the very first stitch of the row or failing to work into the turning chain at the end. Use locking stitch markers in the first and last stitches of every row to ensure mathematical accuracy.
How do I fix a split yarn mid-stitch?
If you notice a split ply, you must frog (unravel) back to that point. Re-working the stitch ensures the structural integrity of the fabric; leaving a split ply creates a structural weak point that will eventually lead to a hole.
Does hook material really matter?
Yes, hook material affects the coefficient of friction. Aluminum is fast and slick for "sticky" fibers like cotton, while wood or plastic provides necessary drag for slippery yarns like silk or high-sheen acrylics, allowing for better tension control.

