
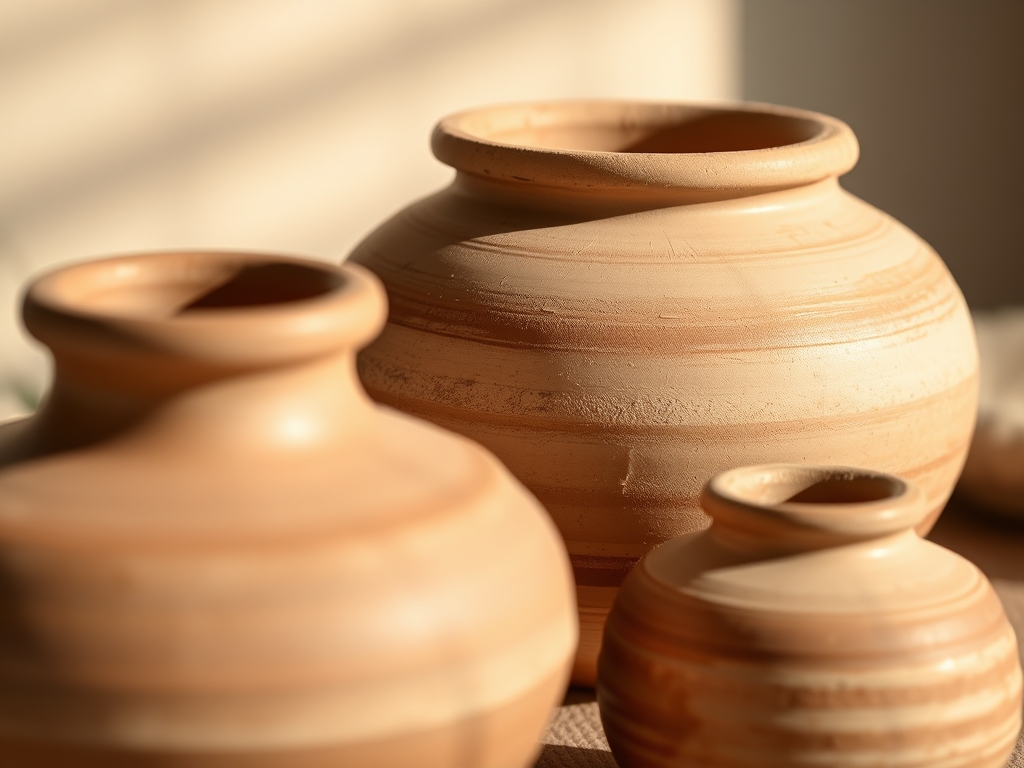
Wet earth clings to your palms with a cool, heavy weight that demands your full attention. There is a specific, primal satisfaction in the way raw minerals yield under the heat of your skin; it is the ultimate dialogue between human intention and geological reality. When you set out to create handmade clay vessels, you are not just making a pot. You are engineering a structural solution for the fluid requirements of botanical life. The clay body acts as a porous membrane, regulating the temperature of the water while providing the necessary tensile strength to support the vertical load of a heavy flower stem. You can feel the plasticity of the material as you wedge it against the table, driving out microscopic air pockets that would otherwise expand and shatter your work during the firing process. This is where art meets the brutal laws of physics. We are about to transform a formless lump of silt and water into a permanent, elegant container that defies gravity and celebrates the organic chaos of nature.
THE STUDIO KIT
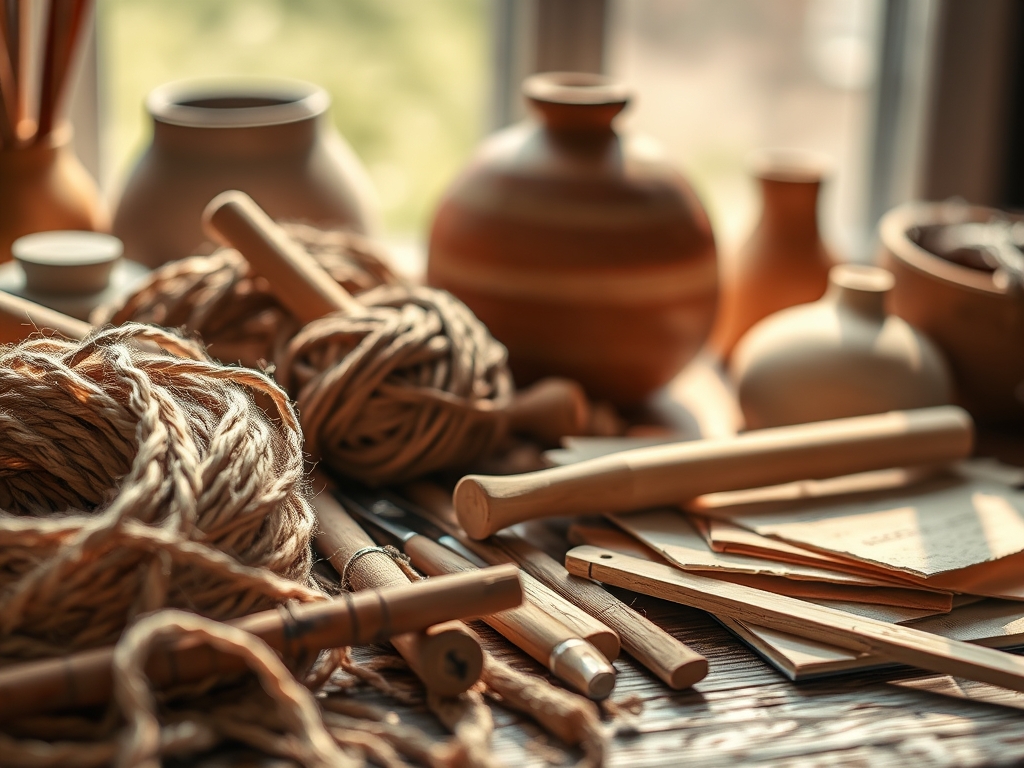
To master the craft of handmade clay vessels, your workbench must be a precision environment. You will need a high-fire stoneware or porcelain body with a low shrinkage rate to ensure the vessel remains watertight after the vitrification process. Your primary instrument is the needle tool, used for scoring surfaces to create a mechanical bond between joined pieces. Use calipers to measure the diameter of your openings; this ensures the neck of the vessel is narrow enough to provide structural support for delicate stems without crushing them. A rib tool, made of stainless steel or firm rubber, is essential for compressing the clay particles on the exterior wall to increase surface density and prevent seepage.
For material substitutions, if you lack a professional kiln, you may utilize high-grade polymer clays or air-dry variants reinforced with nylon fibers. However, be aware that these materials lack the capillary action properties of fired ceramic and will require an internal waterproof sealant like an epoxy resin or a glass insert to hold water long-term. Always keep a sponge and a basin of "slip" (liquid clay) nearby; this acts as your organic adhesive, utilizing the surface tension of water to fuse two separate clay bodies into a single, monolithic form.
THE TEMPO
The "Maker's Rhythm" is governed by the evaporation rate of water. You cannot rush the chemistry of drying. The first phase, the Plastic State, lasts about two hours; this is your window for aggressive shaping and structural builds. Once the clay reaches the Leather-Hard State (usually 12 to 24 hours depending on humidity), it is no longer pliable but can be carved or burnished with a bone folder to achieve a mirror-like finish. The final drying phase, Bone Dry, takes three to seven days. During this time, the vessel is at its most fragile because the water molecules that provided internal lubrication have vanished, leaving a brittle lattice of mineral dust. Attempting to fire a vessel that still contains chemical water will result in a steam explosion; patience is your most important technical tool.
THE CORE METHOD
1. The Kinetic Wedge
Before the first coil is rolled, you must subject the clay to a rhythmic wedging process. This aligns the plate-like particles of the clay on a molecular level, increasing the tensile strength of the finished walls. Use the "ram's head" technique, pushing the clay down and away from you to spiral the internal grain.
Mastery Tip: Proper wedging eliminates air pockets that cause thermal shock. By aligning the particles, you reduce the risk of warping during the high-heat shrinkage phase in the kiln.
2. Base Construction and Compression
Start by rolling out a flat slab for the base using a rolling pin with thickness guides. Use a circular template to cut the bottom of your vessel. It is vital to compress the base with a rib tool to prevent "S-cracks," which occur when the center of the base dries slower than the edges.
Mastery Tip: The center of a flat disk experiences the most stress during drying. Compressing the clay forces the particles closer together, increasing the material's resistance to structural failure.
3. Coiling for Vertical Integrity
Roll long, even snakes of clay to build the walls. Each coil should be approximately the thickness of your thumb. As you stack them, use your thumb to "knit" the clay downward on the interior and upward on the exterior. This creates a cross-hatched internal structure that supports the weight of the water.
Mastery Tip: Building in coils allows for a variable wall thickness. Keeping the base slightly thicker than the rim lowers the center of gravity, preventing the vessel from tipping when top-heavy flowers are added.
4. Refining the Tapered Neck
As you reach the top of your handmade clay vessels, begin to overlap the coils slightly toward the center. This creates a natural taper. Use your calipers to ensure the opening is consistent. A narrow neck is functional; it traps the flower stems, using the rim as a fulcrum to hold the blooms at an aesthetic angle.
Mastery Tip: The narrow neck utilizes hydrostatic pressure to minimize water evaporation, keeping your floral arrangements fresh for a longer duration.
5. Scoring and Slipping the Joints
Whenever you add a new element, such as a decorative handle or a secondary chamber, you must score both surfaces deeply with an awl. Apply a generous layer of slip. This creates a "velcro" effect where the clay particles interlock as they dry.
Mastery Tip: Without scoring, the two pieces will dry at different rates and simply pop apart. The slip creates a chemical bridge that allows the two parts to shrink as a single unit.
6. Burnishing the Exterior
Once the vessel is leather-hard, use a smooth stone or a metal rib to rub the surface. This process, called burnishing, collapses the surface pores. It creates a natural sheen and makes the clay significantly more water-resistant even before the glaze is applied.
Mastery Tip: Burnishing aligns the surface molecules into a flat plane, which reflects light more efficiently and reduces the surface area available for bacterial growth in the water.
7. Slow Curing and Humidity Control
Place your finished piece under a loose sheet of plastic for the first 48 hours. This slows the evaporation rate. If the rim dries faster than the base, the resulting tension will cause the vessel to crack at the weakest point.
Mastery Tip: Controlled drying prevents differential shrinkage. By keeping the humidity consistent, you ensure that the internal stresses are distributed evenly across the entire form.
8. The Bisque Fire
The first trip to the kiln (the bisque fire) reaches temperatures around 1900 degrees Fahrenheit. This chemically alters the clay, turning it into a hard, porous ceramic that is ready to absorb glaze.
Mastery Tip: During this phase, the clay undergoes "quartz inversion," a physical expansion and contraction. Slow temperature ramps are essential to prevent the piece from shattering.
9. Glazing for Vitrification
Apply a food-safe, waterproof glaze to the interior and exterior. The glaze is essentially a layer of liquid glass that melts and fuses to the clay body at high temperatures. This creates a completely non-porous surface that will hold water indefinitely.
Mastery Tip: Ensure the glaze "fit" matches the clay body's expansion coefficient. If the glaze shrinks more than the clay, it will "craze" (crack), compromising the vessel's ability to hold water.
THE TECHNICAL LEDGER
Maintenance & Longevity
To keep your handmade clay vessels in peak condition, avoid rapid temperature changes. Ceramic is susceptible to thermal shock; never move a vessel from a cold refrigerator to a hot windowsill. Clean the interior with a soft bottle brush and mild detergent to prevent mineral buildup from hard water.
Material Variations
- Recycled Clay: Reclaiming "slop" from previous projects creates a unique, variegated texture but requires extra wedging to ensure consistency.
- Premium Porcelain: Offers the highest level of vitrification and a delicate, translucent finish, but has very low plasticity and is difficult to work.
- Grogged Stoneware: Contains small bits of fired clay (grog) which provides excellent structural support for very large, heavy vessels.
The Correction
- The Crack: If a crack appears during the leather-hard stage, do not just fill it with water. Use a mixture of clay dust and vinegar to create a high-tack repair paste.
- The Wobble: If the base is uneven, use a rasp or a metal rib to shave down the high points once the piece is bone dry.
- The Seepage: If a fired vessel leaks, apply a thin coat of liquid quartz or specialized ceramic sealant to the interior to plug the microscopic pores.
Studio Organization
Store your unfinished projects in a "damp box"—a plastic container with a layer of wet plaster at the bottom. This maintains a 100% humidity environment, allowing you to work on a single vessel for weeks without it drying out.
THE FINAL REVEAL
Look at that! You have successfully manipulated raw earth into a sophisticated piece of functional art. Your handmade clay vessels are more than just jars; they are the result of careful physics and a deep understanding of mineral behavior. The way the light catches the burnished edges and the way the neck perfectly cradles a single, heavy peony is a testament to your technical skill. You have mastered the rhythm of the clay, and now you have a permanent, beautiful tool to bring the wildness of the garden into the structured space of your home.
STUDIO QUESTIONS
What is the best clay for beginners?
Stoneware with "grog" is ideal for beginners. The added grit provides structural integrity, making it easier to build taller walls without the vessel collapsing under its own weight during the initial shaping process.
How do I prevent my vessel from leaking?
Ensure you fire the clay to its full maturity temperature and apply a high-quality glaze. Glazing the interior creates a glass barrier that prevents water from seeping through the naturally porous ceramic body.
Can I make these without a kiln?
Yes, you can use air-dry clay for decorative purposes. However, for holding water and live flowers, you must seal the interior with a waterproof resin or use a hidden glass insert to protect the material from moisture.
Why did my handle fall off?
This usually happens due to poor "scoring and slipping." If the two pieces have different moisture levels when joined, they shrink at different rates, causing the mechanical bond to fail during the drying or firing process.

